Noptin allows you to send an email to all your newsletter subscribers.
To do this:-
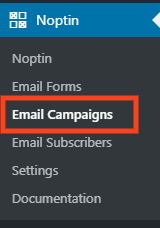
First, click on Noptin > Email Campaigns to open the email campaigns management page.
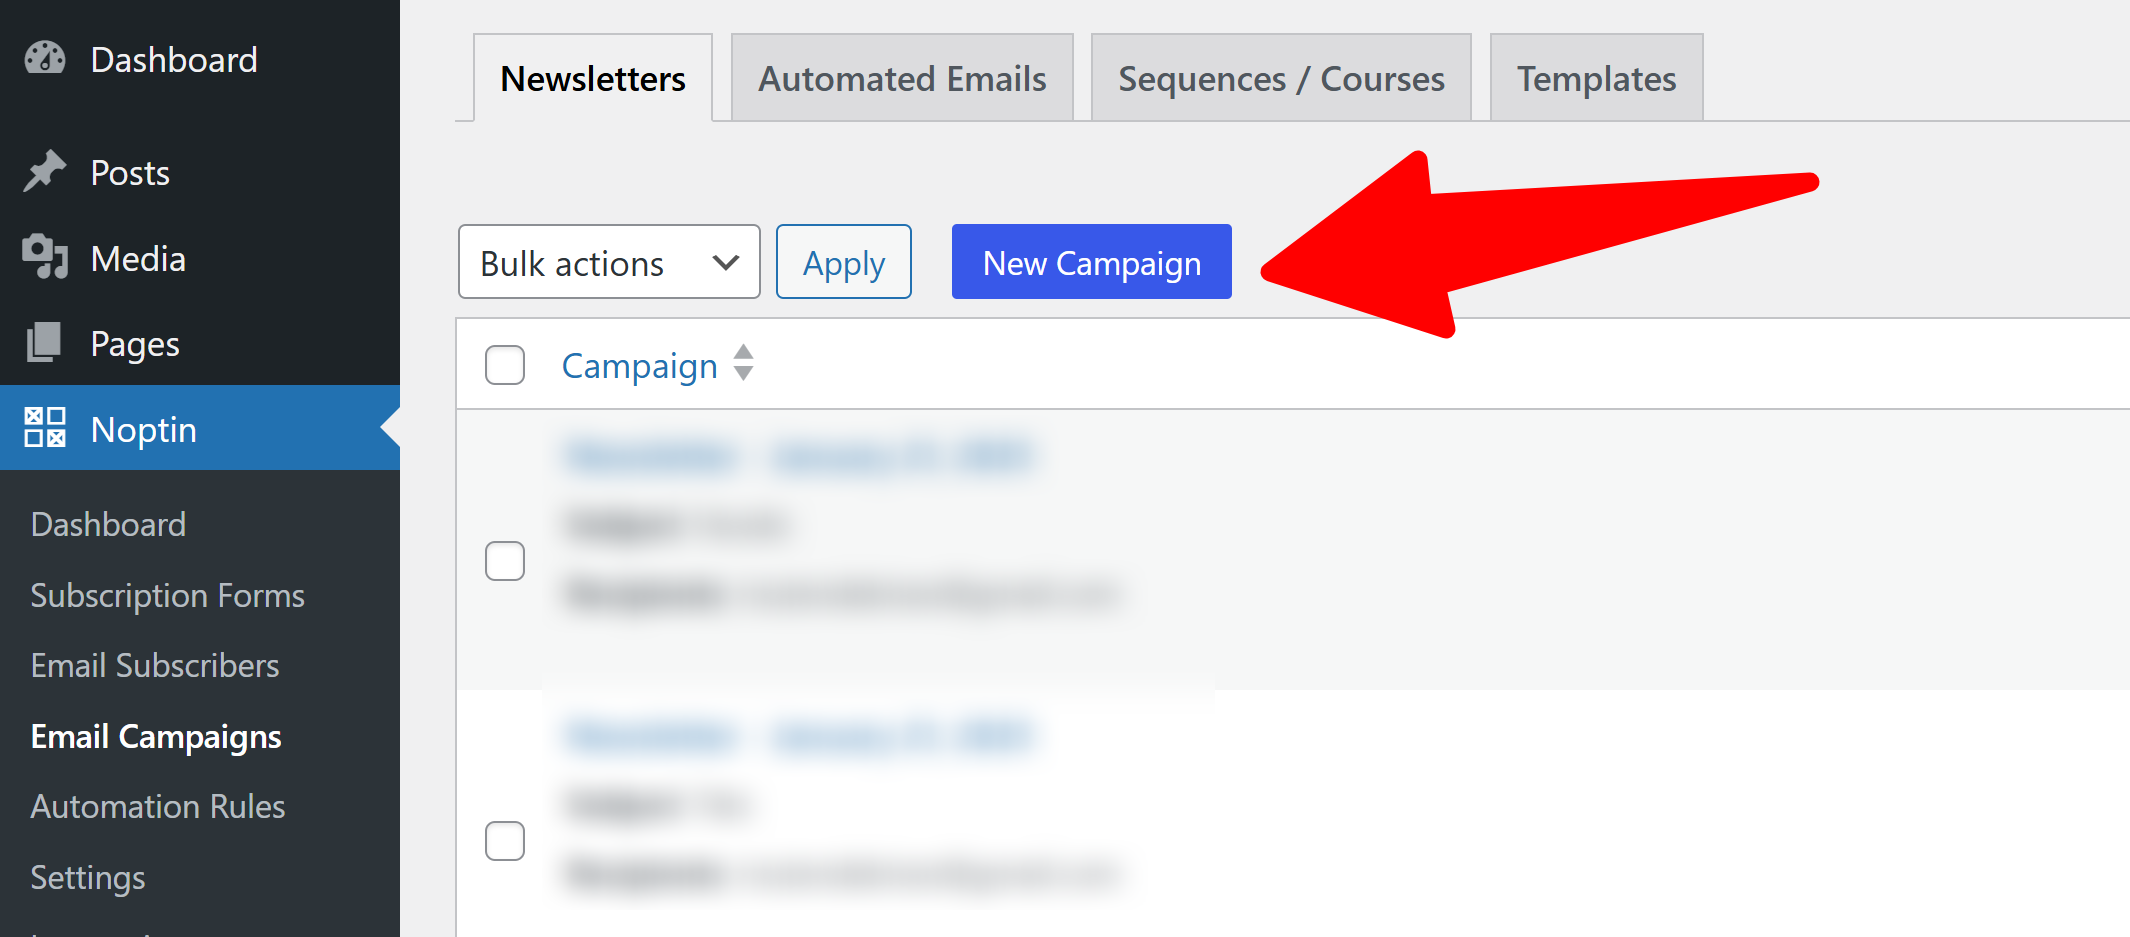
Next, click the “New Campaign” button to open the email campaign creation modal…
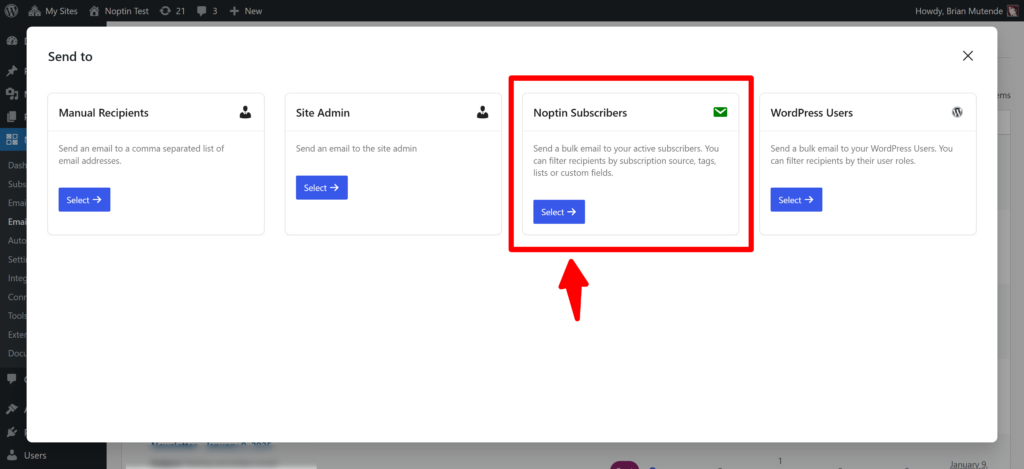
… and then select “Noptin Subscribers” as the recipients of your email.
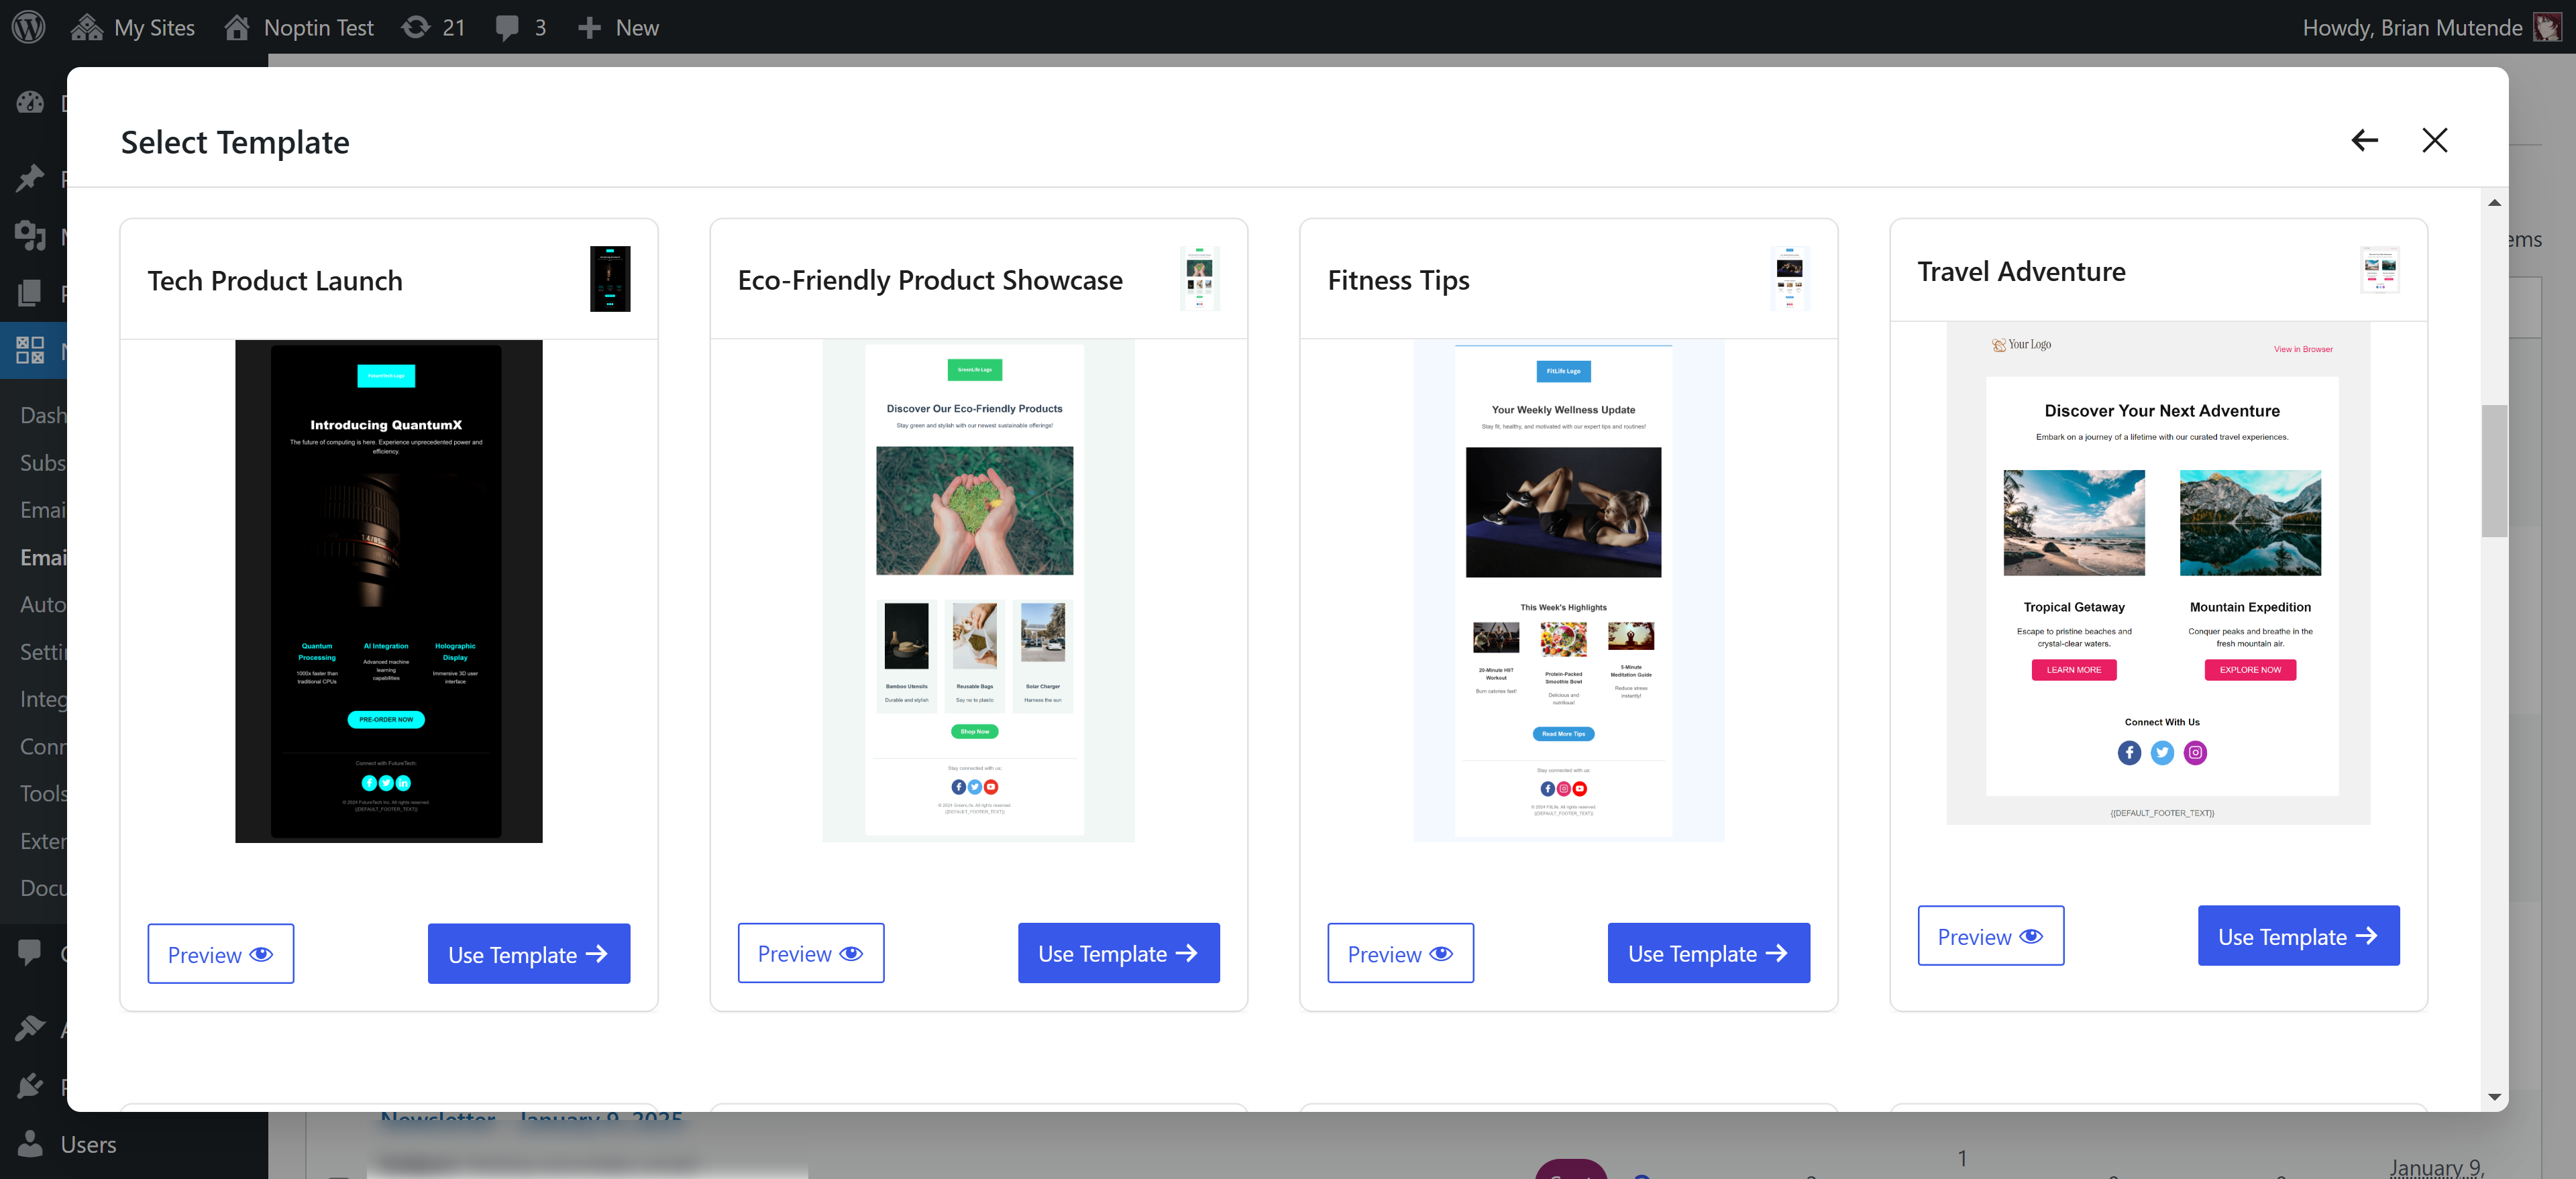
Finally, you can either select an email template or start from scratch.
Noptin will open the email editor, allowing you to edit your newsletter campaign.
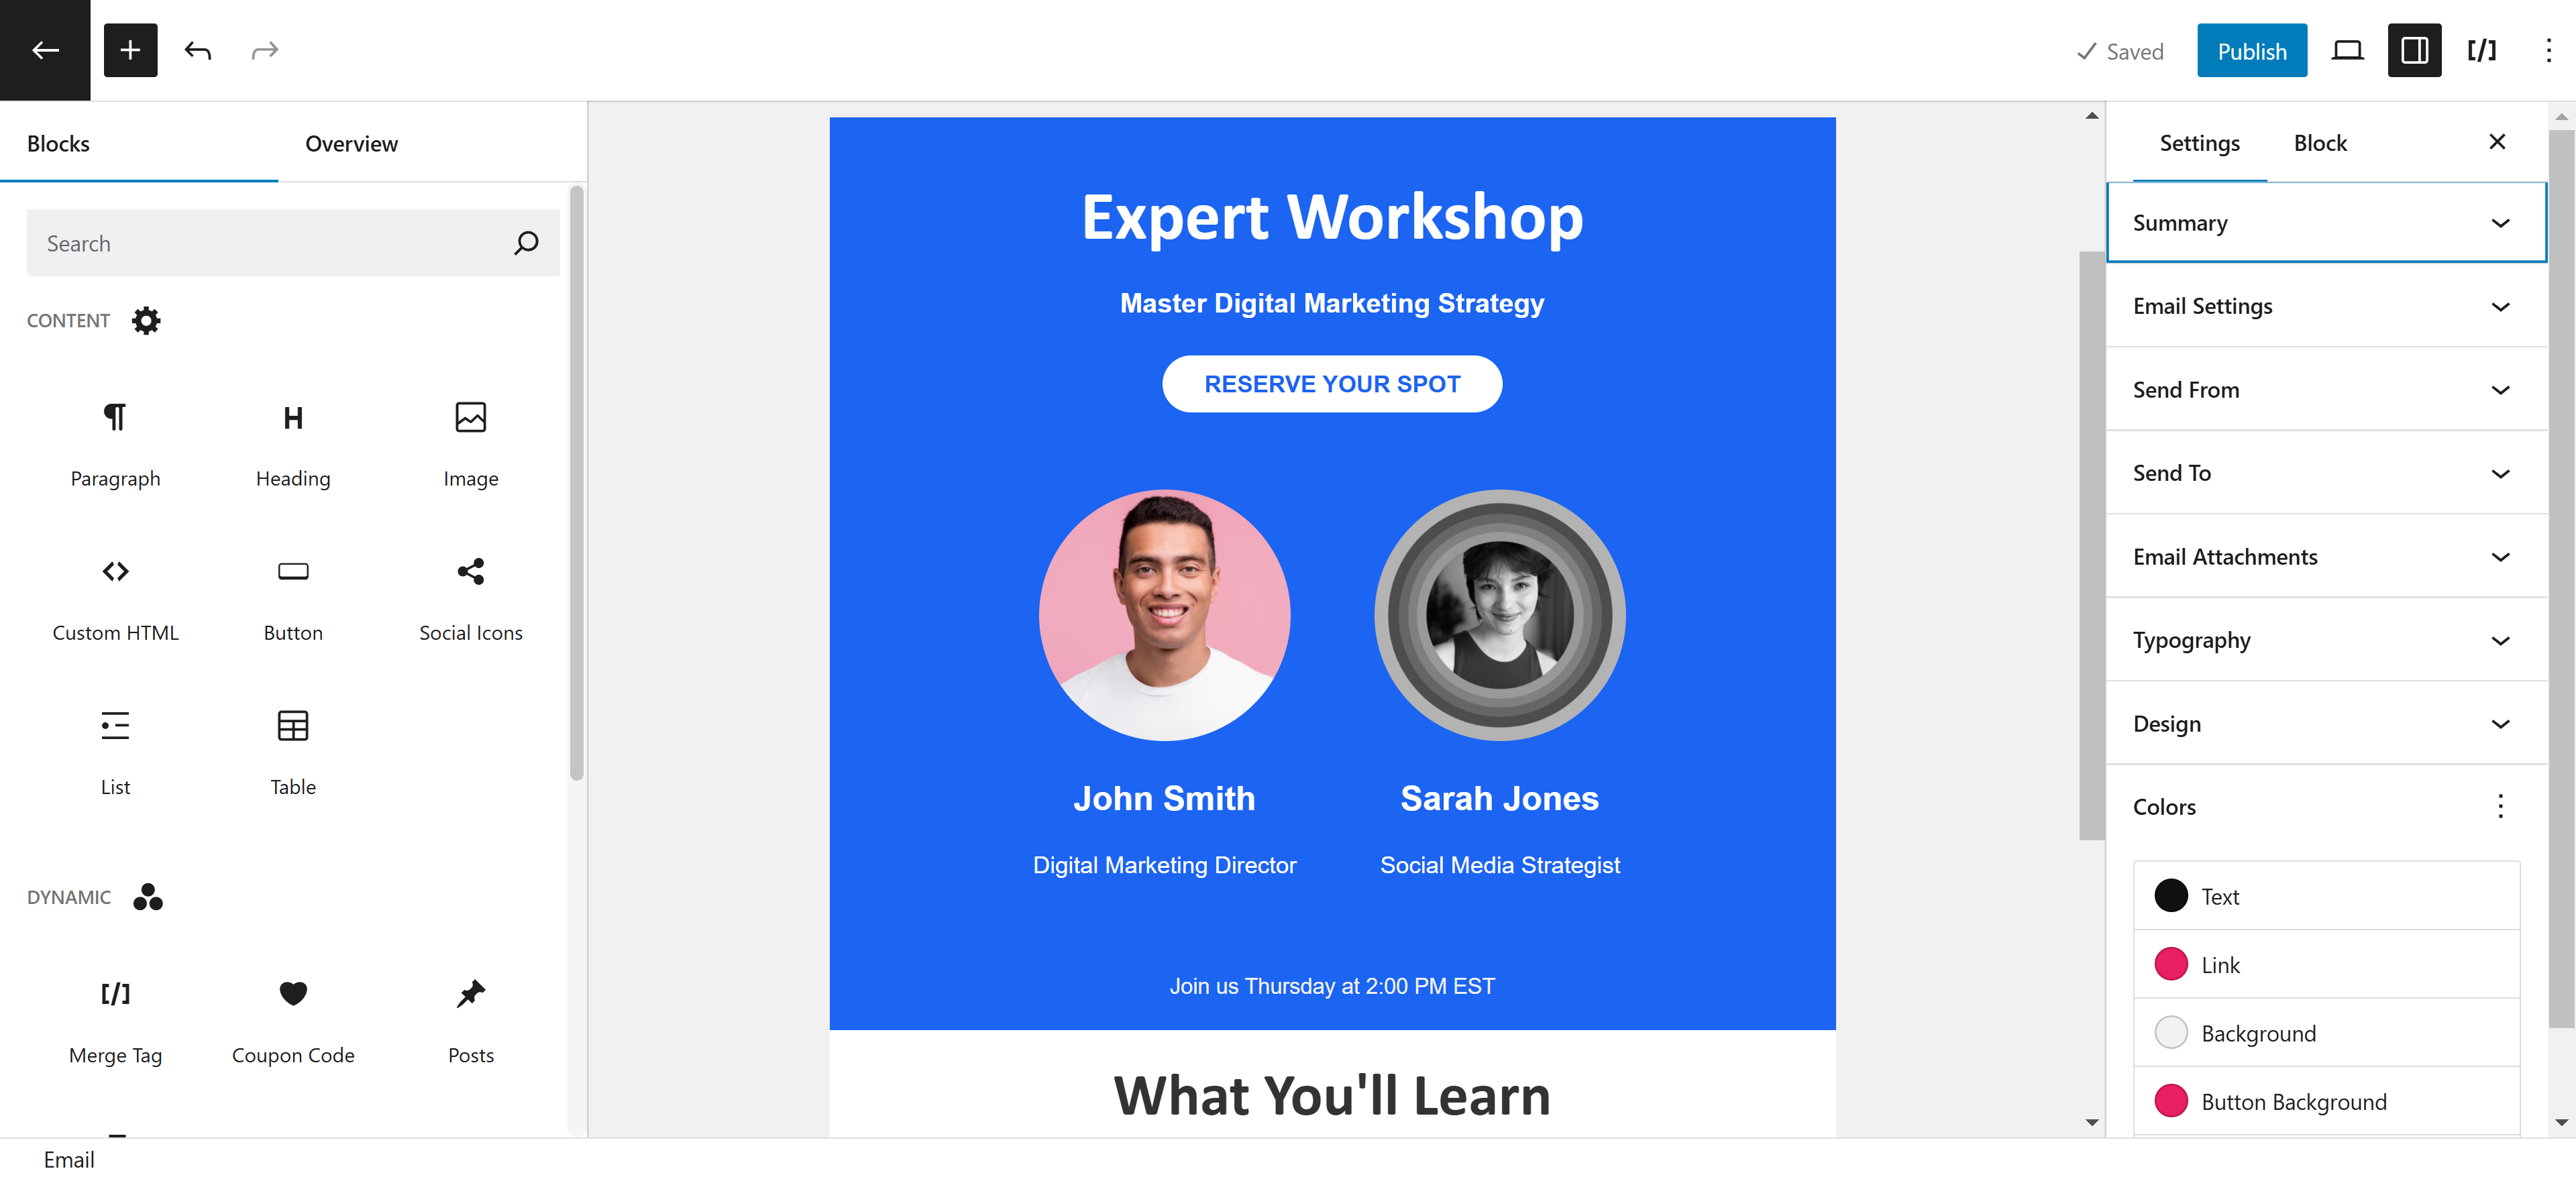
Once done, send yourself a test email, then click the “Publish” button to send or schedule your newsletter campaign.
Limit the recipients of your email
By default, Noptin will email all your active subscribers. However, you can select which segment of your newsletter subscribers should receive the email campaign.
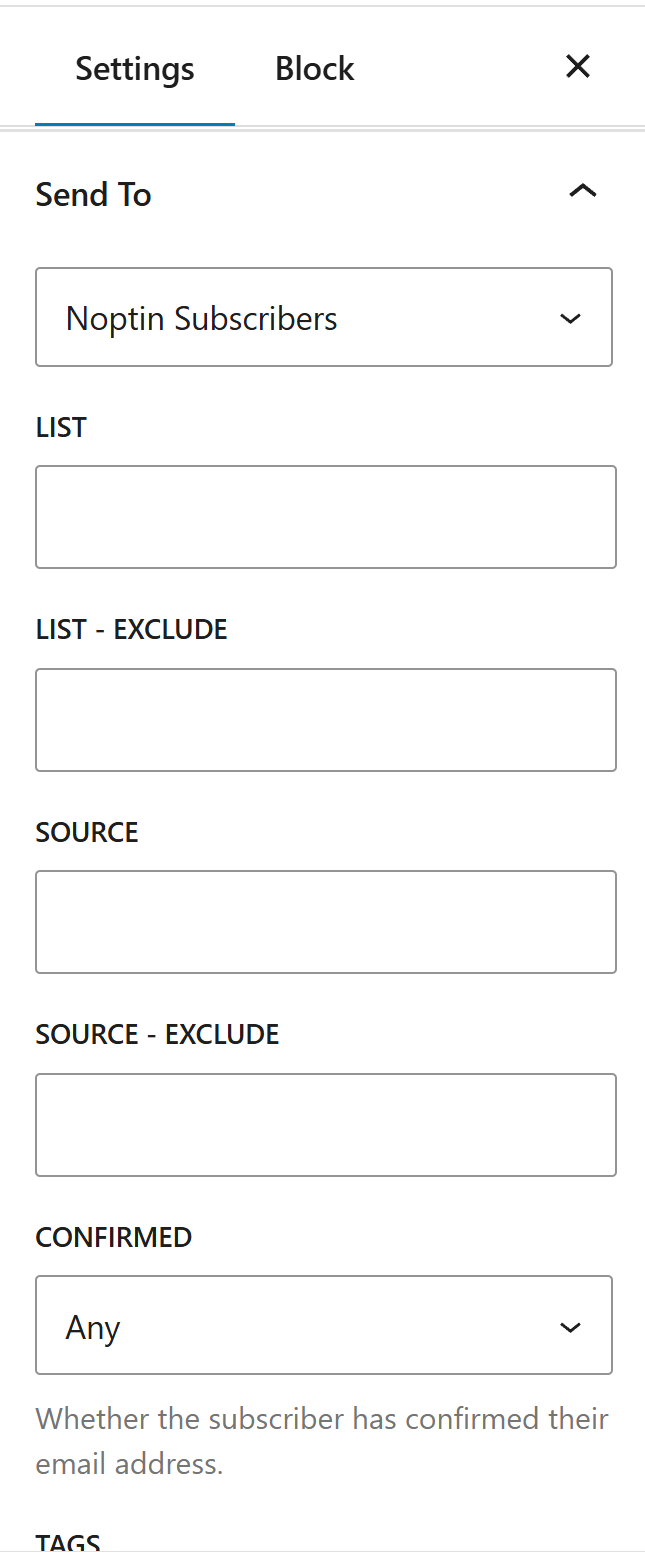
The available filters depend on which custom fields and integrations you’ve installed.
For example,
If you’re using Paid Memberships Pro, you can filter newsletter recipients by their membership levels.
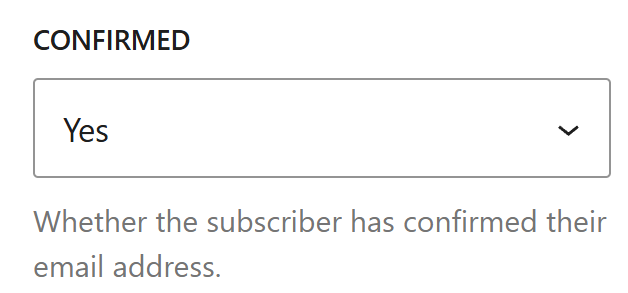
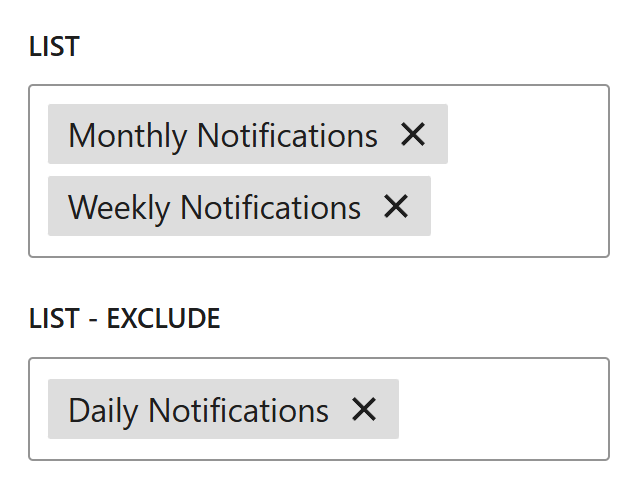
By default, Noptin allows you to filter recipients by:-
- Tags

- Email confirmation status.

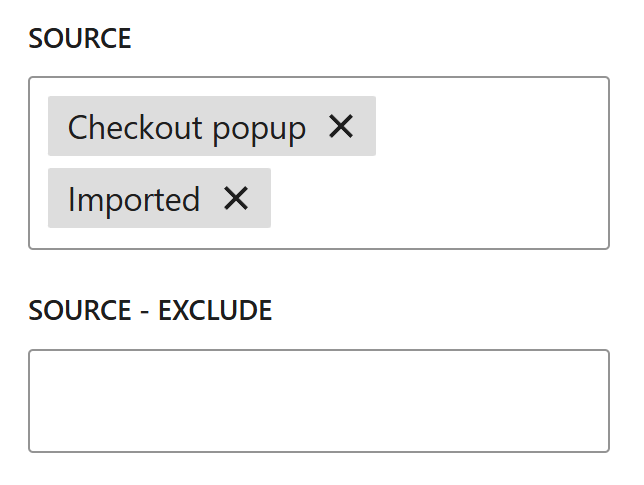
- Their subscription source.

- Language (if you’re using WPML or Polylang).

- Dropdown, Checkbox, and Radio custom fields.
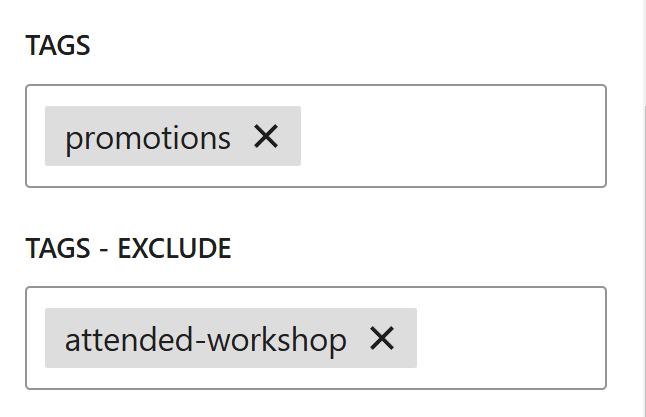
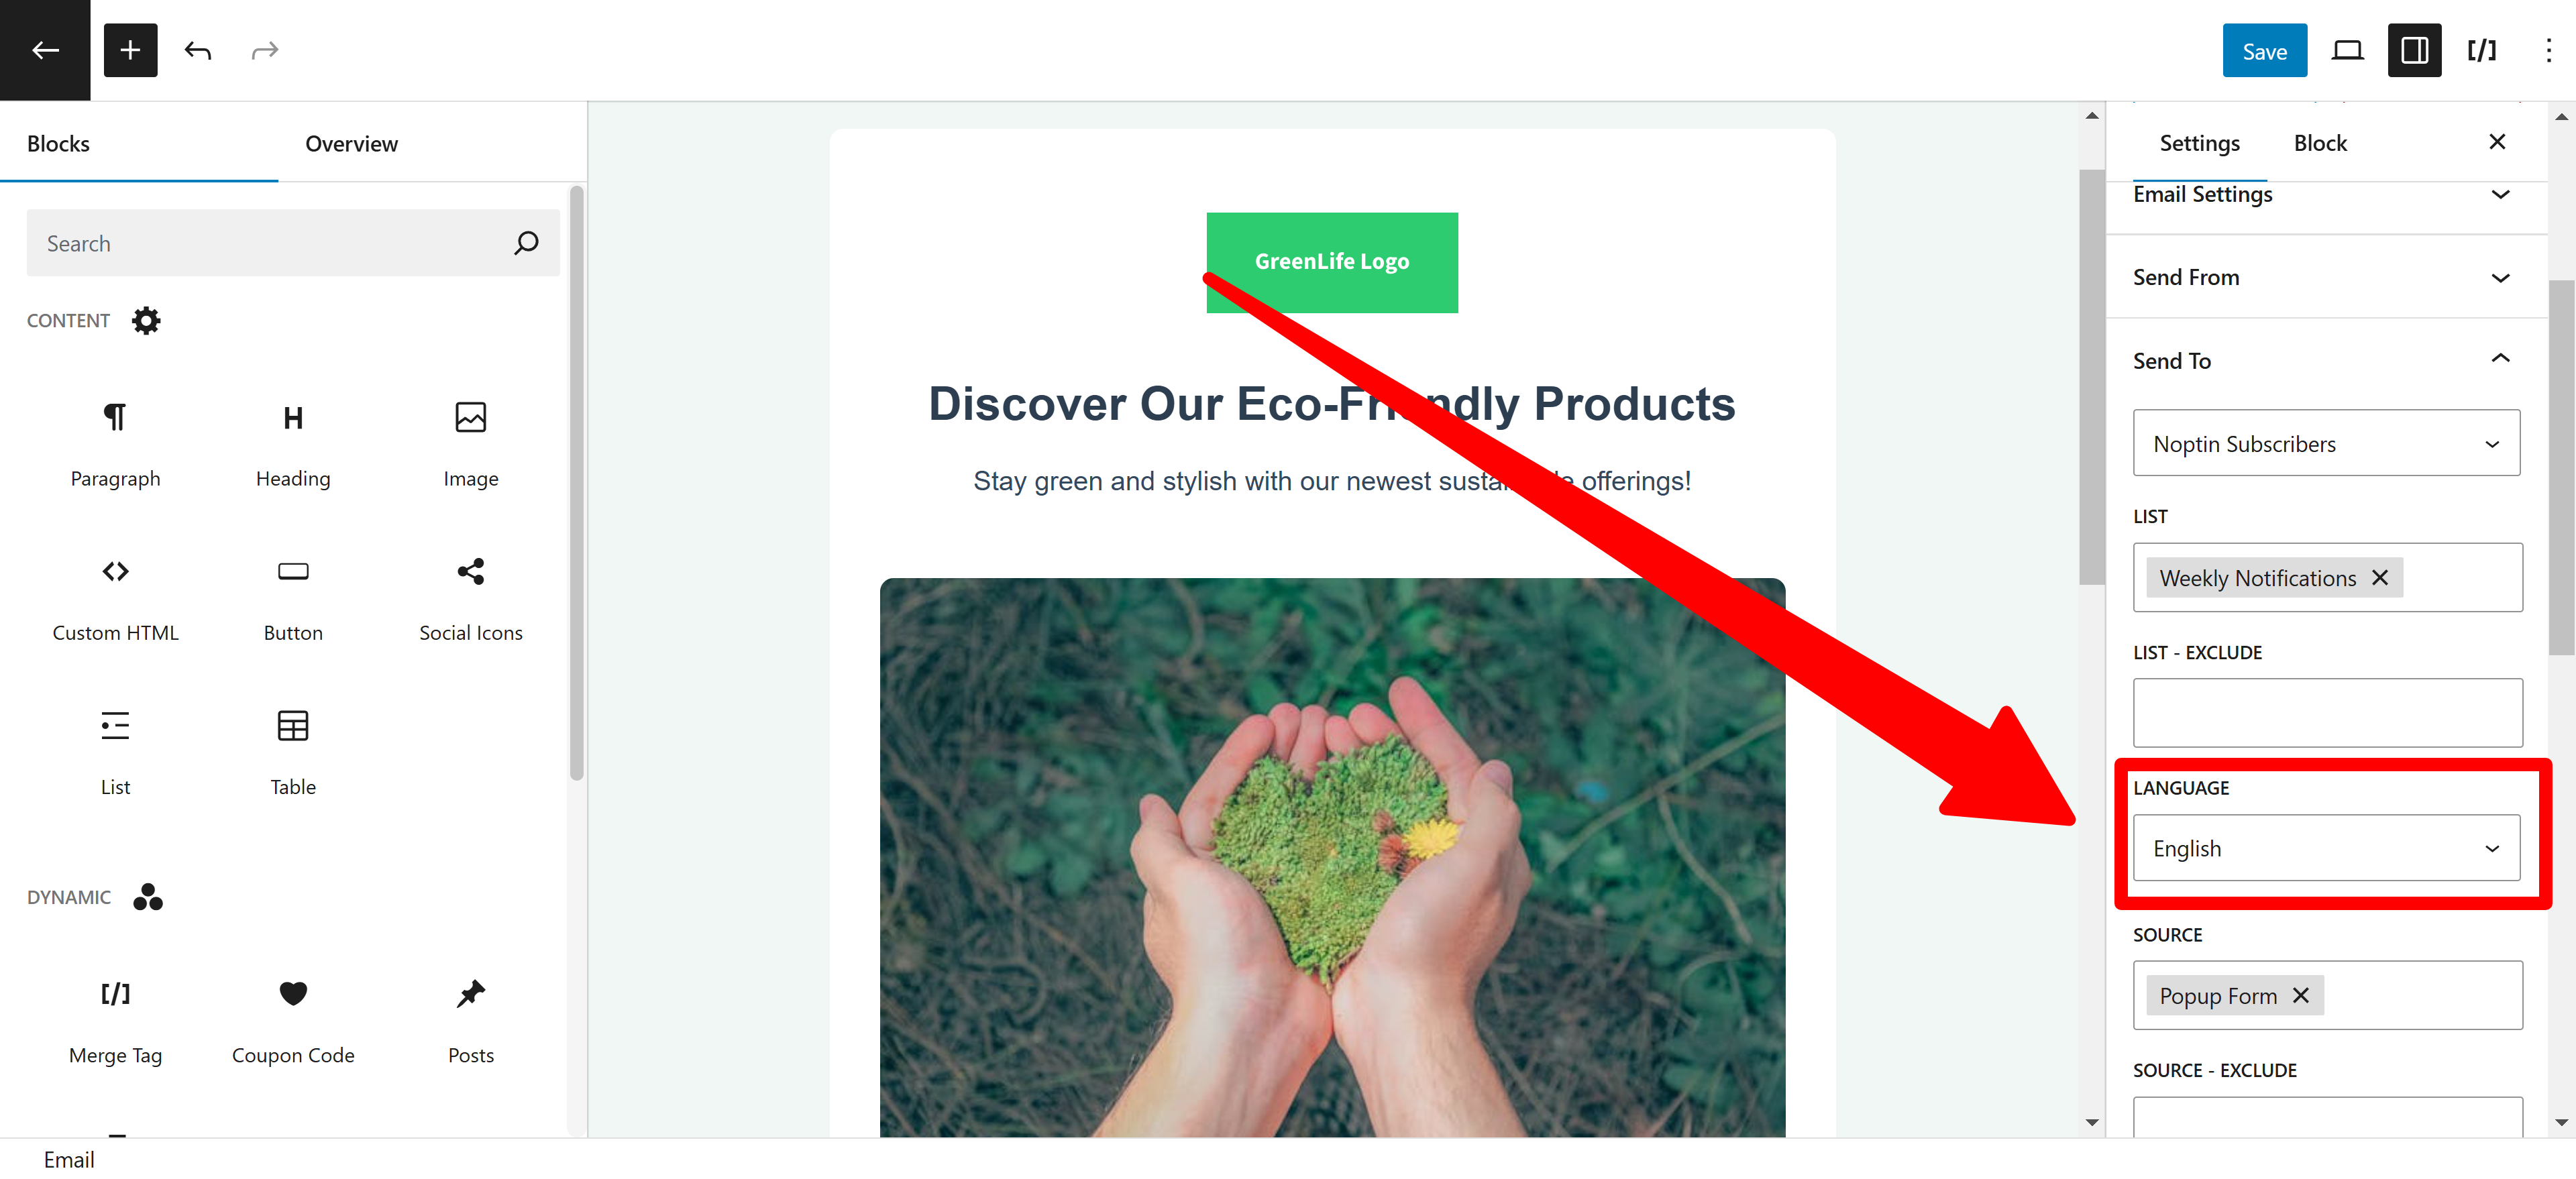
You can combine multiple filters to send the email to highly optimized segments.
Leave a Reply