
Sending newsletters to your subscribers can be an effective way to keep them informed about your business, products, or services.
But what if you want to include more information than just text and images?
In that case, adding attachments to your newsletter emails can be a great solution. Attachments can be anything from PDFs and spreadsheets to videos.
By including attachments in your emails, you can provide your subscribers with additional resources that help them better understand your message and take action.
Better still, you can use attachments as lead magnets.
This way, newsletter subscribers must provide their email addresses in exchange for access to a given file.
There are no limits to how many attachments you can add to a given email campaign.
In this tutorial, we’ll show you how to add attachments to your newsletter emails, step by step. So, let’s get started!
This is a premium feature.
That means that you have to purchase a plan before you can use it.
Add attachments to an email campaign
First, open the email in the email editor. It doesn’t matter whether this is a one-time newsletter campaign, an automated email, or a sequence of emails.
You can add attachments to any email, whether you’re sending it to newsletter subscribers, WooCommerce customers, or WordPress users.
Next, locate the attachments settings panel and click the “Add Attachment” button.
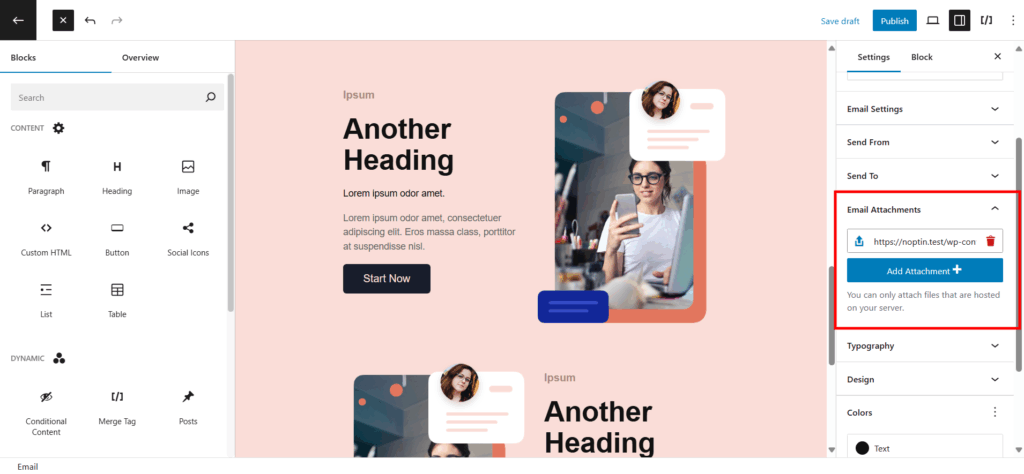
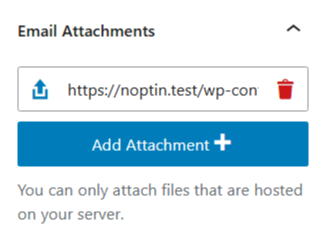
You can attach as many files as you need. Clicking on the upload icon allows you to upload a new file, whereas clicking on the delete icon will delete the relevant attachment.
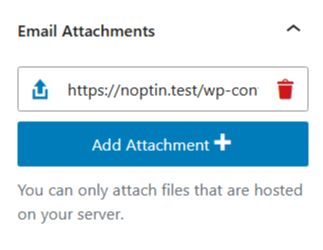
The attachment should be on the same URL as your website’s URL. Remote files are not supported. It is also recommended that you limit your attachments since some email servers have limits on the maximum allowed email size.
Send a different lead magnet from each blog post
If you display the same subscription form shortcode on several blog posts, you can save a different download URL on each post and send the matching resource to the subscriber. Use a hidden subscriber field to carry the URL from the post to a welcome email.
1. Create a field for the download URL
Open Noptin → Settings → Custom Fields and create a subscriber custom field named Lead magnet URL. Note its field key, for example lead_magnet_url.
2. Add the hidden field to the subscription form
- Open the form used by your shortcode, then open Design → Form Fields.
- Add the Lead magnet URL field.
- In Default value, open the form merge-tag picker and select Current post custom field.
- Set Custom field key to
lead_magnet_url, or to the post-meta key you use on your site. - Enable Hidden, then save the form.
The resulting form tag resembles {post_meta key='lead_magnet_url'}. Use the picker instead of typing it when possible.
3. Set the lead magnet on each post
Edit a blog post and set its lead_magnet_url custom field to the full URL of that post’s resource. Repeat this for every post that should offer a different download. You can add the value with WordPress’s Custom Fields panel or with the custom-fields plugin you already use.
Keep using the same subscription form shortcode on those posts. When a visitor submits it, Noptin reads the custom field from that post and saves the URL on the subscriber.
The form-editor preview does not represent a specific blog post, so it cannot preview the post’s custom-field value. Test the saved form on a published post.
4. Email the matching download link
- Create or edit a welcome email for new subscribers.
- Add text such as Download your resource and turn it into a link.
- Use the email editor’s merge-tag picker to insert the Lead magnet URL subscriber field as the link destination. The tag will resemble
[[lead_magnet_url]], but use the exact tag shown for your field. - If this email should only be sent after submissions through this lead-magnet form, add conditional logic that limits the welcome email to that form.
- Publish the email and submit the form on a published blog post to test the complete signup and download flow.
Attach the file instead of linking to it
You can manually add a fixed file under Email Attachments. A Media Library URL works when it uses the same site URL as your WordPress installation because Noptin converts that URL to the file’s local server path.
Attachment paths do not process email merge tags. A manually configured attachment is therefore the same for every recipient. To send a different resource for each blog post with one form and one email, use the merge-tagged download-link method above.
Programmatically attach PDF URLs in the Email as attachments
Add the following PHP code snippet to your site:-
add_filter('noptin_get_email_prop_attachments', function($attachments, $email) {
    // Ensure attachments is an array
    if (!is_array($attachments)) {
        $attachments = [];
    }

    // Get email content in both formats
    $content_plain = $email->get_content();
    $content_visual = $email->get_content('visual');

    // Combine both contents for URL extraction
    $combined_content = $content_plain . ' ' . $content_visual;

    // Get current site URL dynamically
    $site_url = preg_quote(get_site_url(), '#');

    // Build regex to match PDF URLs in wp-content/uploads/[year]/[month]/
    $pattern = '#'.$site_url.'/wp-content/uploads/\d{4}/\d{2}/[^\s\'"]+\.pdf#i';

    // Find all matches
    preg_match_all($pattern, $combined_content, $matches);

    if (!empty($matches[0])) {
        // Remove duplicates and sanitize URLs
        $pdf_urls = array_unique($matches[0]);

        foreach ($pdf_urls as $url) {
            $attachments[] = esc_url_raw($url);
        }
    }

    return $attachments;
}, 10, 2);
Leave a Reply