This guide shows you how to automatically send a welcome email to new WooCommerce customers.
You can use this email to thank them for their first purchase and maybe send them a unique coupon code that they can use when making their next purchase.
Noptin has inbuilt template to guide you in crafting your auto email.
Make sure you’ve installed the latest version of Noptin in order to follow along with this tutorial.
Create your campaign.
On the WordPress Dashboard left menu, head over to Noptin > Email Campaigns > Automated Emails > New Automated Email
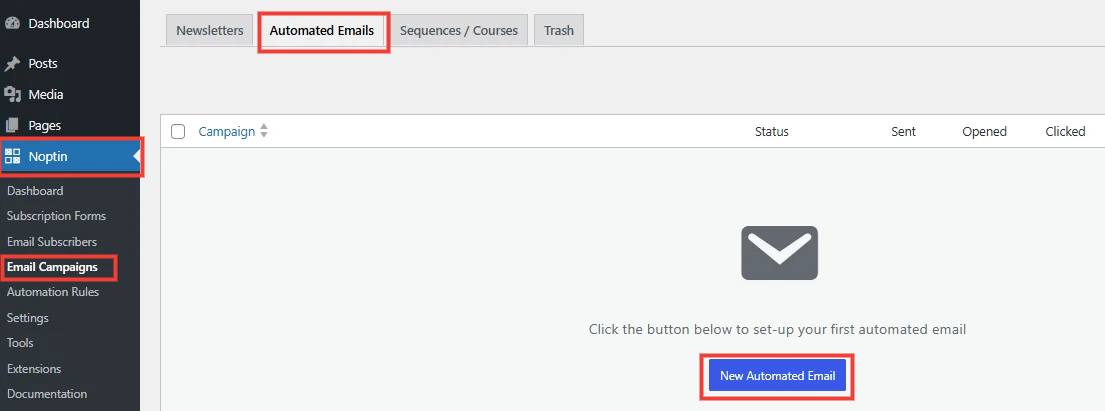
Next, click the New Automated Email button to open the automated email set-up modal.
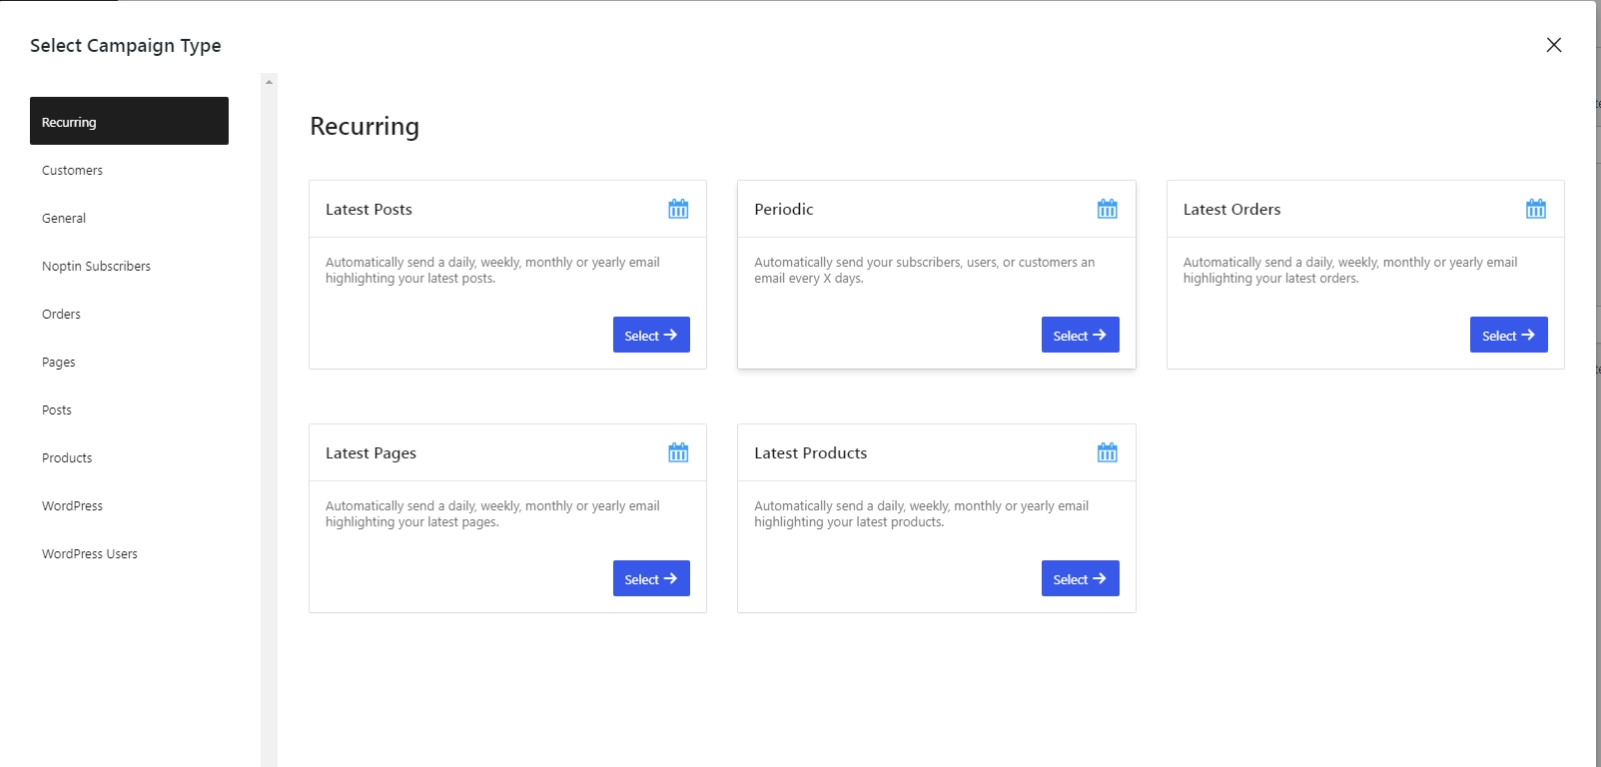
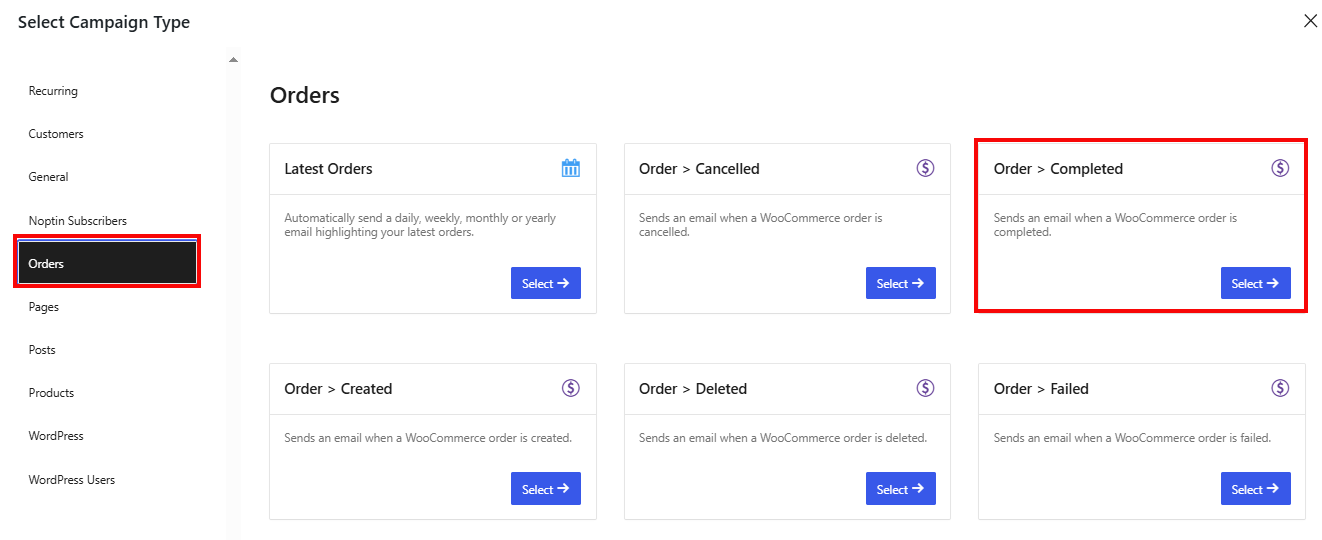
Next, open the Orders panel and then select Order > Completed as shown below
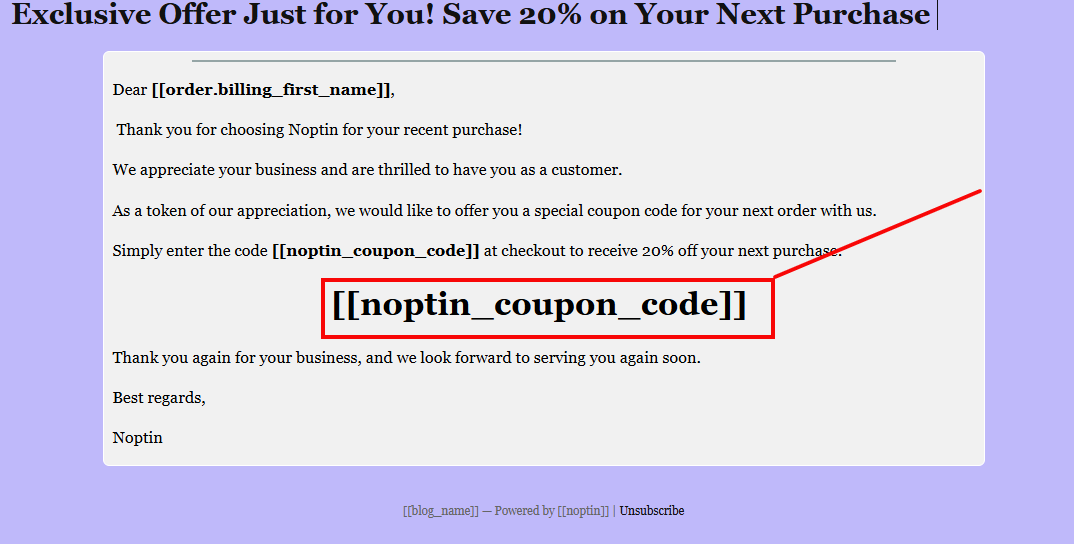
Finally, select Manual Recipients to create the automated email. Noptin will open the email campaign editor.
Edit the campaign as required. As an option, you can include a unique coupon code to encourage the customer to order again
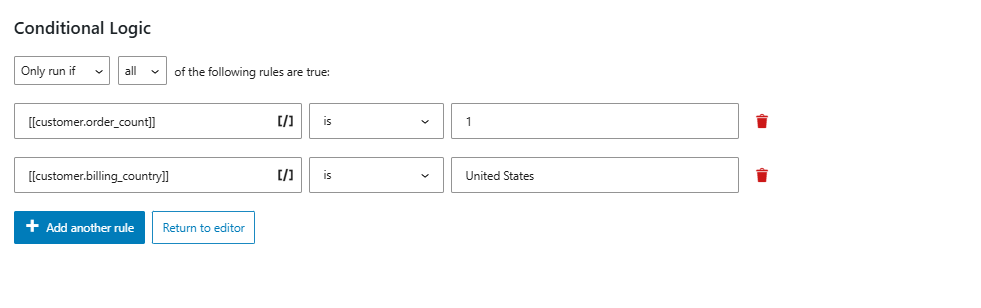
Conditional Logic
Noptin also allows you to define conditional logic for whether or not to run the campaign. It is an optional feature. These conditions include (but are not limited to): –
- The number of orders made.
- The billing or shipping address.
- The order total or number of items in the order.
Select Conditional Logic and turn on the optional button, then Edit Conditional Logic
You can combine several conditions to set up highly targeted emails, as shown in the example below.
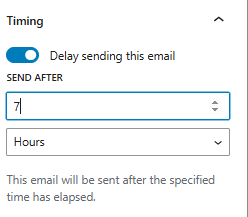
Set Timing
Another optional feature is the Timing. It is a feature that allows you to delay the automatic release of the email by specific hours, days, weeks, months or even years after the customer completes the order.
That’s all. Do not forget to publish your campaign after you’re done.
Leave a Reply