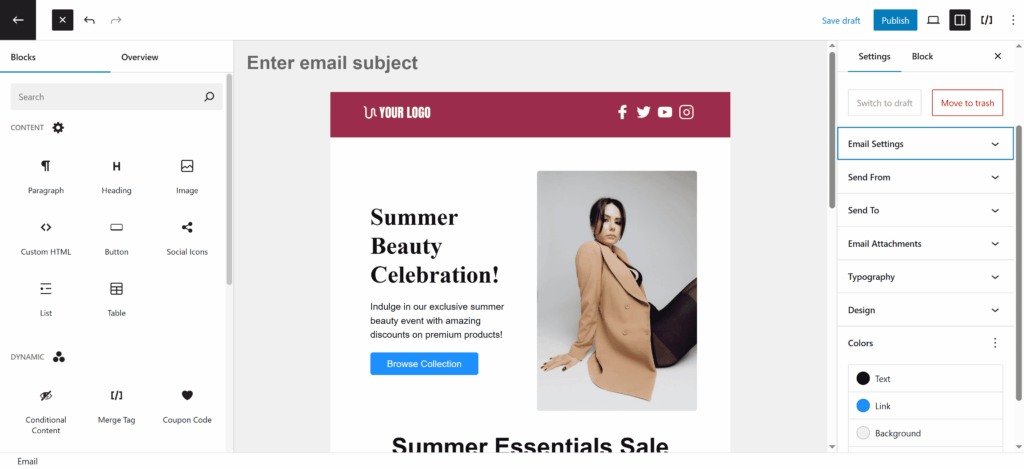
This guide applies if you’re using the classic editor. Premium users can choose an email template from our templates library and then edit it with our drag-and-drop email builder.
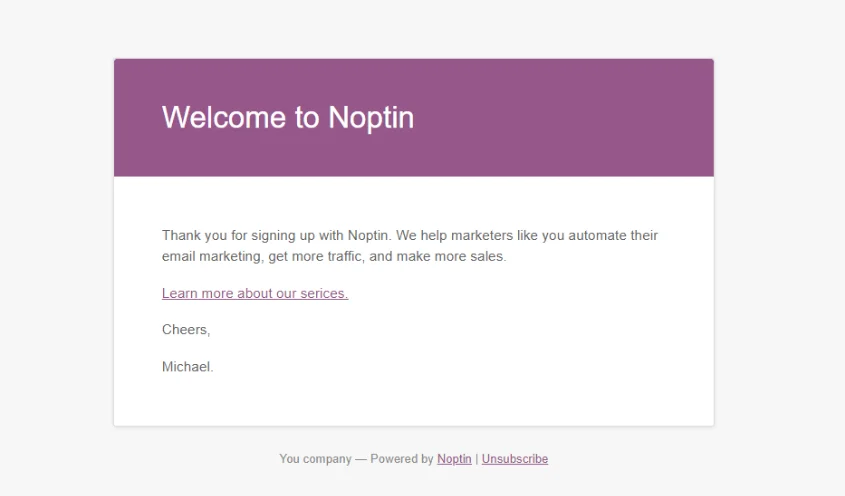
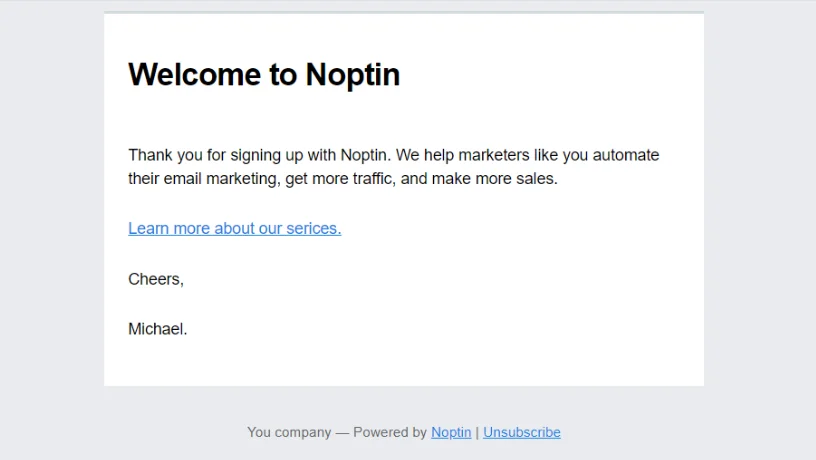
Noptin uses email templates to customize the look of your emails.
You can think of an email template as a WordPress theme. It is given the email heading, content, and footer text and then produces the final HTML email.
This allows you to do awesome things in your templates, such as using dynamic PHP code to generate truly personalized email content.
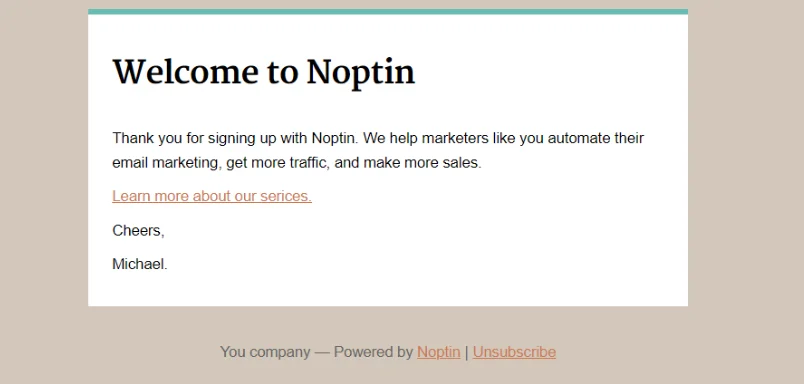
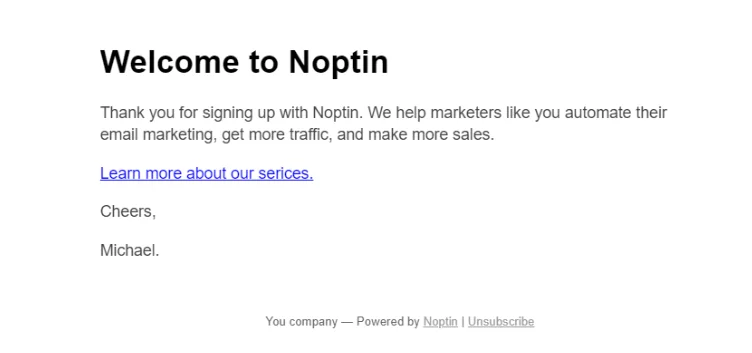
Noptin comes with several email templates.
Changing an email’s template
You can use a different template for each email that you send with Noptin. This applies to both newsletter emails and automated emails.
To change your email template, open your email campaign in the Noptin email editor, then scroll to the “Template” settings area and select your preferred template.
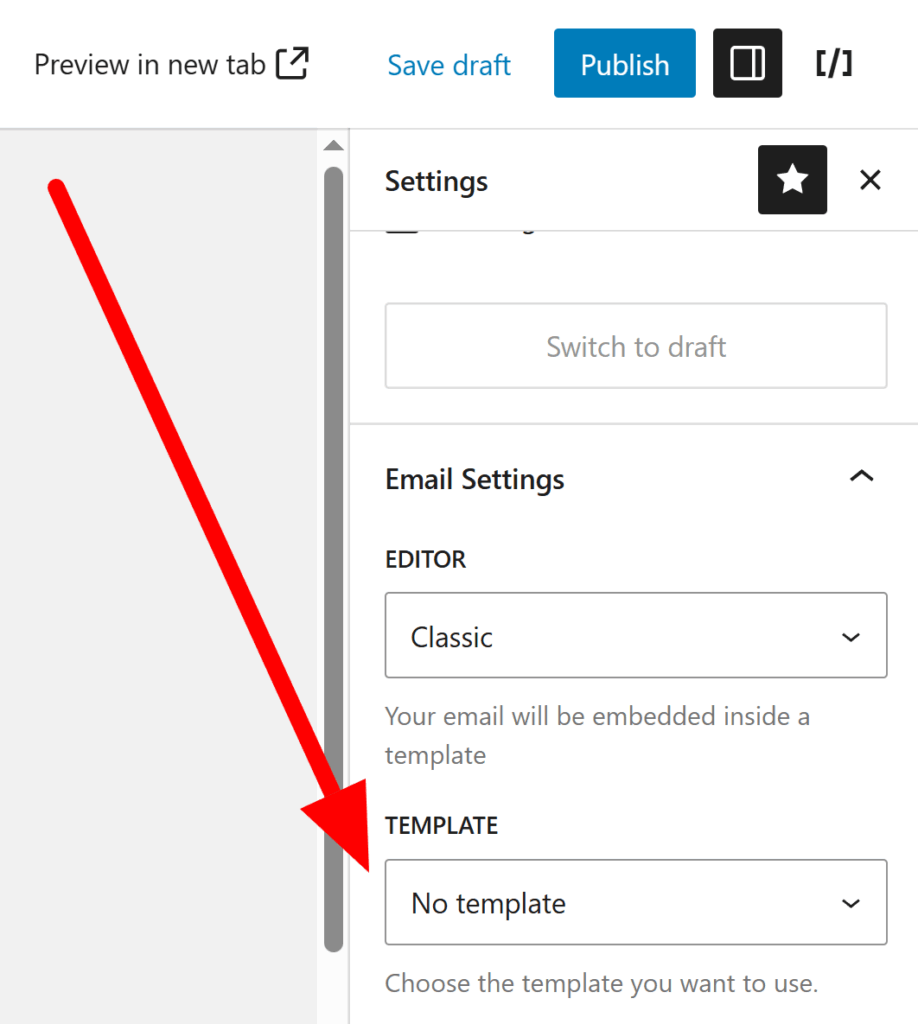
The “Template” settings area only appears if your email type is set to “Classic”.
Adding custom CSS to your email templates
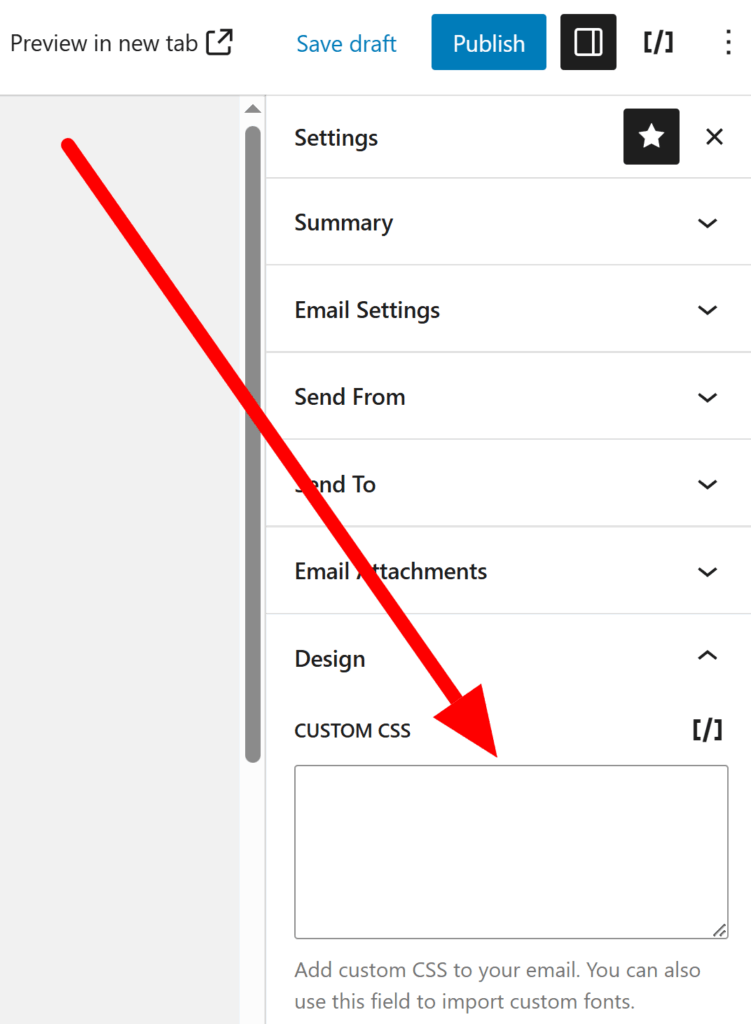
You can specify custom CSS in the Design panel.
Customizing the default email templates
Nopin lets you customize the appearance of any built-in email template.
To do this:-
First, create a new folder in your active WordPress theme’s (or child theme’s) root folder and name it “noptin” as shown below.

Next, open the new folder and create a new “email-templates” folder as shown below.

Finally, copy the template that you want to customize from “wp-content/plugins/newsletter-optin-box/templates/email-templates” into the folder you previously created and customize it as you see fit.
You can use a plugin such as this one to customize the appearance of the WooCommerce template.
Creating a custom email template
You can also create new email templates by extending the \Hizzle\Noptin\Integrations\Template_Integration PHP class as shown below:-
<?php

// Exit if accessed directly.
defined( 'ABSPATH' ) || exit;

/**
 * Custom email template.
 *
 * @since 3.0.0
 */
class Custom_Template extends \Hizzle\Noptin\Integrations\Template_Integration {

	/**
	 * @var string The template slug.
	 * @since 2.0.0
	 */
	public $slug = 'custom_template';

	/**
	 * @var string The template name.
	 * @since 2.0.0
	 */
	public $name = 'Custom Template';

	/**
	 * Processes the template.
	 *
	 * @param string $heading
	 * @param string $content
	 * @param string $footer
	 * @return string
	 */
	protected function process_template( $heading, $content, $footer ) {
		?>
			<!DOCTYPE html>
			<html <?php language_attributes(); ?>>
				<head>
					<meta http-equiv="Content-Type" content="text/html; charset=<?php bloginfo( 'charset' ); ?>" />
					<meta http-equiv="x-ua-compatible" content="ie=edge">
					<title>My Email</title>
					<meta name="viewport" content="width=device-width, initial-scale=1">
					<meta name="robots" content="noindex, nofollow" />
					<style>
						a { color: blue; }
					</style>
				</head>
				<body>
					<!-- start hero -->
					<h1 style="margin-bottom: 20px;"><?php echo esc_html( $heading  ); ?></h1>
					<!-- end hero -->

					<!-- Start content -->
					<div style="margin-bottom: 20px;"><?php echo $content; ?></div>
					<!-- end content -->

					<!-- Start footer -->
					<div style="margin-bottom: 20px;"><?php echo wp_kses_post( $footer ); ?></div>
					<!-- end footer -->
				</body>
			</html>
		<?php
	}
}
The above code snippet is written in PHP. Learn how to add code snippets to your site.
Using an email template builder
If you’re not a developer, you can also use an HTML email customizer plugin such as this one to change the appearance of your emails.
All you have to do is install and configure the plugin. It will then intercept Noptin emails and apply your configured template.
If you decide to go this route, make sure you set the template of each campaign to “No Template” as shown below.
Leave a Reply