Noptin uses CRON jobs to send emails and run other automated tasks.
WordPress has a built-in scheduling system, WP-Cron, designed to handle time-based tasks. This is what Noptin uses when sending emails in the background.
However, it is not often reliable as it is tied to your website traffic.

This guide will walk you through the process of setting up an external CRON job for WordPress, including special considerations for multisite setups.
Why Use an External CRON Job?
Before we dive into the setup, let’s briefly discuss why you might want to use an external CRON job:
- Reliability: WP-Cron is triggered by site visits, which can lead to missed or delayed tasks on low-traffic sites.
- Performance: External CRON jobs reduce the load on your WordPress site, as they don’t rely on page loads to trigger scheduled tasks.
- Precision: External CRON jobs can be set to run at exact times, providing better control over task scheduling.
Setting Up an External CRON Job
Step 1: Disable WP-Cron
First, you need to disable the built-in WP-Cron. Add the following line to your wp-config.php file:
define('DISABLE_WP_CRON', true);
Step 2: Set Up the External CRON Job
The exact method for setting up a CRON job depends on your hosting environment. Here are general steps for cPanel and command-line setups:
For cPanel:
- Log in to your cPanel account.
- Find the “Cron Jobs” or “Scheduled Tasks” section.
- Click “Add New Cron Job.”
- Set the frequency (e.g., every 5 minutes).
- In the command field, enter:
wget -q -O - http://your-domain.com/wp-cron.php?doing_wp_cron >/dev/null 2>&1
Replace your-domain.com with your actual domain.
For Command Line:
- Access your server via SSH.
- Type
crontab -eto edit the crontab file. - Add the following line:
* * * * * wget -q -O - http://your-domain.com/wp-cron.php?doing_wp_cron >/dev/null 2>&1
This sets the CRON job to run every minute. Adjust the frequency as needed.
Step 3: Verify the Setup
To ensure your external CRON job is working:
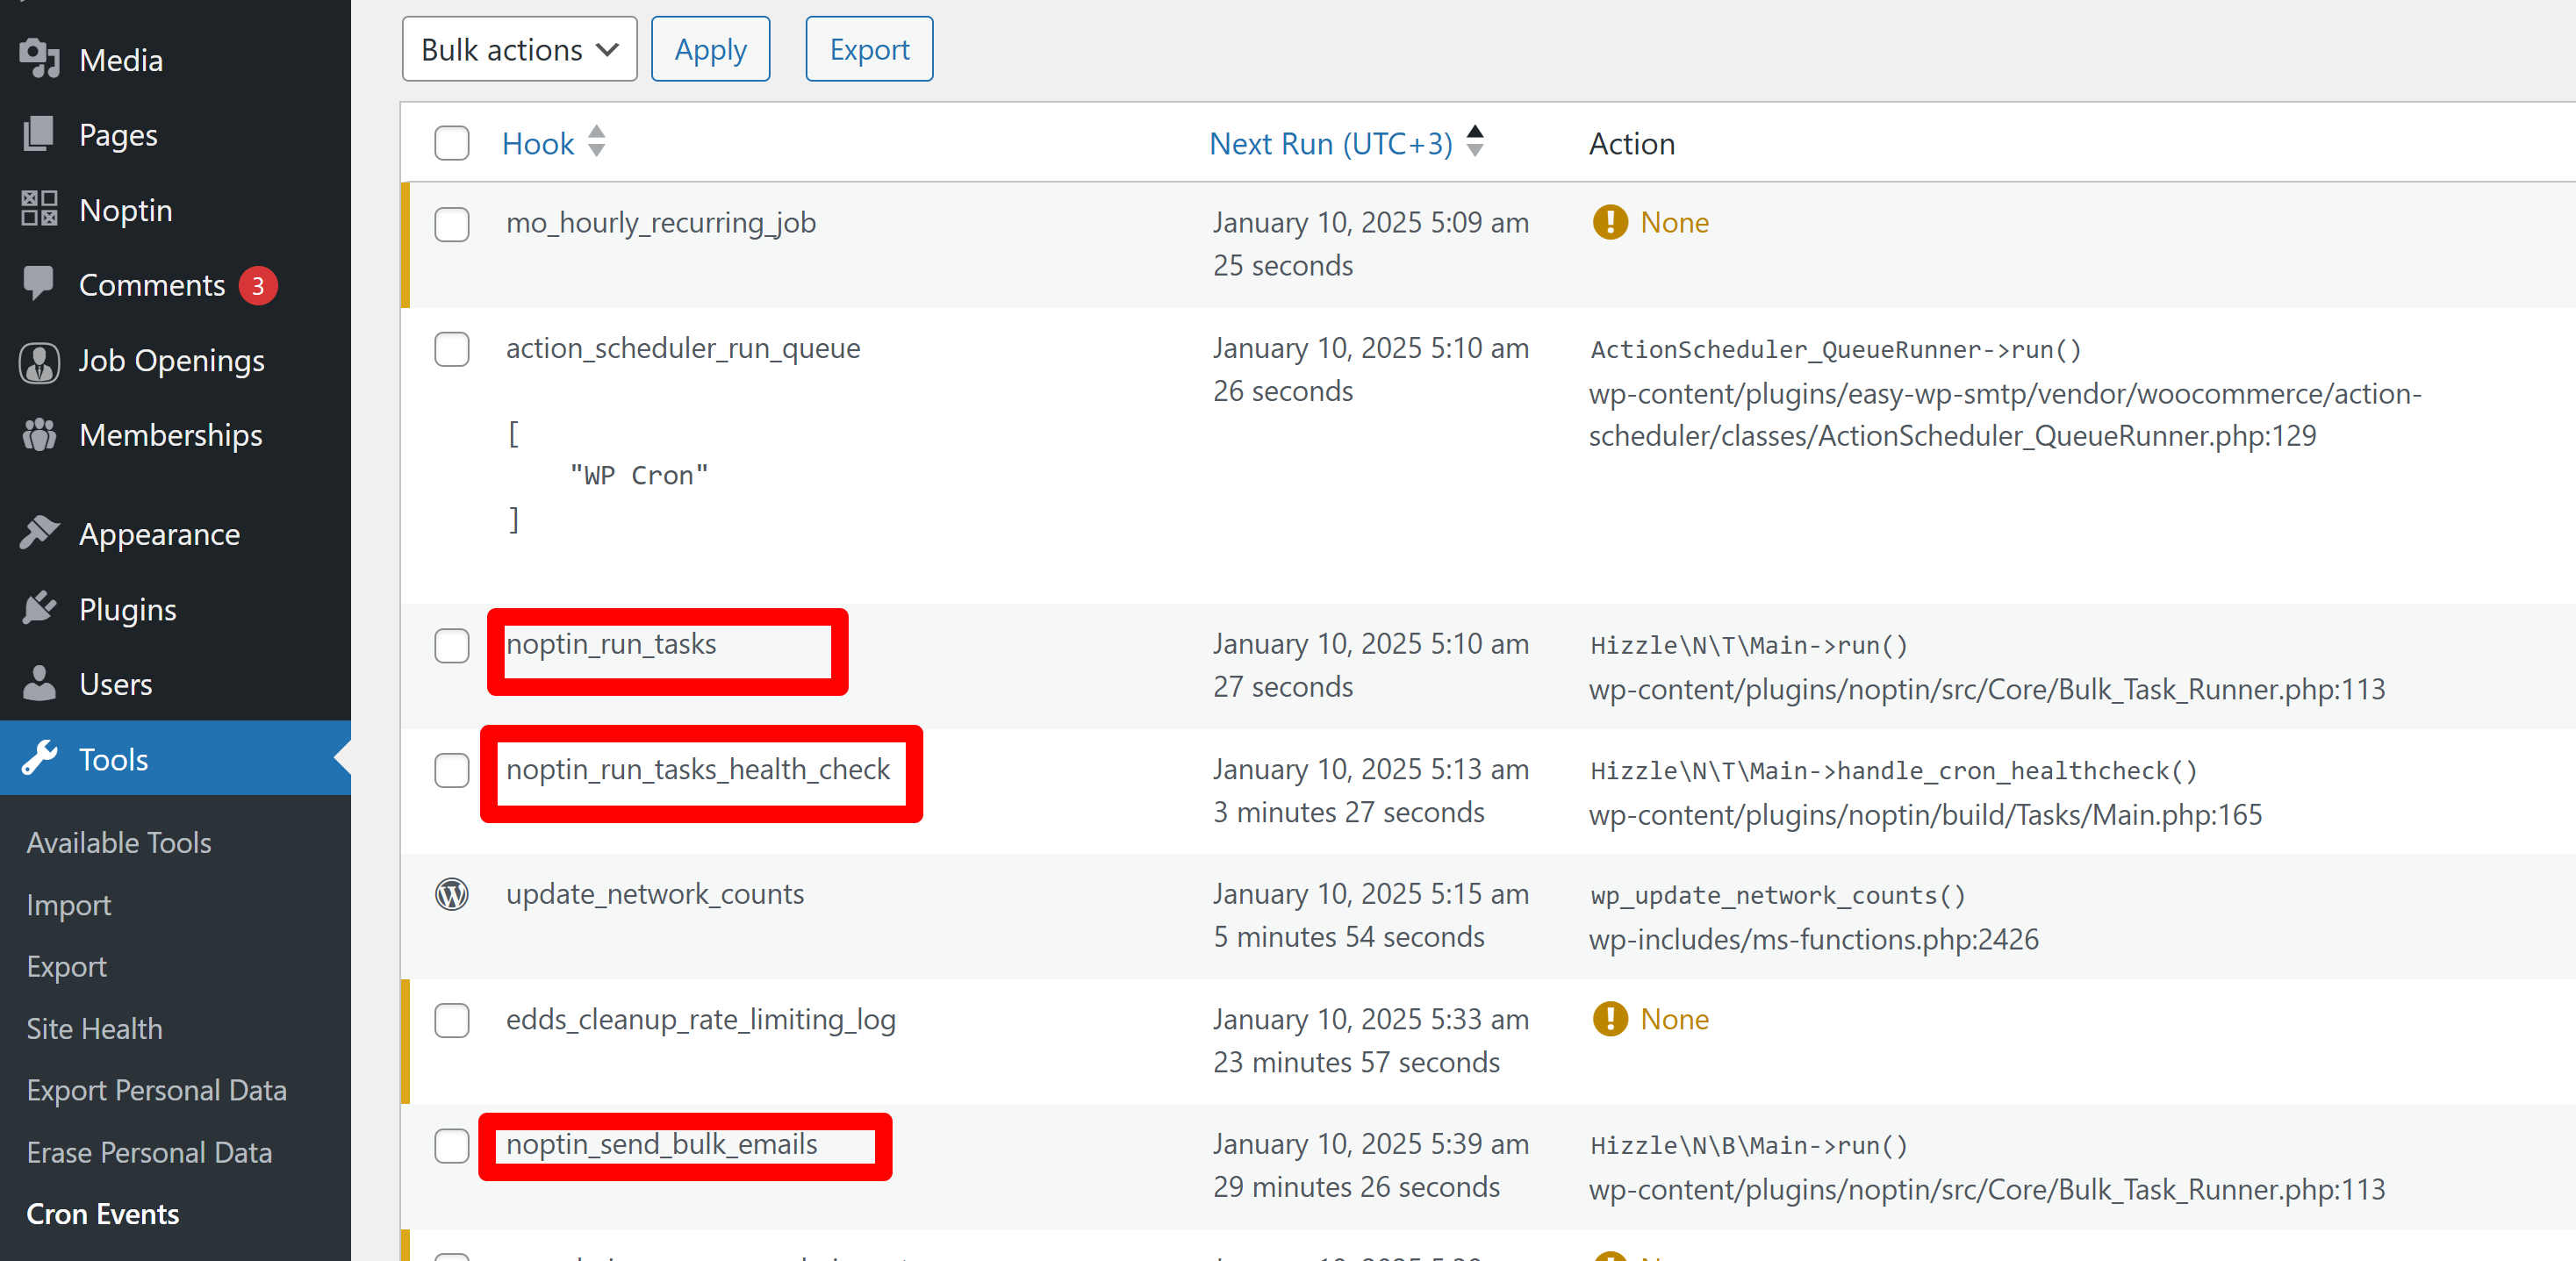
- Install a plugin like WP Crontrol.
- Check the “Cron Events” page to see if tasks are being executed at the scheduled times.
Setting Up CRON Jobs for WordPress Multisite
If you’re running a WordPress multisite installation, you’ll need to take a few extra steps to ensure CRON jobs run for all sites in your network.
Method 1: Individual CRON Jobs
Create a separate CRON job for each site in your network. This method gives you the most control but can be cumbersome for large networks.
For each site, create a CRON job using this format:
*/5 * * * * wget -q -O - http://site1.your-domain.com/wp-cron.php?doing_wp_cron >/dev/null 2>&1
*/5 * * * * wget -q -O - http://site2.your-domain.com/wp-cron.php?doing_wp_cron >/dev/null 2>&1
# ... and so on for each site
Method 2: Using a Custom Script
For larger networks, create a PHP script that loops through all sites:
- Create a file named
multisite-cron.phpin your WordPress root directory. - Add the following code:
<?php
define('WP_USE_THEMES', false);
require_once('wp-load.php');

$sites = get_sites();

foreach ($sites as $site) {
    switch_to_blog($site->blog_id);
    $cron_url = get_site_url(null, 'wp-cron.php?doing_wp_cron');
    $result = wp_remote_post($cron_url);
    restore_current_blog();
}
- Set up a single CRON job to run this script:
*/5 * * * * php /path/to/your/wordpress/multisite-cron.php
This method is more efficient for large multisite networks since it only requires one CRON job entry.
Conclusion
Setting up an external CRON job for WordPress can significantly improve your site’s performance and reliability.
For multisite setups, choose the method that best fits your network’s size and your management preferences.
Remember to monitor your CRON jobs regularly to ensure they’re running as expected and adjust as necessary.
Leave a Reply