
To comply with the CAN-SPAM Act and other email sending requirements, Noptin automatically adds a List-Unsubscribe header to every email it sends.
This header allows email clients (such as Gmail and Apple Mail) to display a one-click unsubscribe button directly in their interface, making it easy for subscribers to opt out without even opening your email.
In addition, Noptin lets you include an unsubscribe link directly in your email body using the [[unsubscribe_url]] merge tag.
This tag is included by default in your newsletter’s footer.
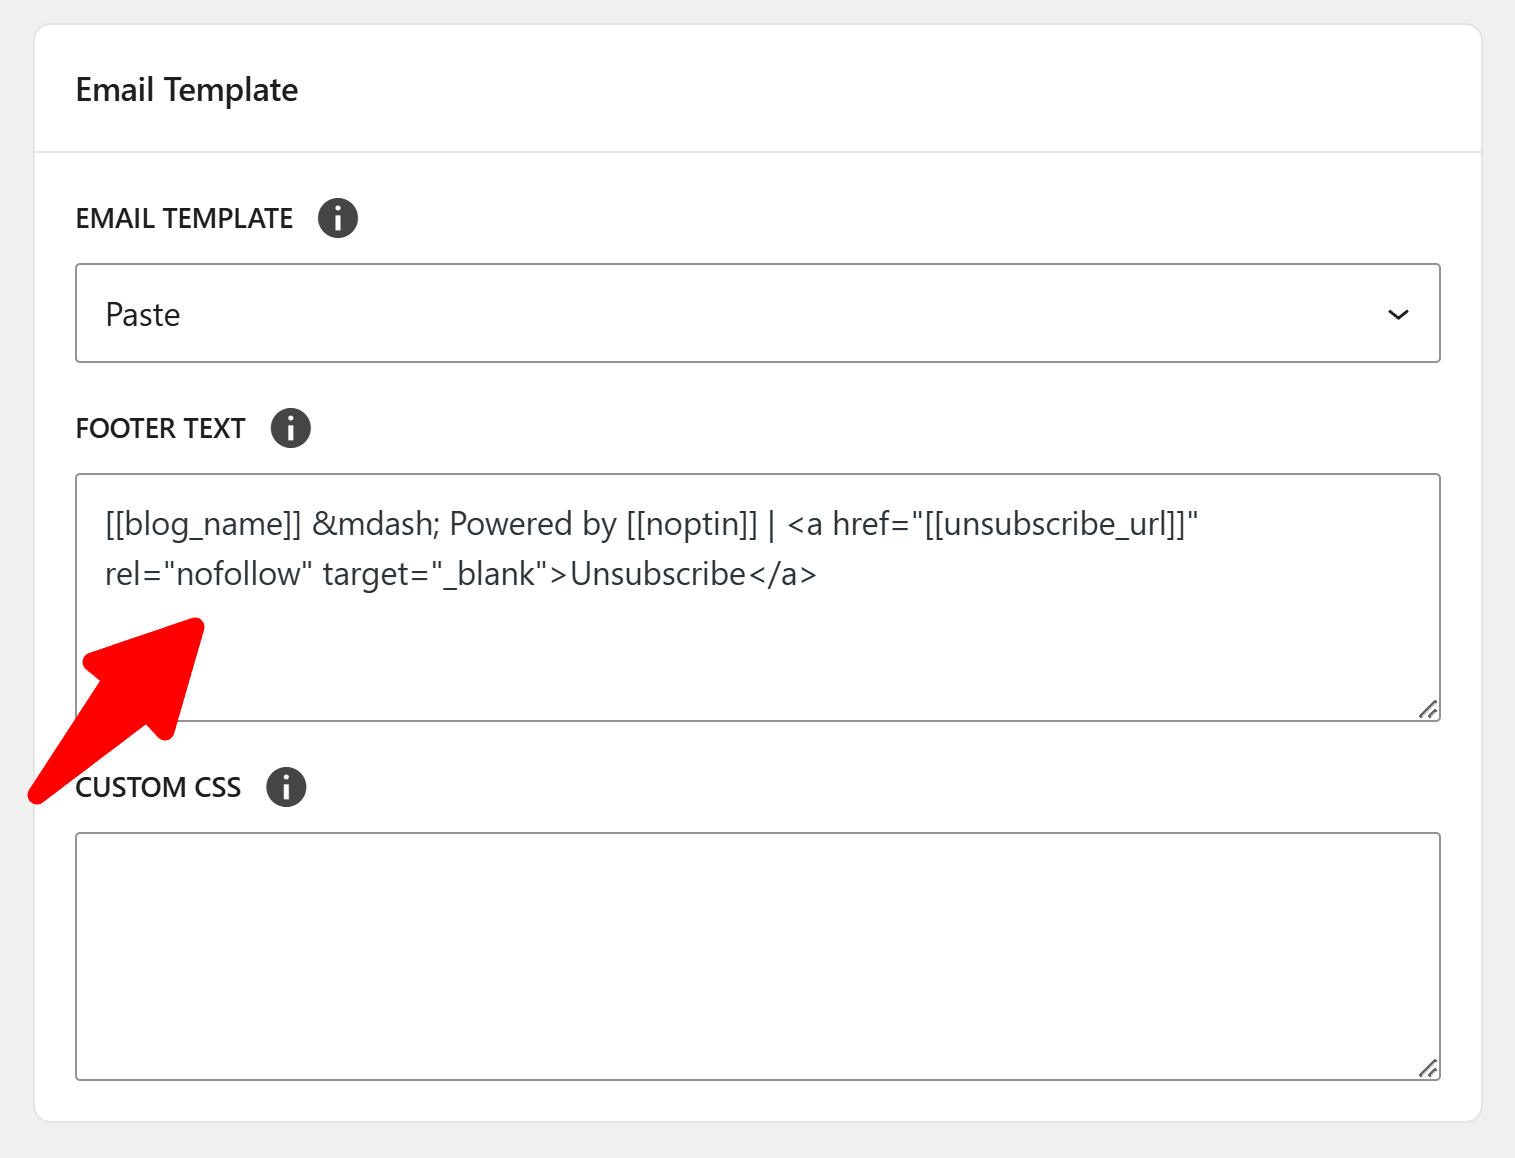
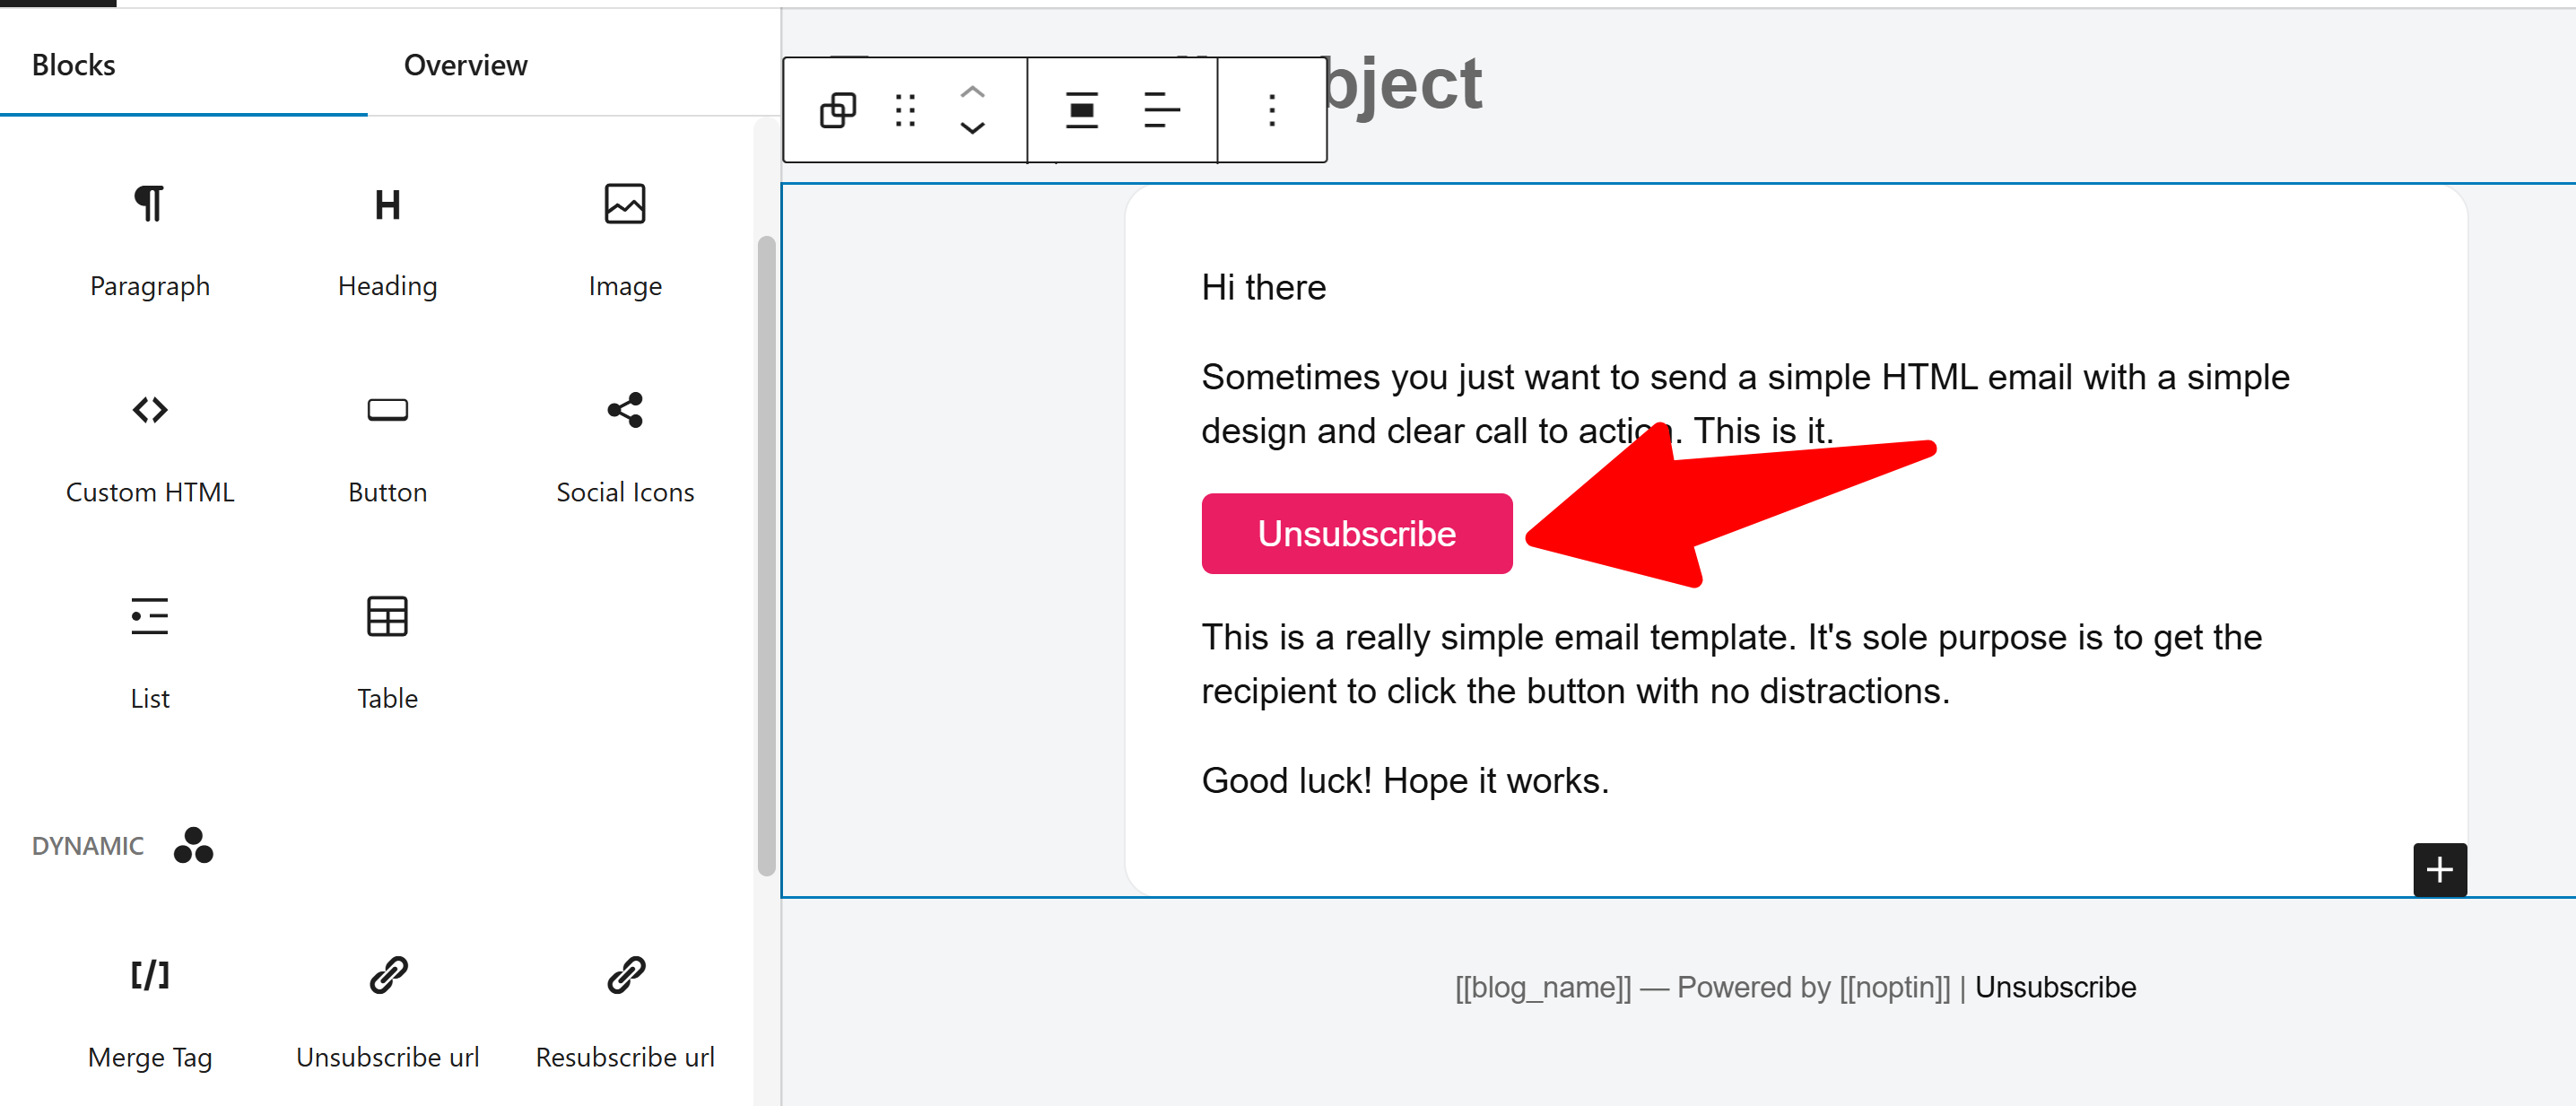
You can, however, add it anywhere in the emails you send.
Customizing your newsletter unsubscription page
You can change the message shown to a subscriber or redirect them to a completely different page (or website).
To do this:-
- First, open the Noptin settings page by clicking on Noptin > Settings in your WordPress admin dashboard.

- Next, click on “Subscriber Pages” to open the subscriber pages settings tab.

- Finally, scroll down to the “Unsubscription” section. There, you can edit the unsubscription confirmation message and set an optional redirect URL.

You can use a redirect URL to send subscribers to a survey page where they can explain why they unsubscribed from your newsletter.

Unsubscribe from one newsletter while keeping other subscriptions
If you send several newsletters, custom unsubscribe links let subscribers leave one while keeping their other subscriptions.
For example, someone could unsubscribe from Product updates while continuing to receive Weekly tips. Each link updates the tags, lists, or segments you choose without changing the subscriber’s overall subscription status.
1. Create your custom unsubscribe links
- Open Noptin → Settings → Subscriber Pages, find Custom unsubscribe links, and click Add unsubscribe link to add a new link.

- Under Tags and fields to update, click Add. Then choose the field to update, the action to take, and the value to apply.

When someone clicks on this link, Noptin will apply the action you select to the field you select.
| Setting | What to select |
|---|---|
| Field | The subscriber information to update, such as Tags, Lists, or a custom segment. |
| Action | Select Add to add the selected value to the subscriber, or Remove to remove it. |
| Value | The specific tag, list, or segment choice to add or remove. |
For example, to let subscribers leave your Product updates newsletter, select Tags as the Field, Remove as the Action, and Product updates as the Value.

When a subscriber uses this link, Noptin removes that tag while preserving their other tags and overall subscription status.
You can also use Add to record a preference. For example, if you exclude subscribers tagged No product updates from those emails, configure the link to add that tag instead.

To update multiple fields, click “Add”, then select a new field, action, and value. Each update configured for the custom link runs when a subscriber clicks it.

You can create multiple custom unsubscribe links, each allowing subscribers to unsubscribe from a specific newsletter.

2. Customize the confirmation message
Each custom link has its own Unsubscription Message. Make the message specific, for example:
<h1>Preferences updated</h1><p>You’ve unsubscribed from Product updates.</p>

You can also set a redirect URL for the custom unsubscribe link. This redirects unsubscribers instead of showing your custom unsubscribe message.
3. Add the custom link to your email
Each custom link displays a merge tag resembling:
[[unsubscribe_url type="abc"]]

Copy the exact merge tag shown for your custom unsubscribe link, then open your newsletter or automated email in the email editor and:
- Add or select link text, such as Unsubscribe from Post updates.
- Open the link control.
- Paste the copied merge tag into the URL field.
- Apply the link, then save the email.


The merge tag goes in the email link’s URL field. You do not need to paste it into a WordPress page or create a separate unsubscribe page. Noptin replaces it with a personal URL when generating the email.
Use the matching custom link in each newsletter or automated email. You can also include several clearly labeled custom links in the same email.
Tip:
Keep the default [[unsubscribe_url]] link available and label it Unsubscribe from all emails. This default link unsubscribes the reader from all newsletters.
How to automatically delete subscribers after they unsubscribe from your newsletter
You can use automation rules to delete subscribers after they unsubscribe from your newsletter.
To do this:-
First, click on Noptin > Automation Rules > Add New to create a new automation rule.

Next, search for unsubscribed and select “Subscriber > Unsubscribed” as the trigger.

In the action step, search for “subscriber delete,” then select Subscriber > Delete as the action.

Noptin will open the automation rule’s edit page, where you can set up conditional logic and delays.

Review the automation rule, then activate it once done.
Giving unsubscribers an option to resubscribe
Someone might click on the newsletter unsubscribe link by mistake.
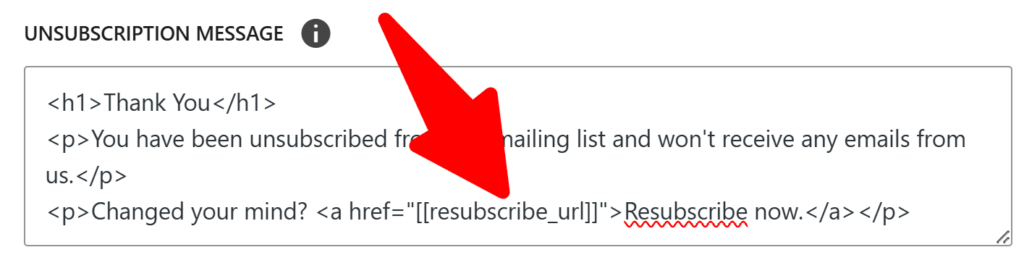
Luckily, Noptin offers a re-subscription link via the “[[resubscribe_url]]” merge tag.
You can use this tag in your unsubscription success messages and emails.
NOTE:
This merge tag will not work if you have enabled the “Delete subscribers” option in the previous option

Leave a Reply