The Campaign Monitor addon lets you automatically add new subscribers to your Campaign Monitor account.
Setup is quick and easy. This guide will take you through each step.
Installation
This is a premium feature.
That means that you have to purchase a plan before you can use it.
You can install the Campaign Monitor addon in 2 ways:
Option 1: Install from the Noptin Extensions page
- Log in to your WordPress admin dashboard.
- Go to Noptin > Extensions, then select the Connections tab.
- Scroll down to find the Campaign Monitor addon.
- Click Install Now, then activate the plugin after installation.
Option 2: Install manually
- Download the addon from your Noptin account.
- Log in to your WordPress admin dashboard.
- Go to Plugins > Add New, then click Upload Plugin.
- Upload the addon file you downloaded.
- Click Install Now to start the installation.
- Once installed, click Activate Plugin to enable the addon.
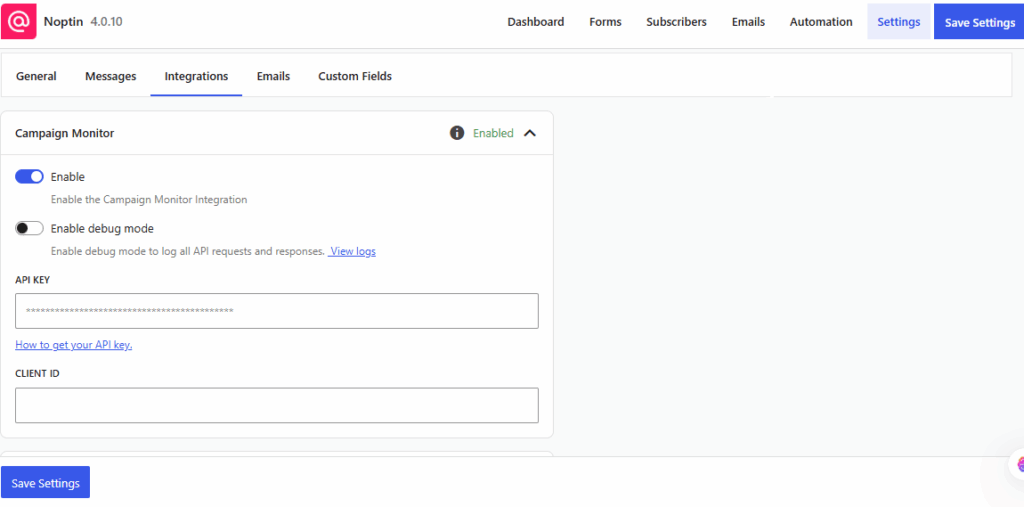
After activation, WordPress will automatically redirect you to Noptin → Settings → Integrations → Campaign Monitor.
From there, you can connect your Campaign Monitor account and configure your default settings.
Configuring the Addon


Leave a Reply