Use the Activetrail addon to automatically add new subscribers to your ActiveTrail account and manage your email marketing directly from WordPress.
The setup process takes only a few seconds, and this guide will walk you through the integration, from connecting your account to mapping custom fields.
Installation
This is a premium feature.
That means that you have to purchase a plan before you can use it.
You can install the ActiveTrail addon in 2 ways:
Method 1: Install from the Noptin Extensions Page
Use this method in case you’ve already installed Noptin and activated your license key.
- Access your WordPress admin dashboard.
- Go to Noptin → Extensions and select the Connections tab.
- Locate the ActiveTrail addon by browsing the list of extensions.
- Select Install Now; once the installation is complete, activate the addon.

Method 2: Install Manually
Use this method only if Noptin is not yet installed.
- Access your Noptin account to download the addon.
- Sign in to your WordPress admin dashboard.
- Go to Plugins > Add New and click Upload Plugin.
- Upload the addon file you previously downloaded.
- Click Install Now to initiate the installation.
- After the installation completes, click Activate Plugin to activate the addon.
After activation, WordPress will automatically redirect you to Noptin → Settings → Integrations → Activetrail.
From there, you can connect your Activetrail account and configure your default settings.
Setting Up the Addon
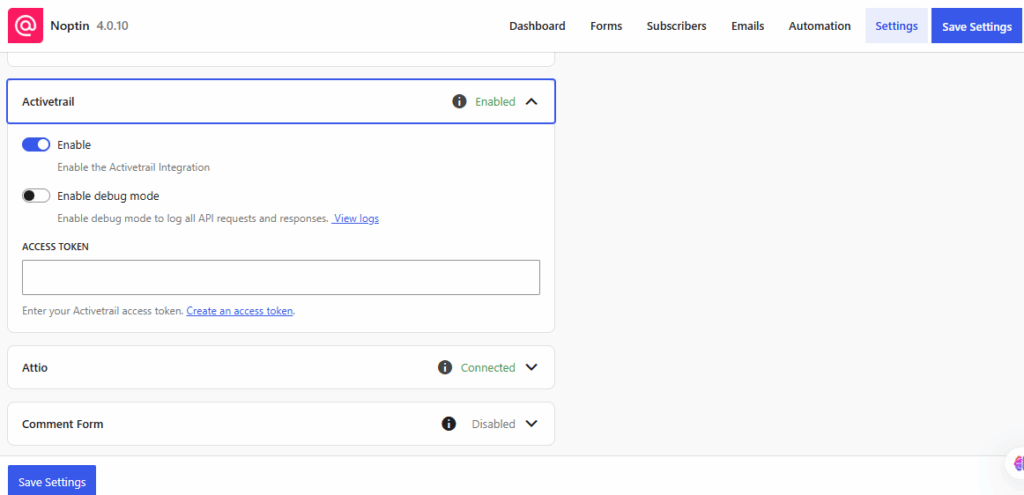
Go to your ActiveTrail account to create an access token. Copy the access token and paste it into Noptin → Settings → Integrations → ActiveTrail.
Click the Save Settings button to connect your account.
If the connection succeeds, Noptin will prompt you to set the default Activetrail group.

- Default Group – A group in Activetrail serves as the primary destination for new subscribers.
Save your changes once done.
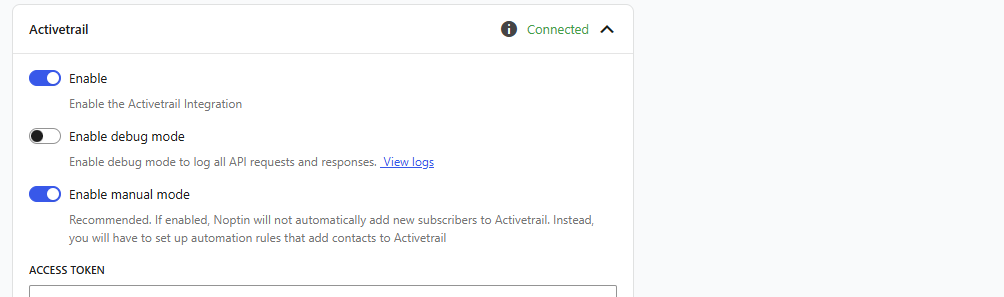
Noptin will add new subscribers to your ActiveTrail account using the default group and settings you configured above, unless you specify different options for a particular subscription form.
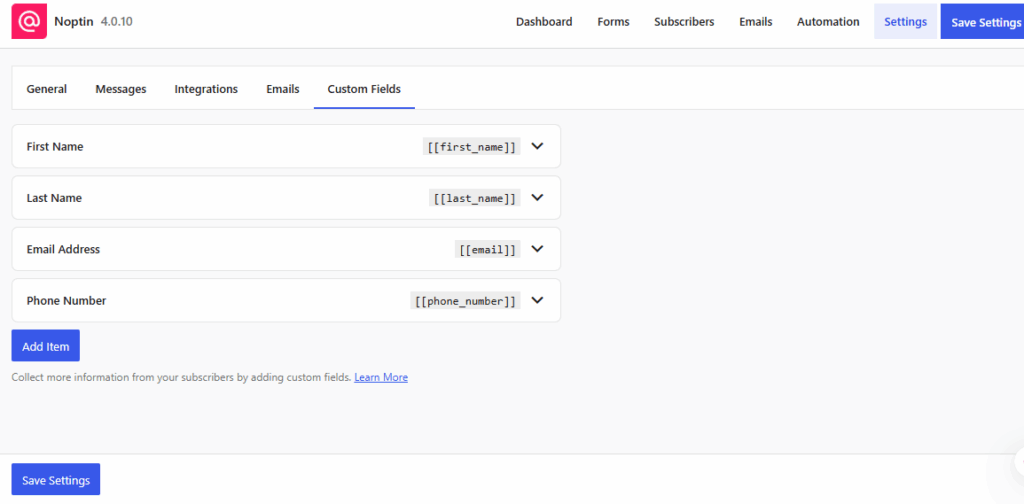
Map custom fields
After connecting your ActiveTrail account, map your Noptin custom fields to the corresponding ActiveTrail fields.
You can map fields such as first name, last name, and phone number to their matching ActiveTrail contact fields.
This ensures that when someone subscribes through Noptin, their information is sent to the correct fields in their ActiveTrail contact profile.
To set up field mapping:
- Go to Noptin → Settings → Custom Fields.
- Click on the custom field you want to edit.
- Scroll down to the Activetrail Equivalent section.
- Select the corresponding Activetrail field from the dropdown.
- Click Save Settings to apply your changes.
Changing Default Activetrail Details
If you ever need to change your access token, or the defaults:-
- First, open the Noptin Settings page.
- Click on the integrations tab to reveal the Activetrail settings.
- Change your access token or default details, then click on the Save Changes button to save your changes.
Saving your changes will refresh all your Activetrail groups. Refresh the settings page to see the updated data.


Leave a Reply