One of the most powerful features of Noptin is its support for custom fields.
You can use custom fields to store more information about your subscribers (such as their phone numbers and birthdays).
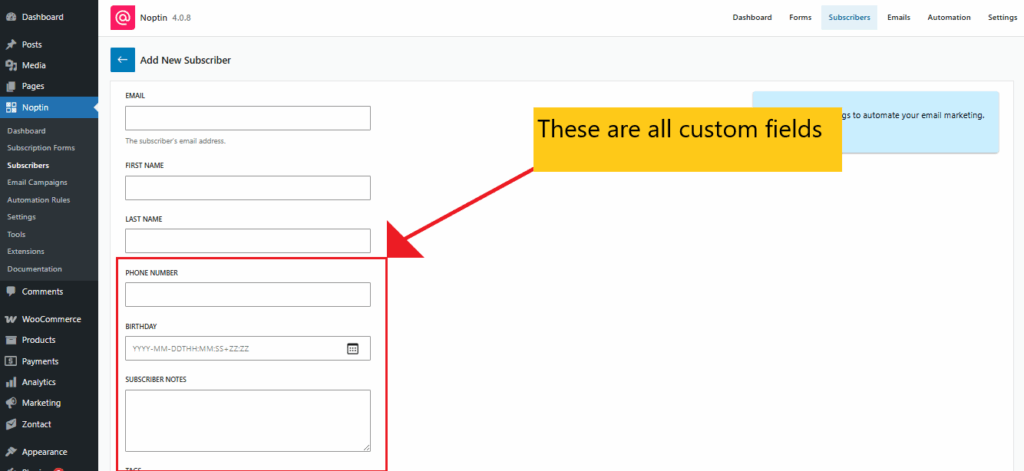
This guide shows you how to create and edit custom fields.
Creating Custom Fields
To create a new custom field:-
First, visit your WordPress admin dashboard, then click on Noptin > Settings > Custom Fields to open the custom fields overview page.
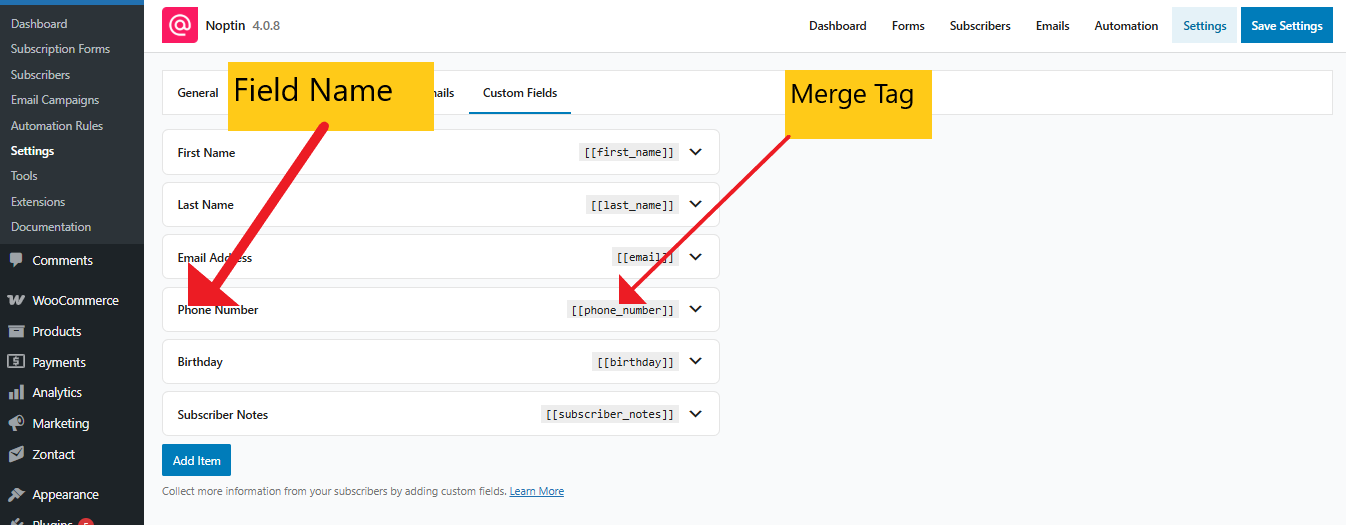
Next, click the “Add Item” button to create a new custom field, and then provide the field details.
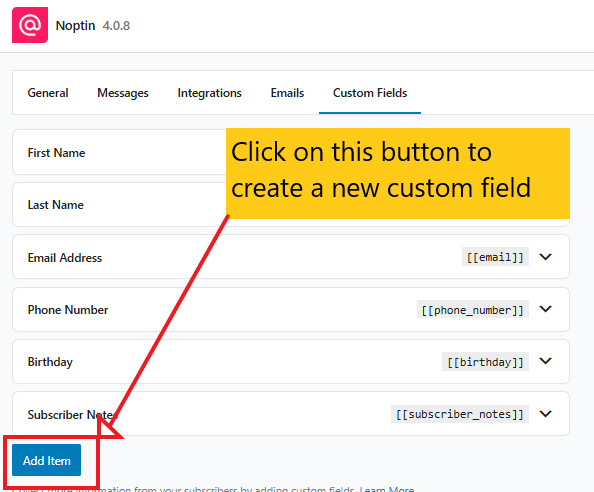
Below is a video showing a “Phone Number” field being created.
Remember to click on the “Save Changes” button to save your changes.
Editing Custom Fields
To edit a custom field, click on the name of the field to open its options.
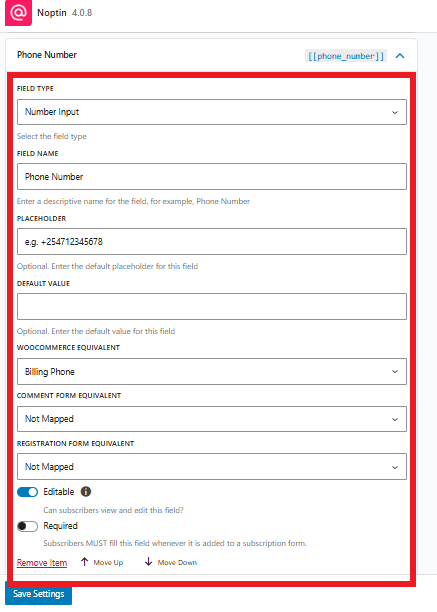
Noptin will reveal the field’s panel, allowing you to change:-
The field type. Supported field types include text inputs, text areas, numbers, radio buttons, select dropdowns, dates, checkboxes, and multiple checkboxes.

The field name. Make sure the name describes the purpose of the field, e.g, Country, Birthday, etc. Noptin will display this name next to the field both on the admin page and the frontend.

Placeholder. Provides a sample value or hint inside the field to guide users on what to enter. This field is optional; leave it empty if you don’t want to show any hint text.

Default value. The value that appears automatically when the form loads. You can use it to suggest or prefill a common answer. Leave empty if no default is needed.

Comment form equivalent. Choose a WordPress comment form field that matches this Noptin field. Useful if you want subscriber data to sync with commenters. Leave as “Not Mapped” if not needed.

Registration form equivalent. Maps this field to a WordPress user registration field so that data collected during sign-up is shared with Noptin. Leave as “Not Mapped” if not applicable.

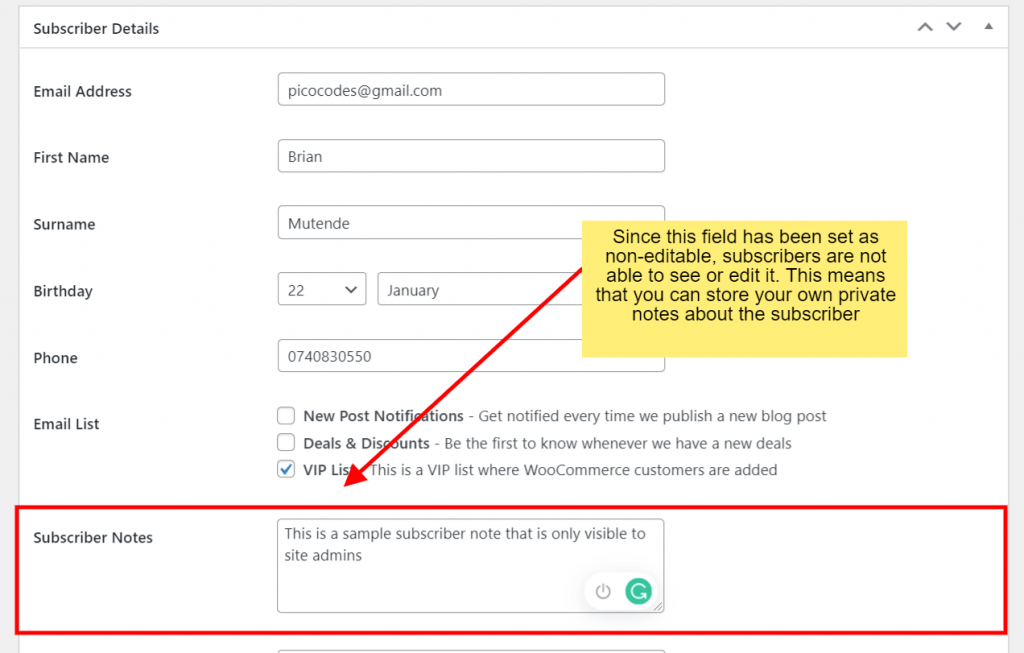
Editable. Whether or not newsletter subscribers can see and edit the value of the field.

If unchecked, you will be able to see and edit the value of the field, but subscribers won’t be able to do the same. This is useful, for example, when you need to store additional notes about a subscriber.
Required. Makes the field mandatory. Subscribers must fill it out before submitting a form.

Remember to click on the “Save Changes” button to save your changes.
Leave a Reply