Sliding Forms

This guide shows you how to create a sliding newsletter subscription form in WordPress. You can set the form to slide in from the bottom left, top left, bottom right, or top right.

Unlike pop-up forms, sliding forms are non-intrusive and are therefore less likely to irritate your website visitors.

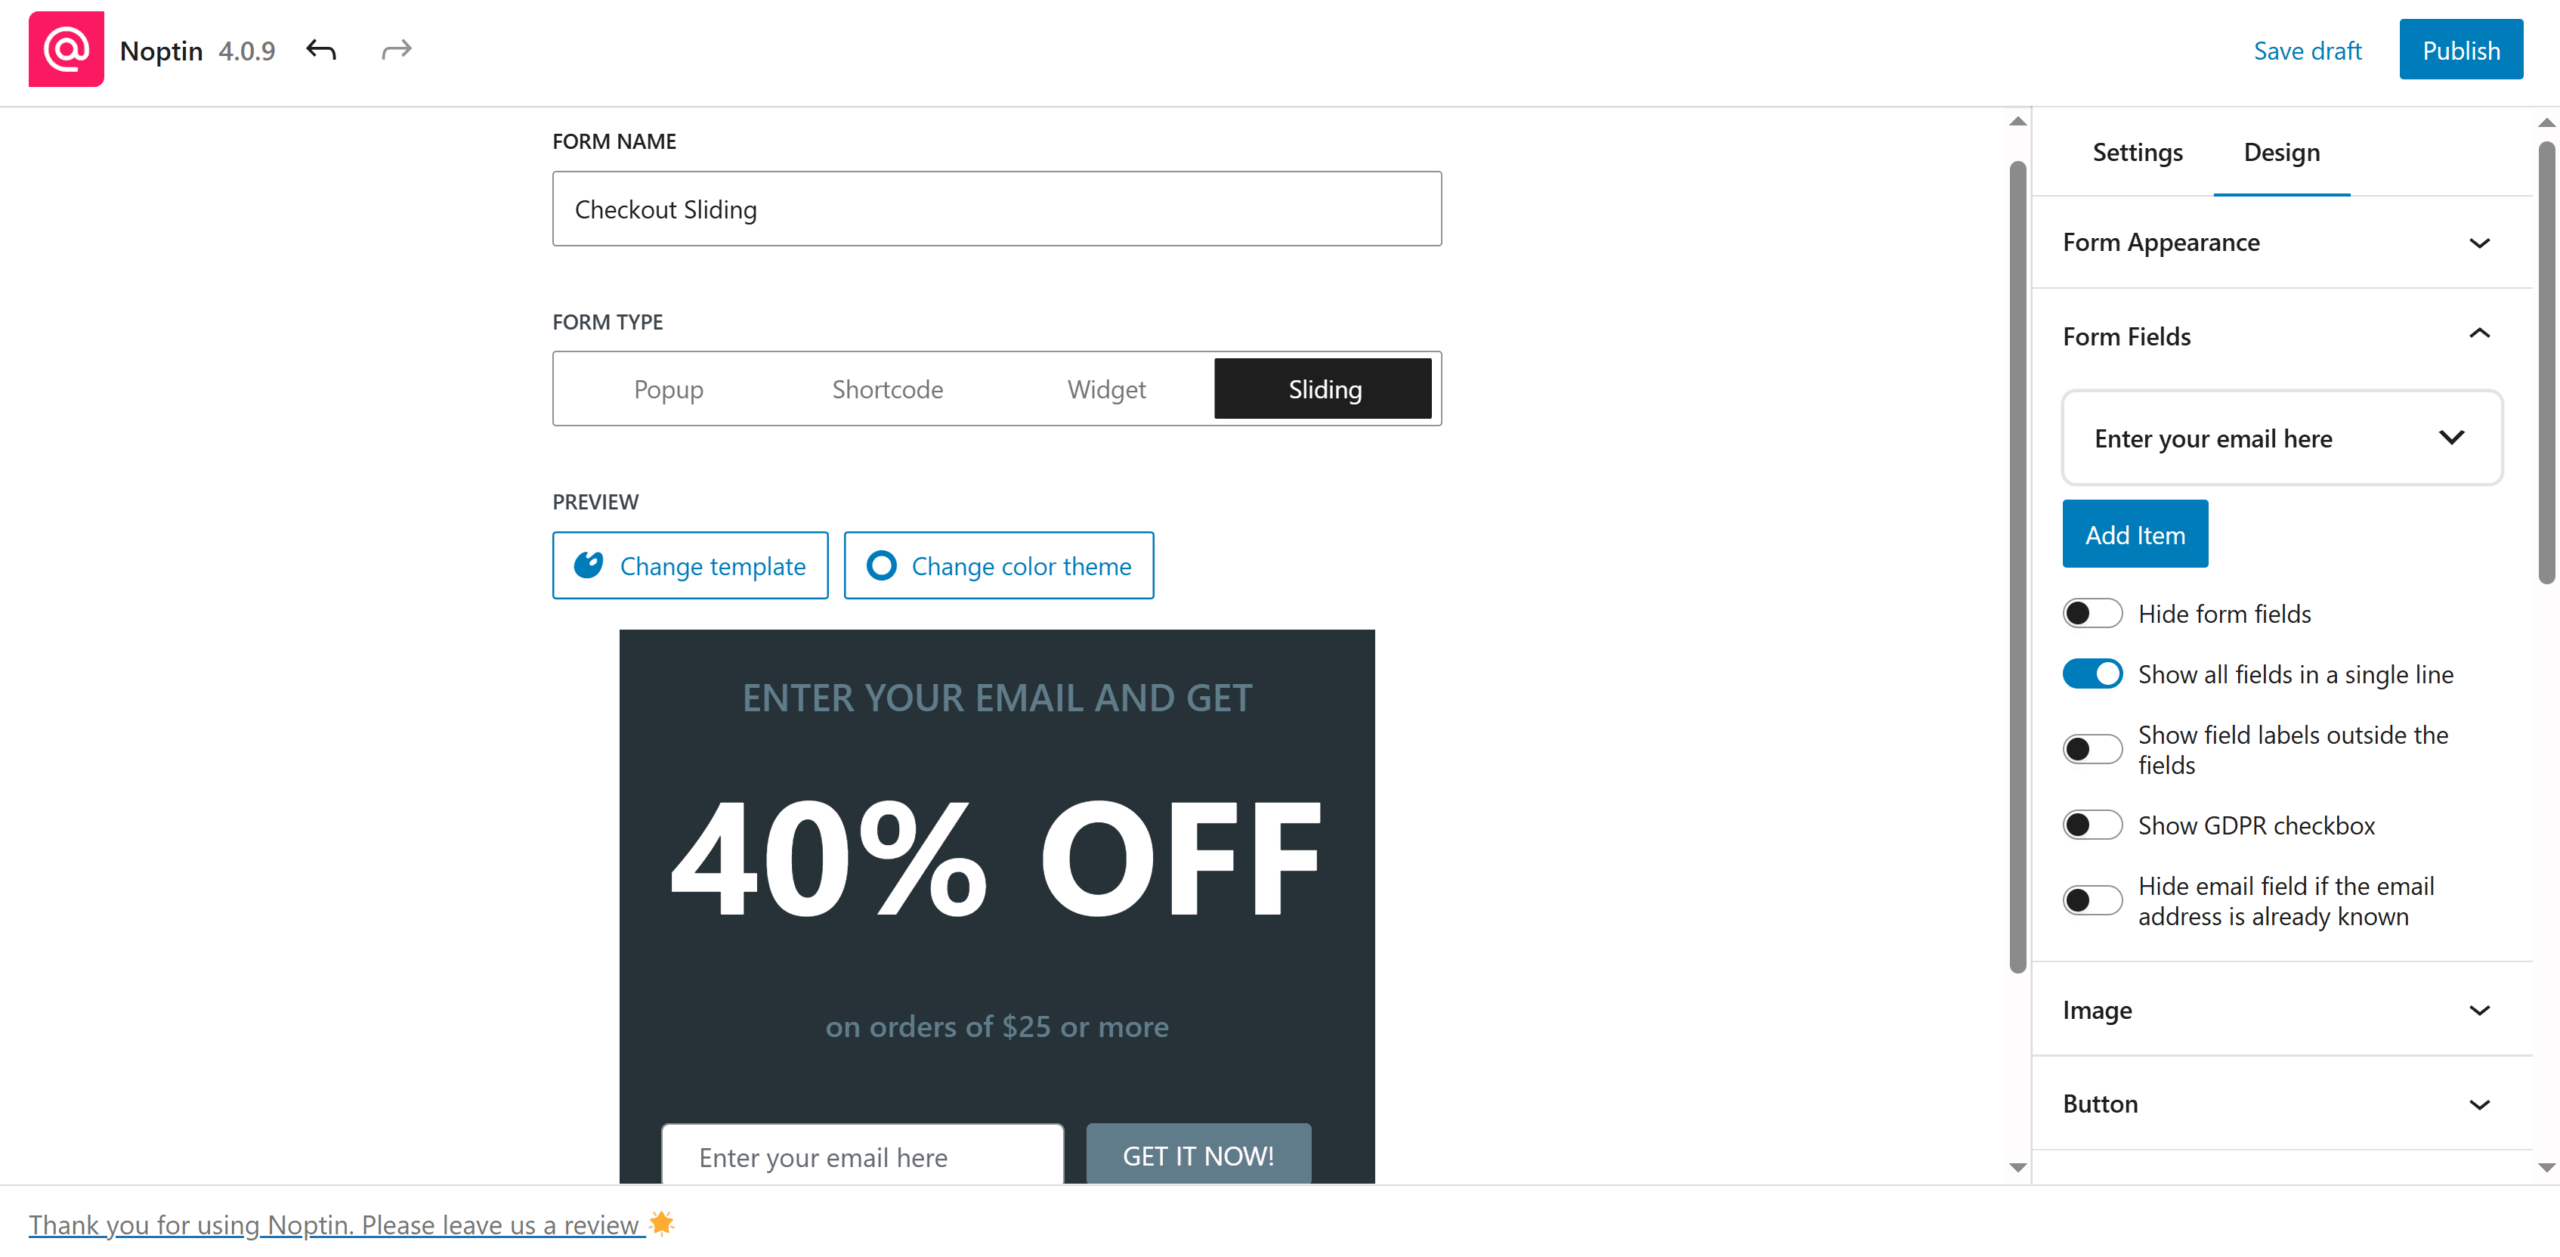
Below is an example of a sliding form.
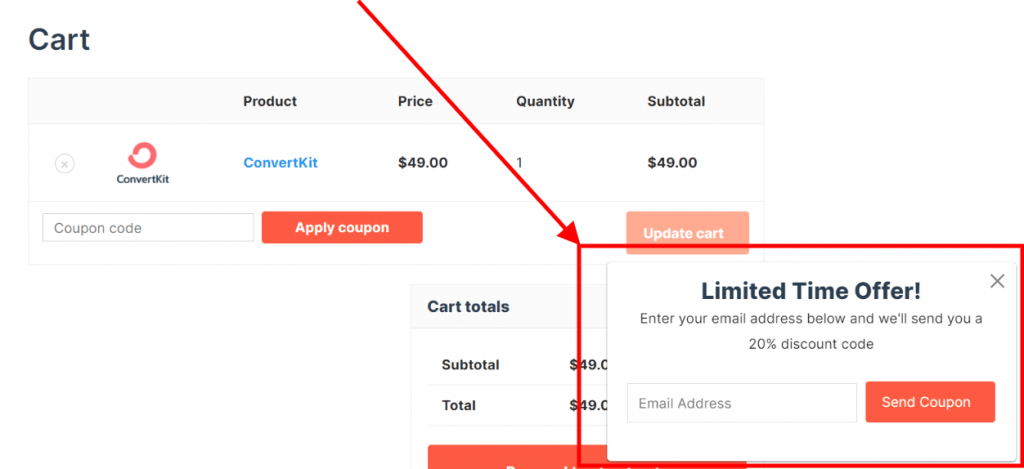
sample sliding newsletter form

Noptin allows you to create such a form without writing any line of code.

Prerequisites

To continue with this tutorial, you will need to install the latest version of Noptin (free) and the Ultimate Addons Pack.

To automatically add new email subscribers to your email service provider (e.g Mailchimp), you will also have to install the appropriate add-on.

Creating the Sliding Form

First, click on Noptin > Subscription Forms to open the forms overview page…
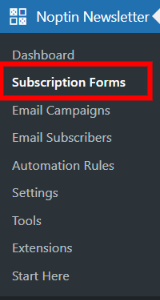
open forms overview page

… then click on the Add New button to create a new subscription form.

Create new sign-up form

Next, give your new form a name …

enter form name

… and select the subscriber fields that you would like to collect.

set form fields

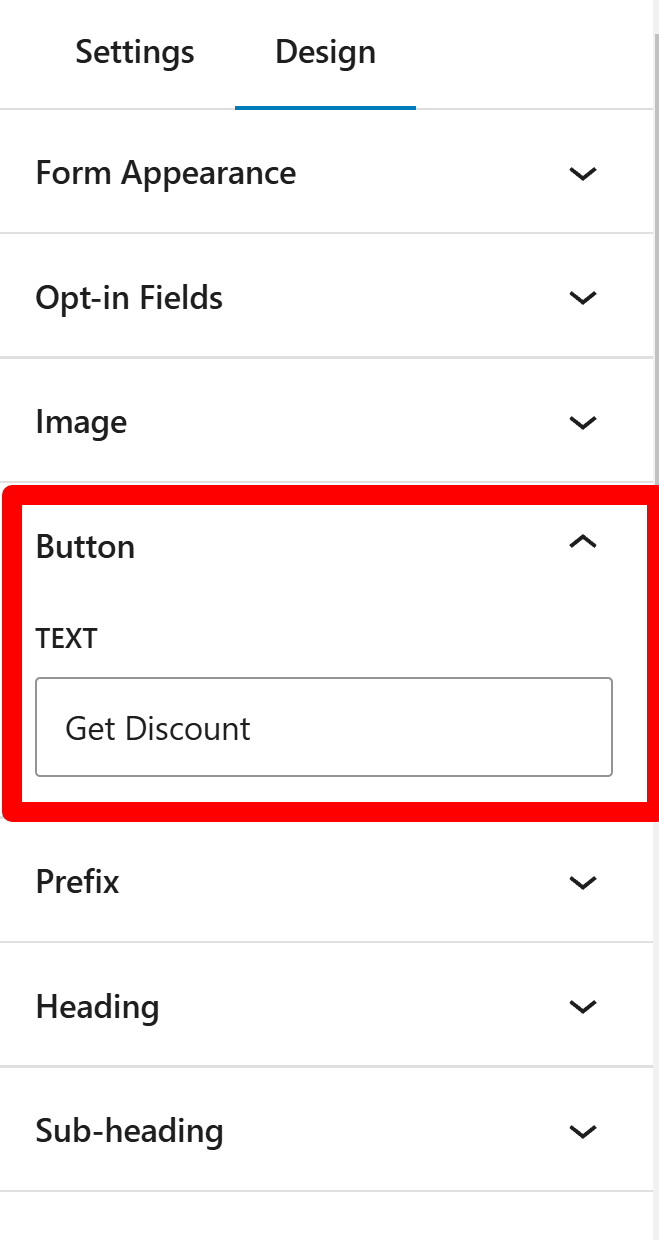
If you’re giving away something free in your pop-up, we recommend that you mention it in the subscribe button text as shown in the example below.

get discount subscribe button text

Next, make sure that the form status is set to “Published”. Otherwise, your website visitors will not be able to see it.

You can also optionally set a redirect URL, and Noptin will automatically redirect new subscribers to the URL you set. As shown in the image below, redirect URLs can contain smart tags.
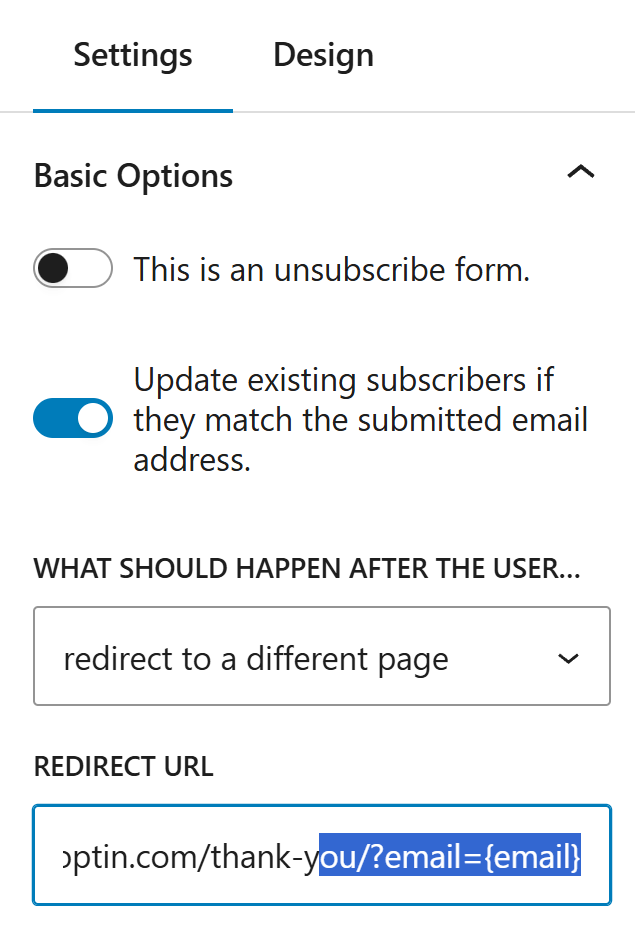
set pop-up form redirect URL

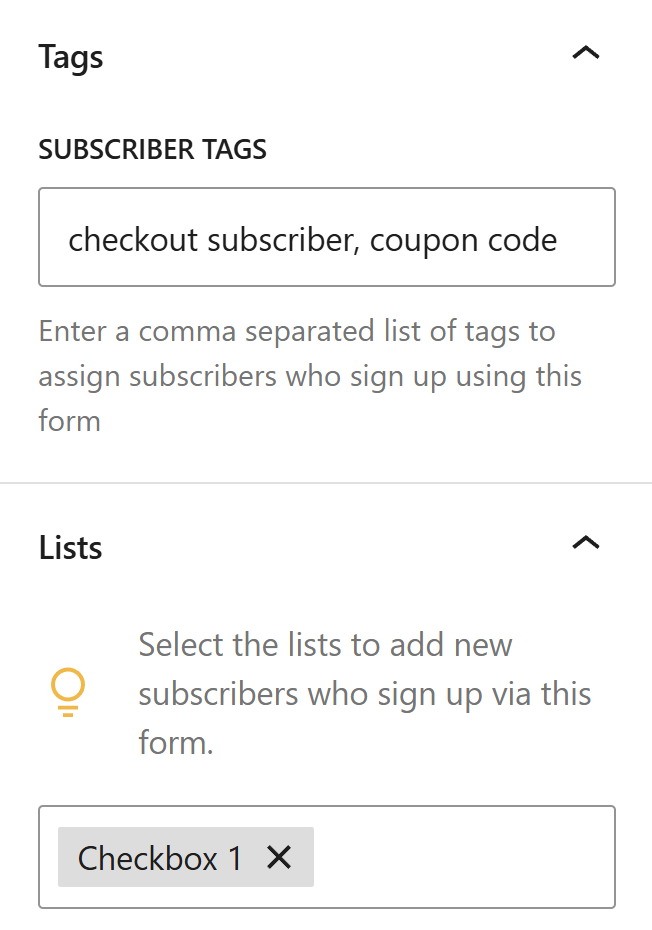
The tags and list settings are optional. We, however, recommend that you segment all subscribers into relevant lists and tags so that they only get the emails that they signed up to get.

set form tags and lists

Next, click on the Advanced tab to set the Header and Footer texts of your pop-up form. This is recommended because sliding forms are isolated. They do not appear next to other content.

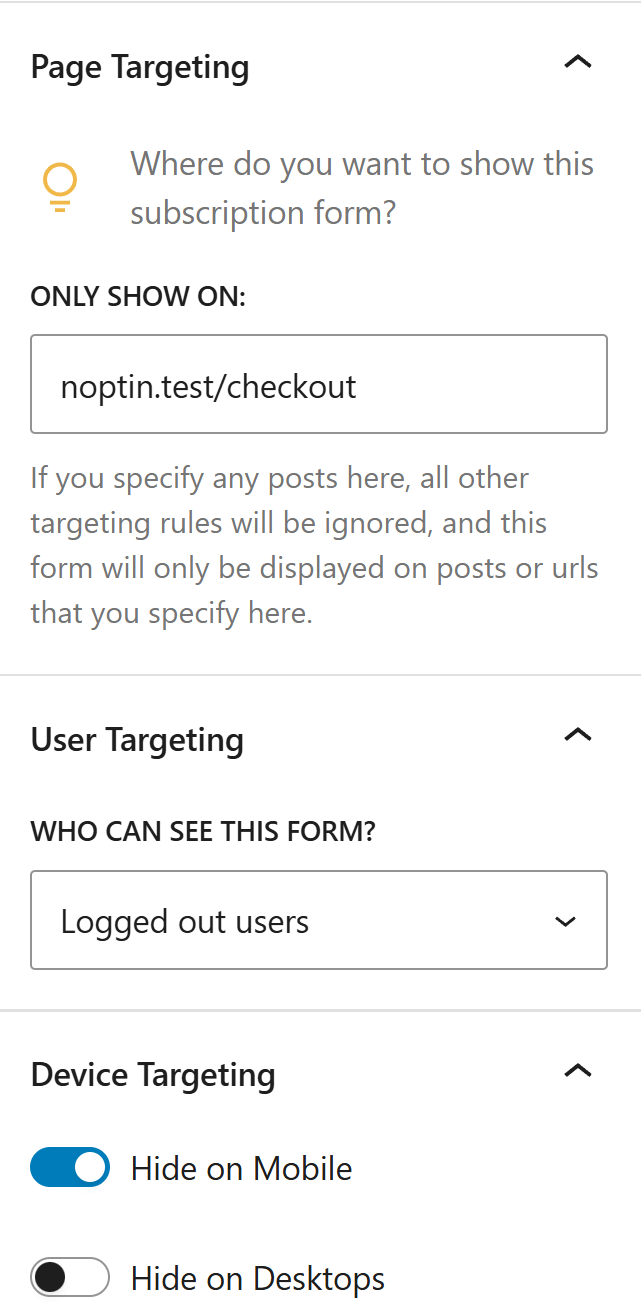
Use the Hide and Only show input boxes to conditionally display your form. This is important if your form is only relevant on a few pages. In the example below, our form form will only show up on the cart and checkout pages.

conditionally show hide form

Finally, click on the “Slide this form into view” checkbox so that Noptin knows that you have created a pop-up form.

slide form into view

That’s all.

Related Guides

  • Creating Subscription Forms

    Learn how to create newsletter subscription forms using our form builder

    Read More

  • Newsletter Subscription Shortcode

    Learn how you can display a newsletter subscription form in your posts, pages and text widgets using a shortcode.

    Read More

  • Newsletter Subscription Widget

    Our newsletter subscription widget allows you to add a newsletter sign-up form to your header, footer, sidebar, Elementor, or any other place that supports widgets.

    Read More

  • Newsletter Subscription Block

    If you’re using the new WordPress editor, you can use our Newsletter Block to add a subscription form to your posts and widgets.

    Read More

  • Pop-up Forms

    This guide shows you how to create a newsletter subscription pop-up form in WordPress for free. Unlike normal newsletter sign-up forms, pop-up forms have significantly higher conversion rates. In fact, the average conversion rate is 3.09%. Below is an example of an “exit-intent coupon code pop-up“. Noptin allows you to create such a system without…

    Read More

  • Creating Custom Newsletter Subscription Forms

    Learn how to add a newsletter subscription checkbox to any custom form

    Read More

  • Preventing Spam Sign-Ups

    Noptin uses several methods to prevent spam signups while keeping the forms easy to use for non-spammers. If, however, you are still getting spam sign-ups, you can install any of the following plugins to fight spammers. La Sentinelle antispam This plugin uses the following techniques to block spam:- Learn more about the plugin. Google reCAPTCHA…

    Read More

  • Redirect Users after Subscription

    Learn how to redirect users to a different page, website or downloadable file after they subscribe to you newsletter.

    Read More

  • Smart Tags

    You can use smart tags in your form messages, welcome emails, or subscription shortcodes to add dynamic content to the form. Noptin will detect the smart tag and replace it with the appropriate value. If the value is not known, Noptin will replace the smart tag with an empty string. Example 1: Display the subscriber’s…

    Read More

  • Unsubscribe Forms

    Noptin allows you to create a newsletter unsubscribe form so that existing subscribers can unsubscribe from your newsletter.

    Read More

  • Change subscription confirmation messages

    Check out the default newsletter subscription confirmation messages and how to edit them

    Read More