
You can use the Noptin setup wizard to configure a new installation before creating forms, adding subscribers, or sending emails. The choices shown later in the wizard depend on how you choose to use Noptin.
Open the setup wizard
Open Noptin → Setup Wizard. If you have a noptin.com license, enter it and click Activate. Otherwise, click Continue without license to configure the free features.
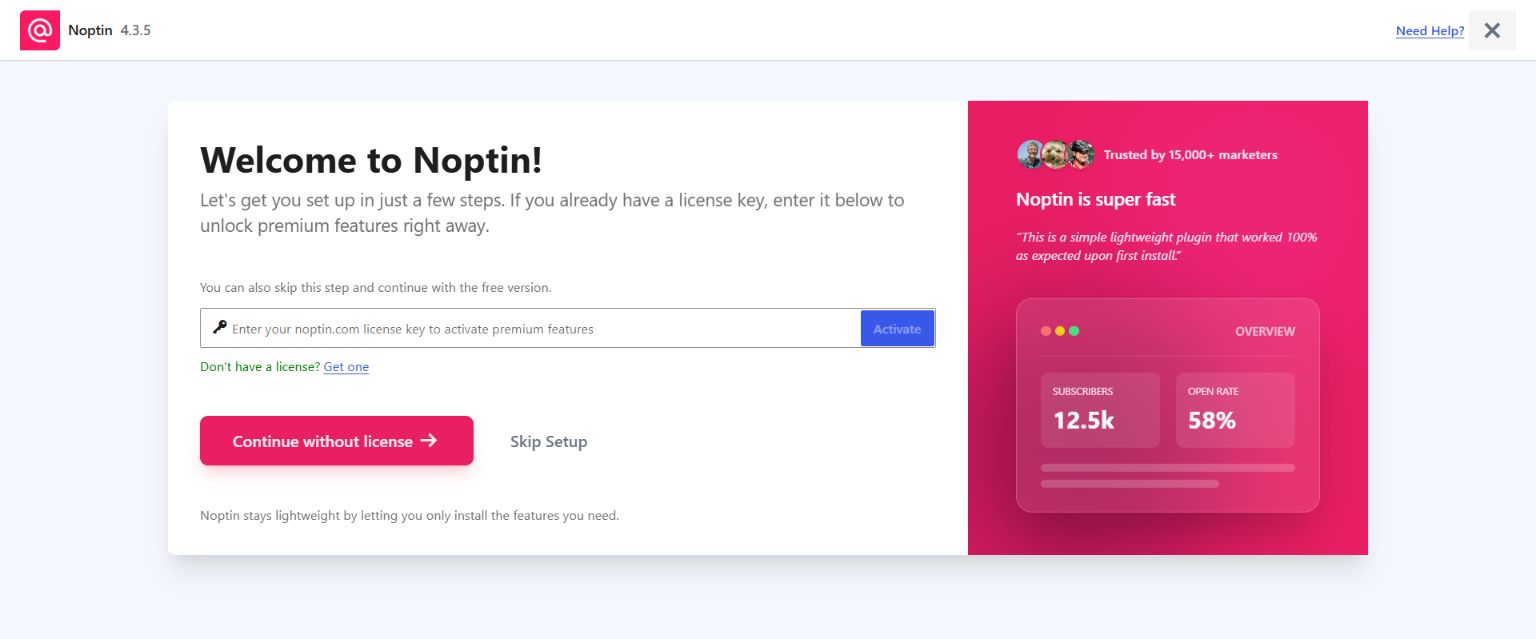
You can select Exit Setup Wizard and return later. Settings that were already saved remain available from the normal Noptin settings screens.
Choose how Noptin will handle data
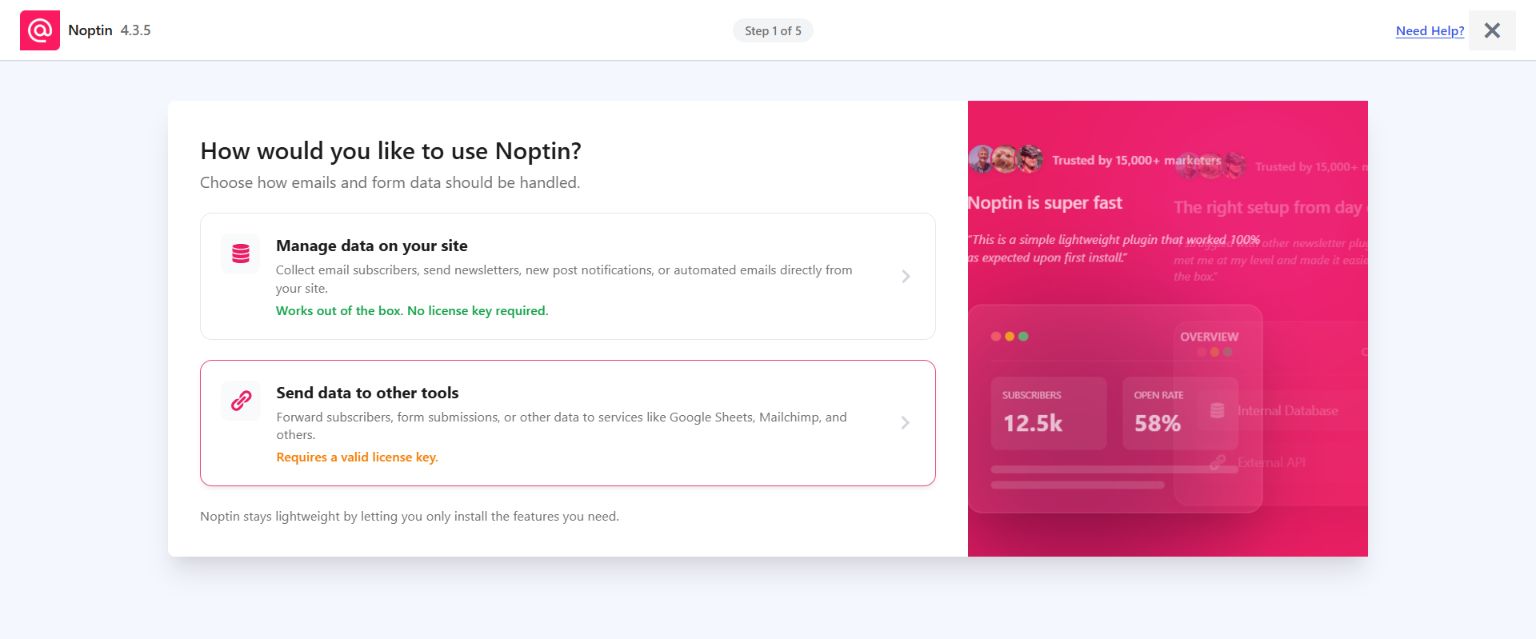
The first step asks how you would like to use Noptin. Choose the option that matches where subscriber and form data should be stored.
| Choice | Use it when | License requirement |
|---|---|---|
| Manage data on your site | You want to collect email subscribers and send newsletters or automated emails directly from WordPress. | No license key is required. |
| Send data to other tools | You want to forward subscribers, form submissions, or other data to connected services. | A valid license key is required. |
Configure email sending
If you choose Manage data on your site, enter the sender identity that recipients should see:
- Enter the "From" Email used to send messages.
- Enter the recognizable "From" Name.
- Enter the "Reply-to" Email where replies should be delivered.
- Set a sending rate if your host or mail service limits how quickly messages can be sent.
- Enable Organize subscribers into lists if you intend to use subscriber lists.
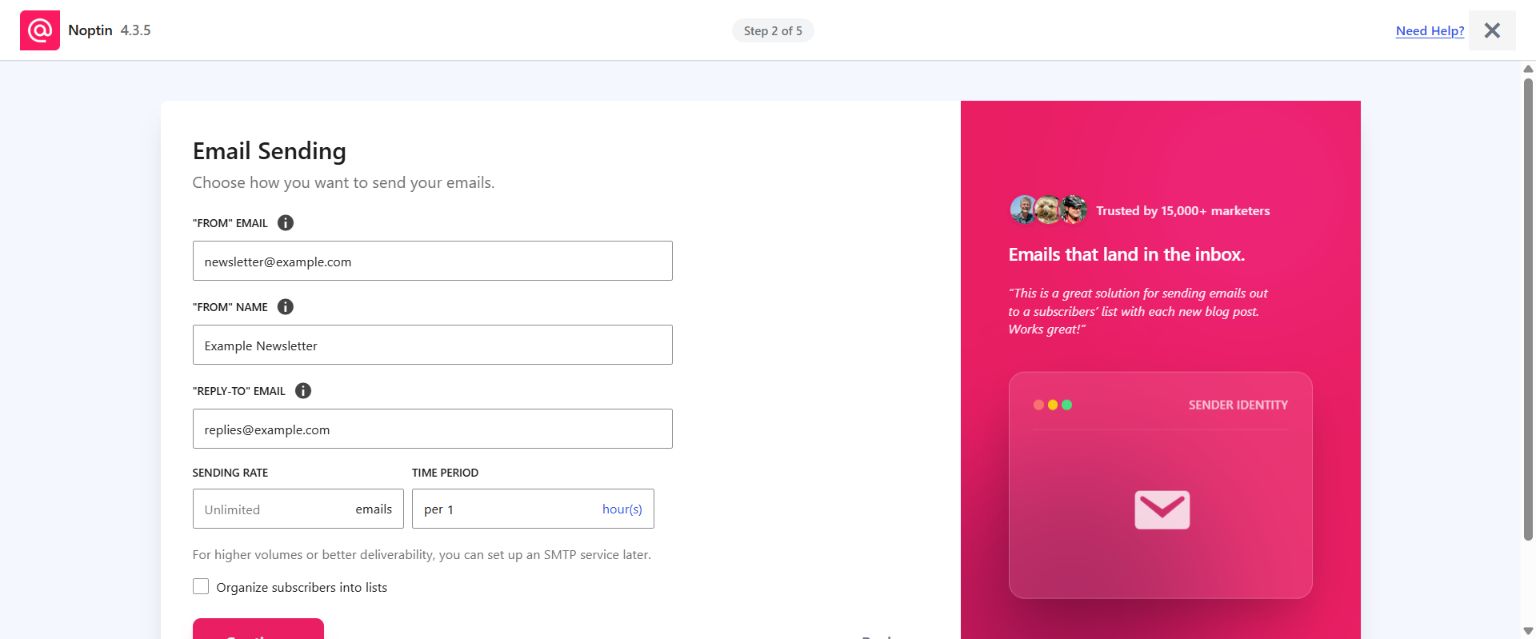
You can revise these values later by following Configure the Sender Name and Email Address.
Complete the remaining steps
- Review the compatible integrations detected on the site and select only those you intend to use.
- Configure any integration selected in the previous step.
- Complete the newsletter step.
- Finish the wizard, then open Noptin → Settings to verify the saved values.
After setup, follow Getting Started with Noptin to create or import subscribers and test your installation.
Leave a Reply