Noptin is fully compatible with the latest version of Polylang allowing you to run a multilingual newsletter.
This guide shows you the steps you need to take in order to run a multi-lingual newsletter using Noptin and Polylang.
Step 1: Translate Forms
You can translate your newsletter subscription forms into each of your site’s languages.
To do this:-
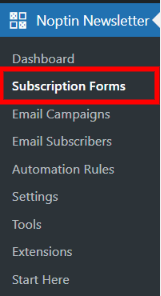
Click on Noptin Newsletter > Subscription Forms to open the subscription forms overview page…
… then click on the + sign to translate the form into a new language or the pencil icon to edit an existing translation.

That’s all.
Every time you display a subscription form on your website, Noptin will try to display the translated version whenever possible. Learn more about translating custom content with Polylang.
Step 2: Translate Settings and Custom Fields
Next, we’ll translate Noptin settings and custom fields into all your supported languages.
This allows you to display confirmation messages and send double opt-in emails in the subscriber’s language.
To do this:-
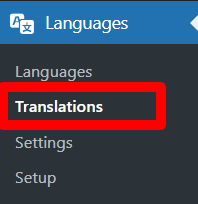
Click on Languages > String Translations to open the string translations section…
… then use the “group filter” at the top of the page to search for Noptin settings.
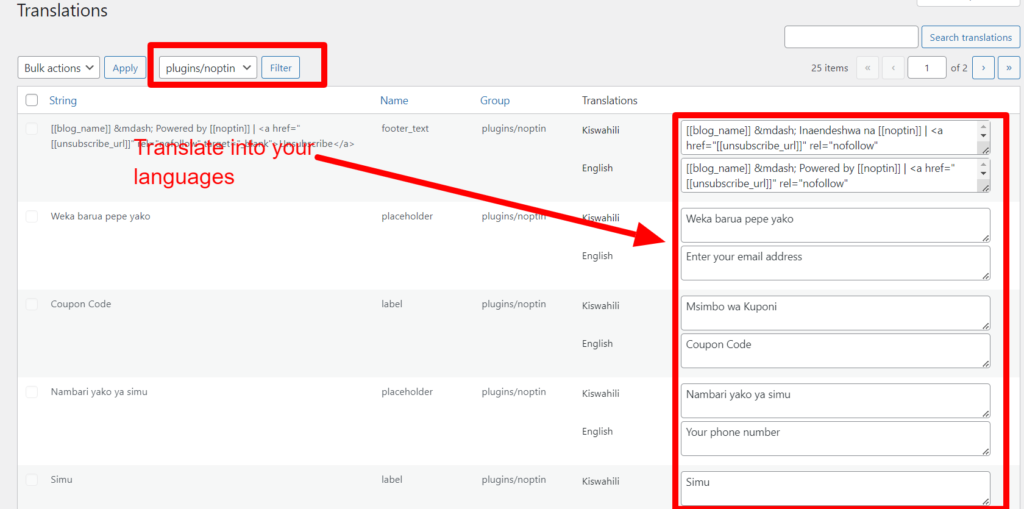
Finally, translate each string into each language that you support.
Step 3: Translate Newsletter Campaigns
The previous step showed you how to display subscription forms and confirmation messages in the subscriber’s language.
Next, we’ll ensure that any emails they get are in their preferred languages.
To do this, create a separate email campaign for each language on your site. You can use an AI translation plugin, like Gato AI Translations for Polylang, to help with this. Then, filter the recipients by their preferred language as shown below.
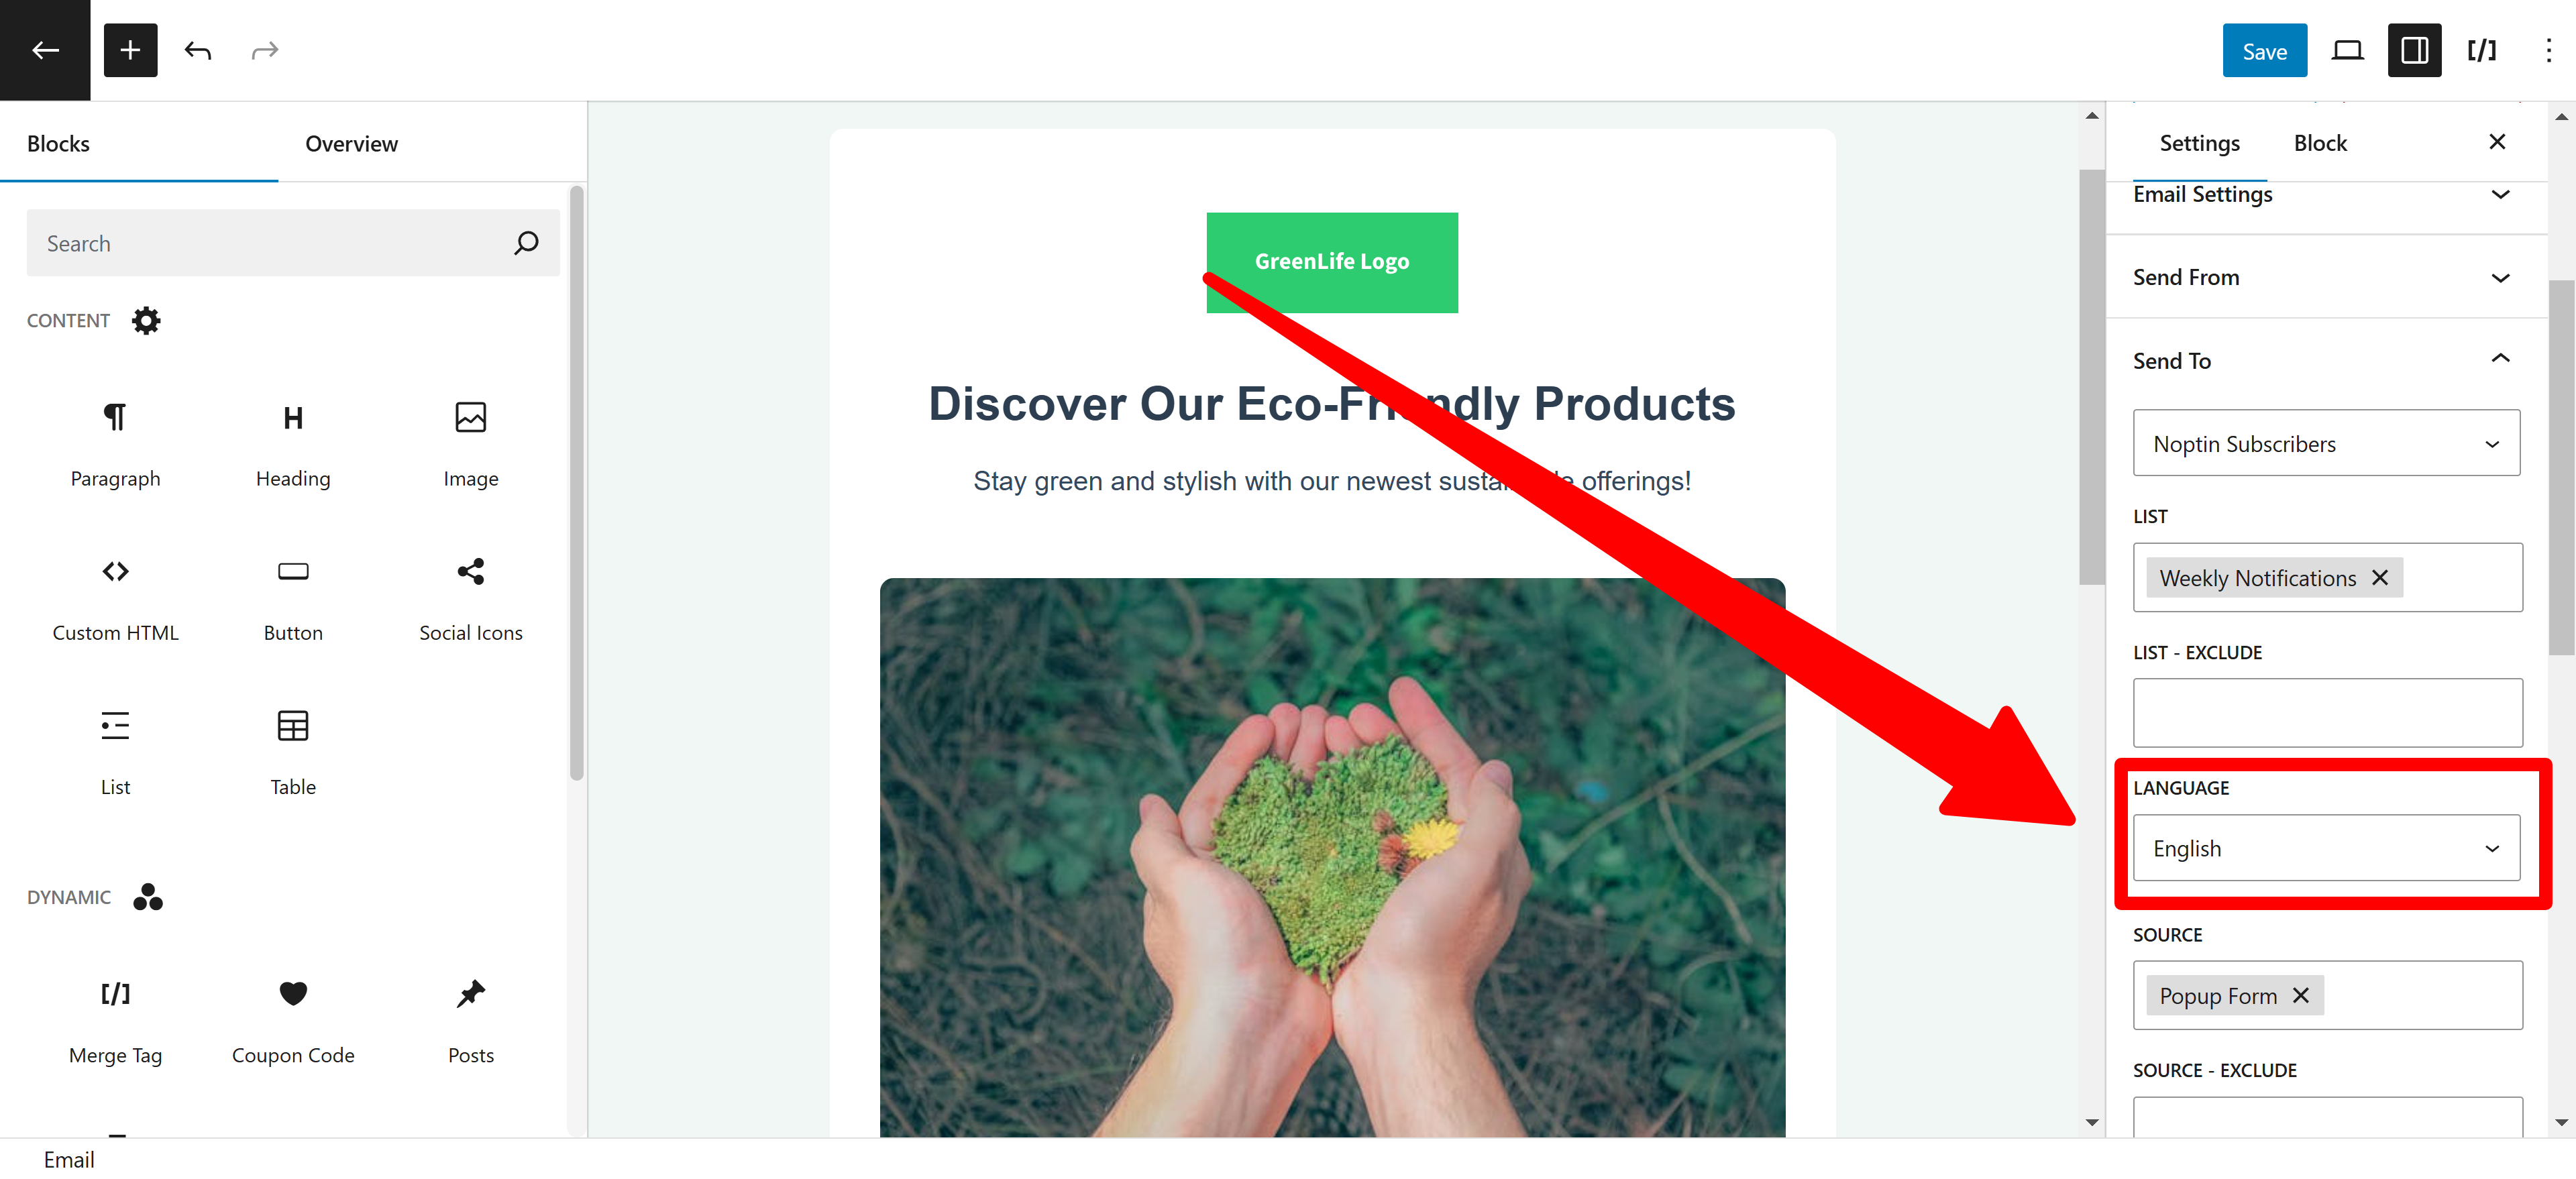
The preferred language dropdown is available when sending newsletters to Noptin subscribers, WordPress users, or WooCommerce customers.
Suppose you’re sending the newsletter via Mailchimp or any of the supported integrations. In that case, you need to create a list or segment for each supported language and then use automation rules to sync a subscriber’s language with your CRM.
Translate post digests
You can set Noptin to filter posts using a given language. This option is only available when using the visual email editor.
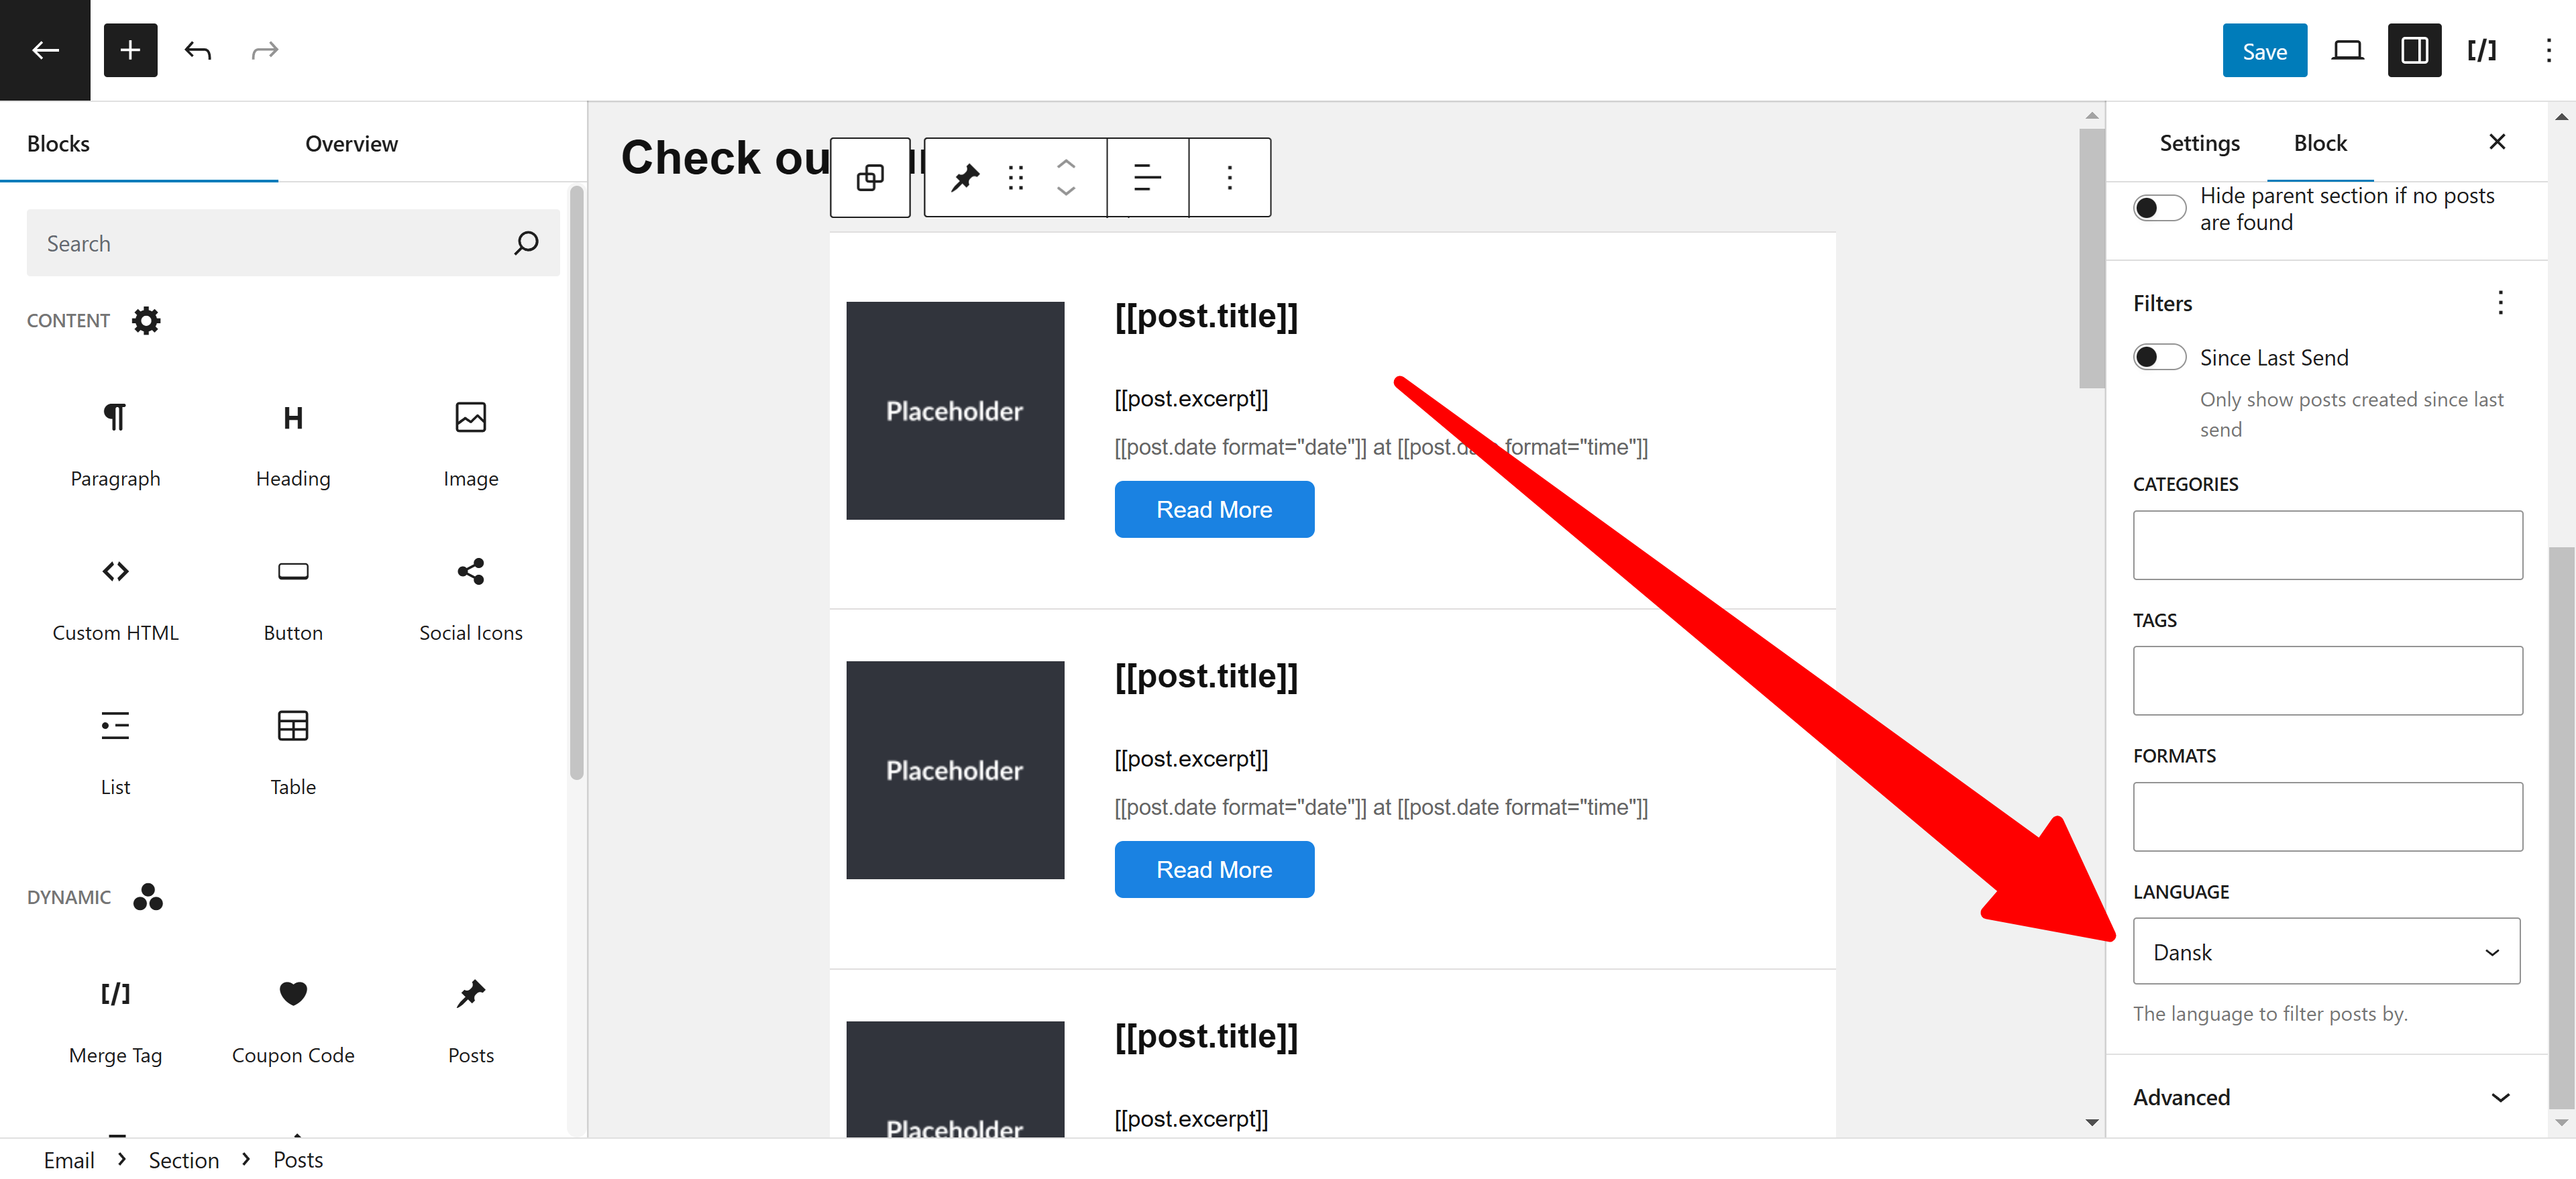
Not using the visual email editor?
You can install the Ultimate Add-ons Pack and specify the language code below.
[[posts lang=en]]
Remember to send yourself a test email and ensure it includes the correct posts.
Translate new post notifications
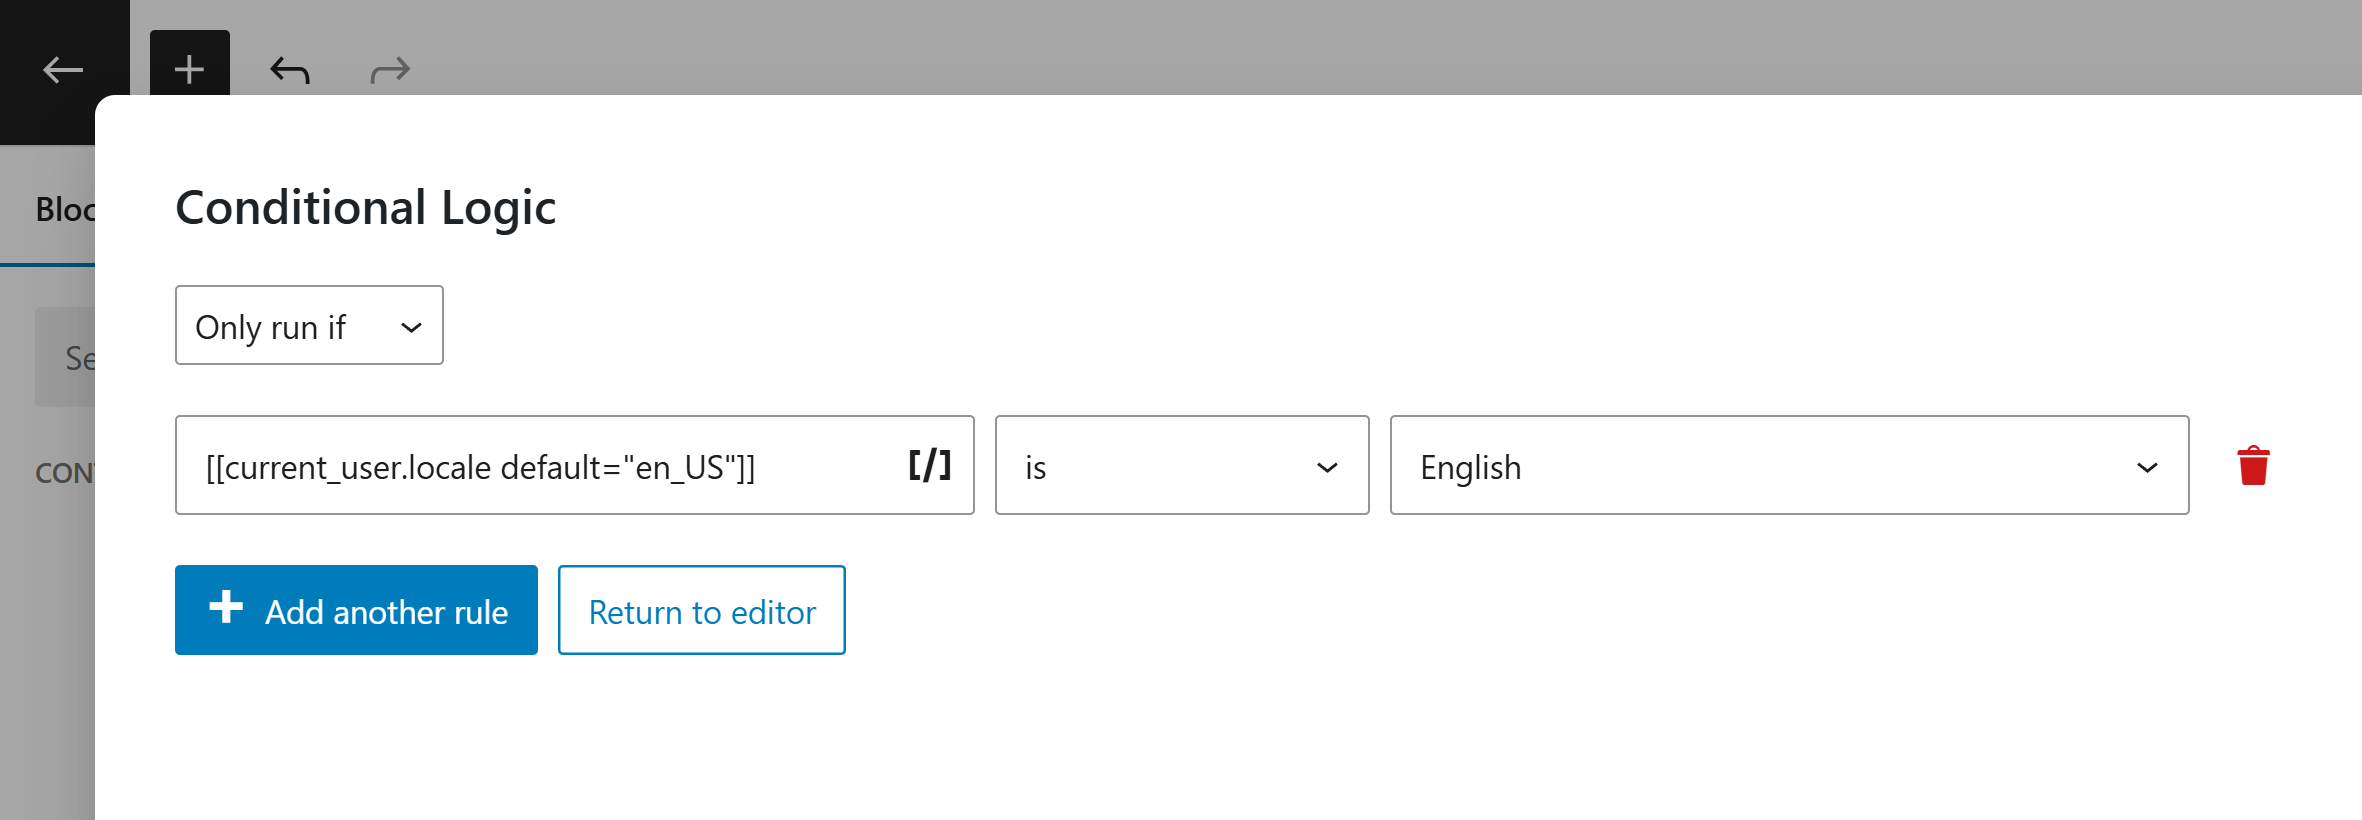
You can use conditional logic to limit post notifications by Polylang language as shown below.

This way, you can create separate notifications for each language on your site and set them to send based on the subscriber’s preferred language.
Step 4: Translate automation rules
You can use automation rules to automate running actions based on your users’ behaviors.
Similar to newsletter campaigns, you can create multiple automation rules and then use conditional logic to limit how it is run, as shown below:-
Leave a Reply