
You can add a subscriber manually when you need to create one contact without using a subscription form or importing a file. An email address is required. The other fields shown on the page depend on the custom fields you’ve set in Noptin.
Only add people who have agreed to receive the messages you plan to send. A manually created record does not provide evidence of consent by itself.
Add one subscriber
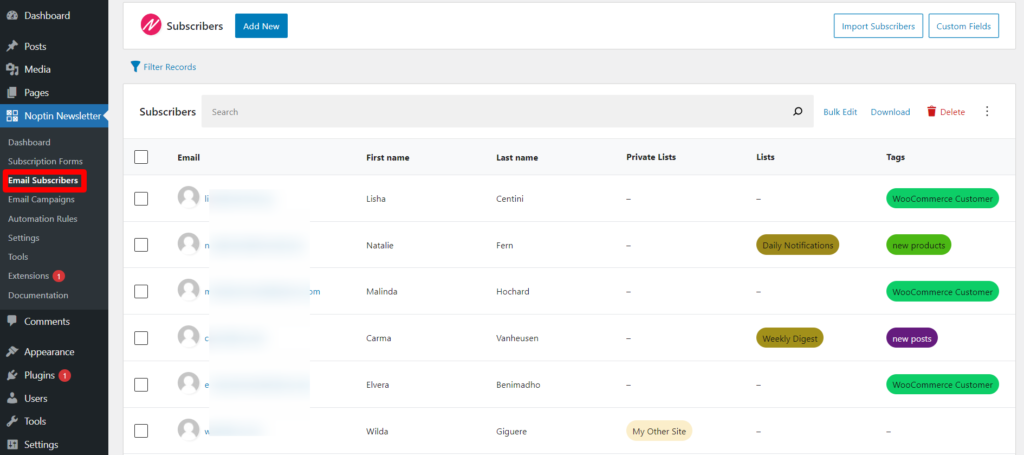
- Open Noptin → Subscribers.
- Click Add New.
- Enter the subscriber’s Email address.
- Complete any useful profile and segmentation fields, such as name, status, tags, lists, or other custom fields.
- Review the values, then click Add New Subscriber.
Choose the subscriber values
| Field | What to enter |
|---|---|
| The subscriber’s valid email address. This identifies the subscriber and is required. | |
| Name fields | Enter the values you know. They can later be used to personalize campaigns. |
| Status | Select the status that accurately represents the contact’s current subscription state. |
| Tags and lists | Add values that are already used to organize or target subscribers on your site. |
| Custom fields | Complete only the fields for which you have reliable information. |
What happens after the subscriber is added
A subscriber record is created and appears on the Subscribers page. The saved status, tags, lists, and custom-field values are available for filtering and other subscriber workflows. Automations that listen for a newly created subscriber or for a value added during creation may also run.
If the email address already belongs to a subscriber, a second subscriber should not be created. Search for the address and edit the existing subscriber instead.
To add many contacts, prepare a CSV file and follow Importing Subscribers. Importing is faster and lets you map columns to the same subscriber fields.
Leave a Reply