Noptin allows you to import email subscribers from another system into Noptin.
To do this, you will first need to download the CSV file containing your email subscribers. You can contact the developers of your newsletter system for instructions on how to download/export the email subscribers into a CSV file or spreadsheet.
TIP:
- If your system only exports XML or JSON files, you can use this XML to CSV converter or JSON to CSV converter to convert your files to CSV.
- The import runs in your browser. This means that it might break if your CSV file is too big. In that case, consider splitting the import file into multiple smaller files.
- The first row of your CSV file should contain the column names as shown in the image below.

Once you have the CSV file, open the Noptin subscribers’ management page in your WordPress admin dashboard…
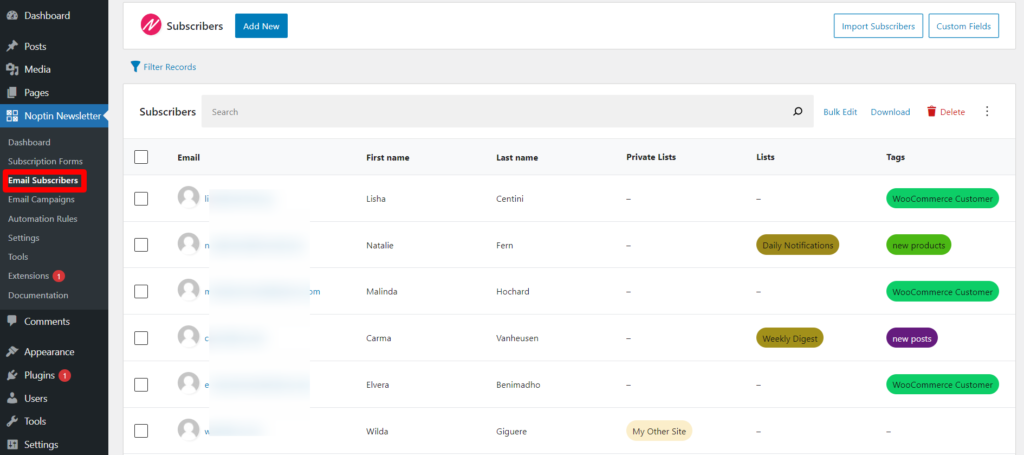
… and then click on the “Import Subscribers” button at the top of this page to open the subscribers’ import page.

Next, select the CSV file containing your subscribers. Noptin will load the file and then open a screen where you can map the fields in your CSV file to your Noptin custom fields.
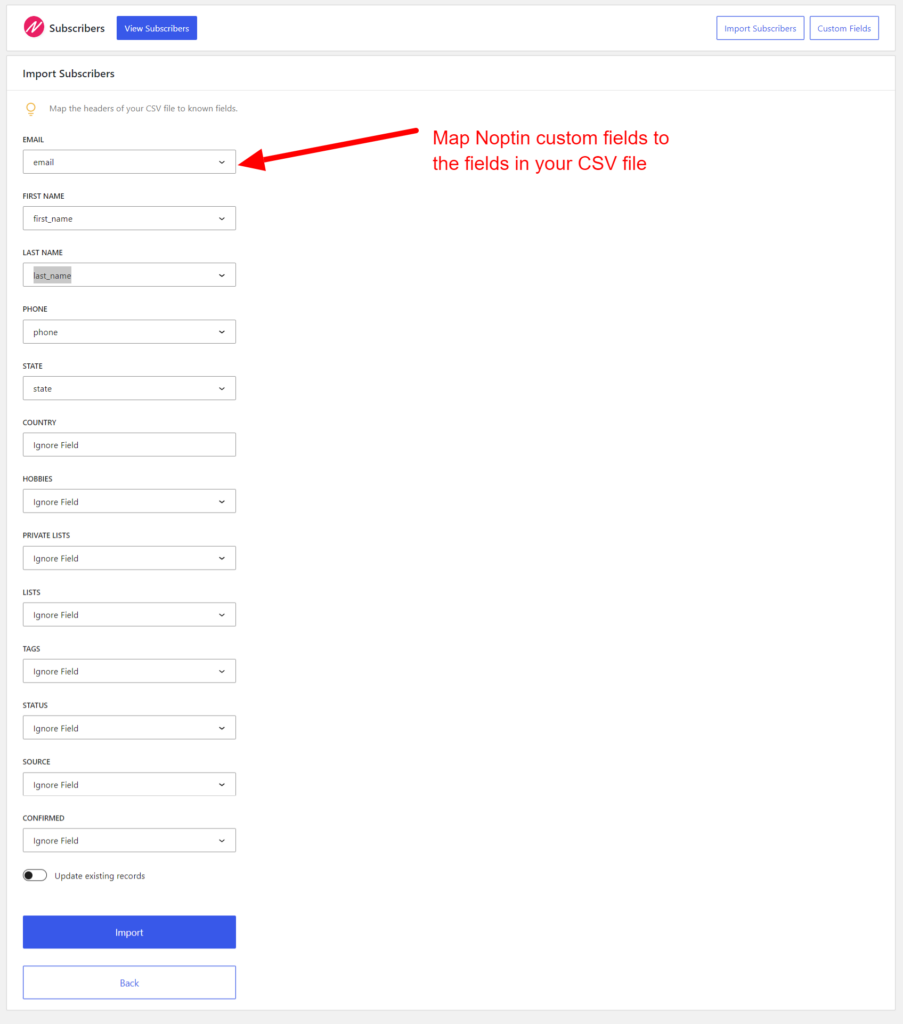
You are required to map the Email Address field. All other fields are optional.
If there is a field in your CSV file that you would like to import but does not exist in Noptin, you will have to create it first then restart the import process.
By default, Noptin will skip any existing subscribers and import new ones. If you want to also update existing subscribers, check the “Update existing records” checkbox.
After you’ve mapped your custom fields, click on the “Import” button to import the subscribers.
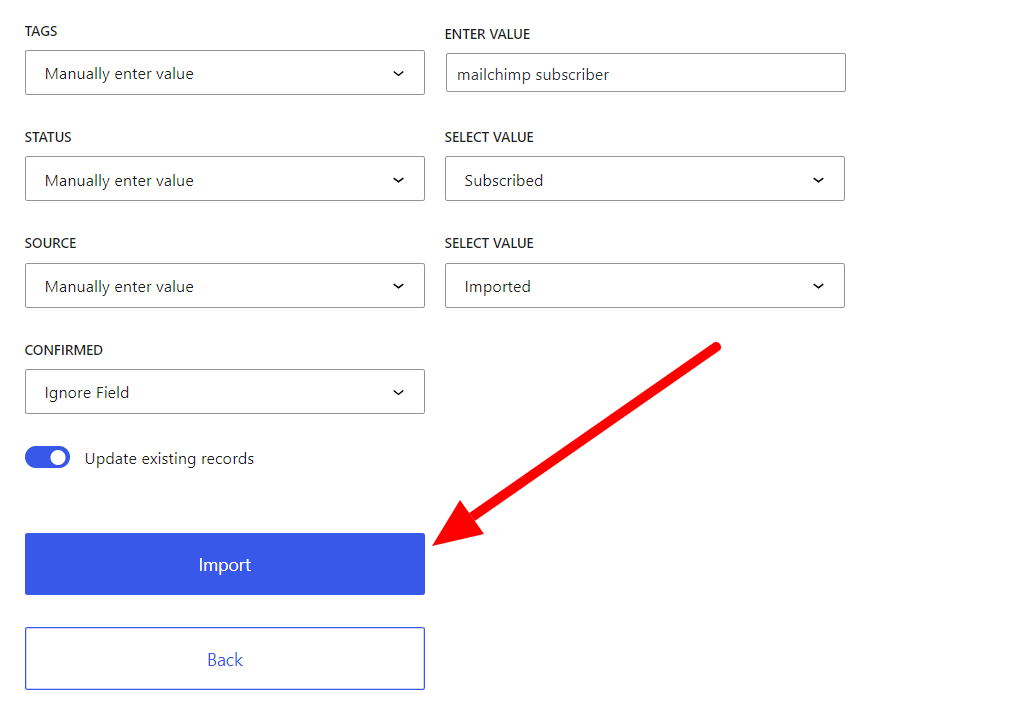
That’s all.
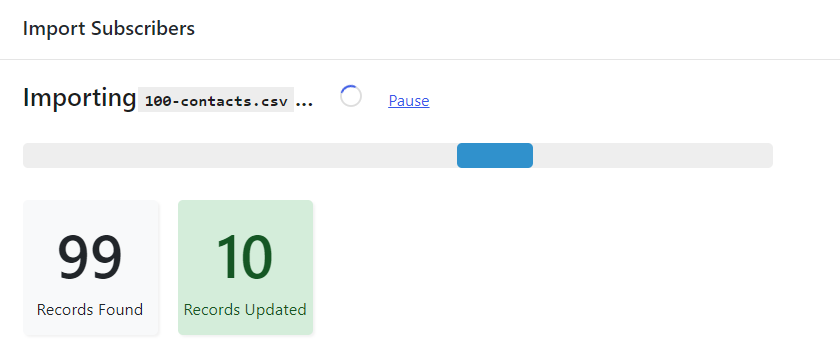
Noptin will import the subscribers and then add them to your newsletter. Do not close the browser tab until all subscribers are imported.
Custom Field Values
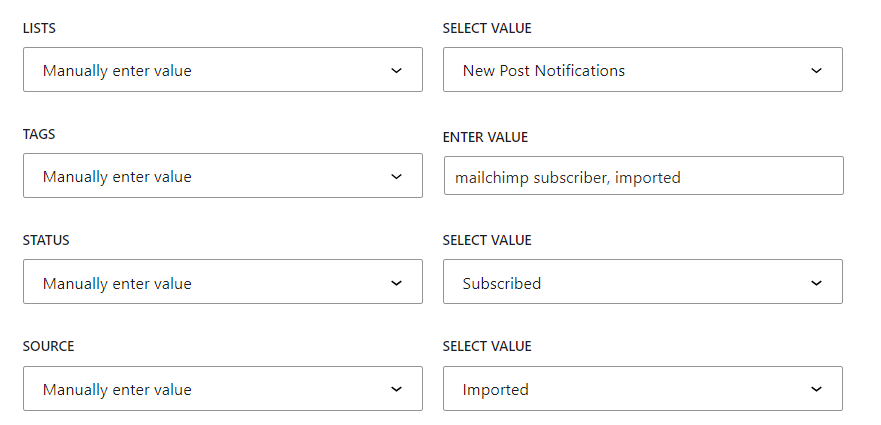
Noptin allows you to set a custom value for any custom field. This means that all imported subscribers will have the same value for the given field.
For example,
You might want to add all imported subscribers to the “New Post Notifications” email list.
All you have to do is select “Manually enter a value” in the map field dropdown then set the value.
Leave a Reply