Getting Started with Noptin
⏱️ 5 Minutes
Welcome to Noptin! 👋
This guide will walk you through setting up Noptin, importing subscribers, sending your first newsletter, and connecting with your favorite tools. Follow these 7 steps to get up and running quickly.
Quick Navigation
1
Install and Activate Noptin
2
Configure Double Opt-In
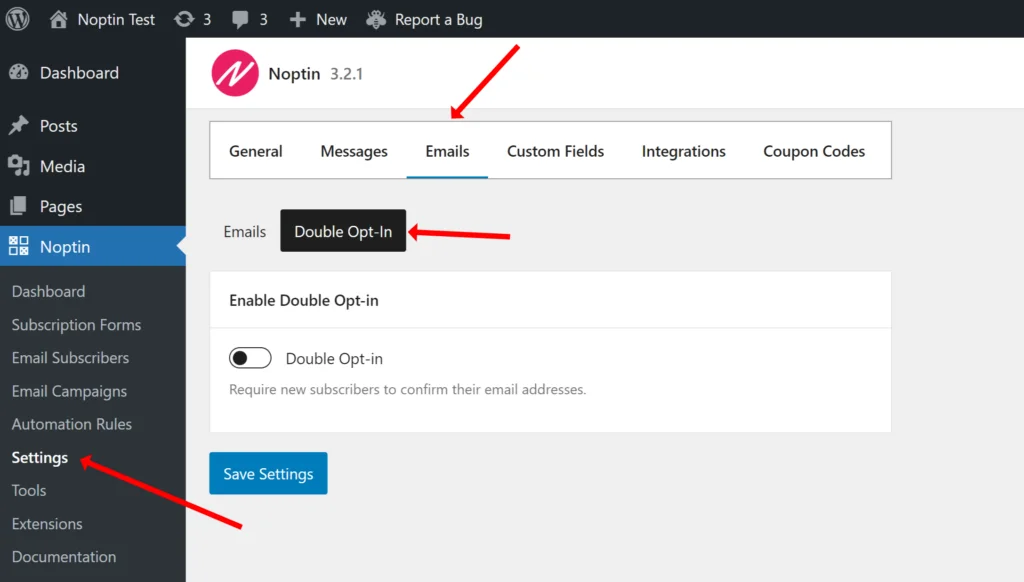
Double opt-in adds an extra confirmation step to reduce spam and invalid sign-ups. Subscribers must confirm their email address before being added to your list.
To enable double opt-in:-
- Go to Noptin > Settings
- Navigate to Emails > Double Opt-In
- Toggle the Double Opt-in switch
- Customize the confirmation email subject and content
3
Import Existing Subscribers
Moving from another email system? Import your existing subscriber list in just a few clicks.
To do this:-
- Prepare your data:
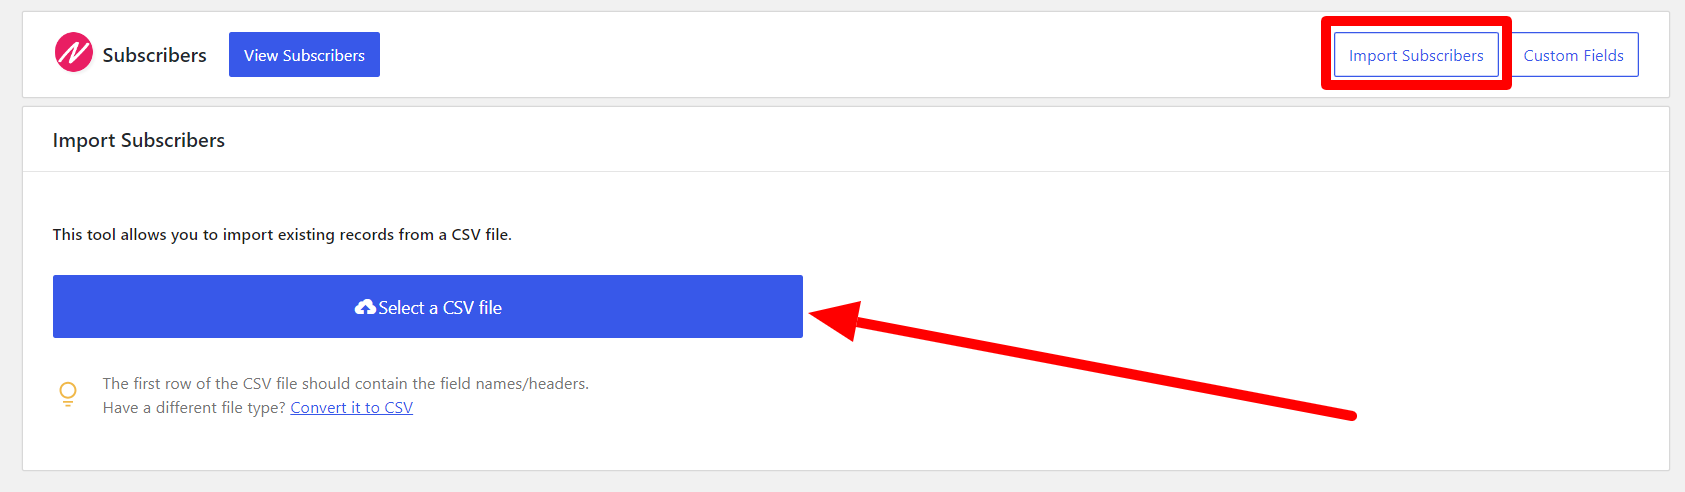
Export your subscribers to a CSV file. If your system only exports XML or JSON, convert it to CSV first. - Go to Noptin > Email Subscribers
- Click Import Subscribers
- Choose your CSV file. Noptin will display a field-mapping screen where you match each column to Noptin fields.
- Map your fields:
Email address is required. Other fields, like name, tags, and custom fields, are optional. - ⚠️ Important:
If you need a custom field that doesn’t exist in Noptin, create it first before starting the import, then restart the import process. - Enable “Update existing records” if you want to update subscribers already in your list.
- Click Import and keep the tab open until the import finishes.
4
Send Your First Newsletter
Ready to communicate with your audience? Send a newsletter or announcement to your newsletter subscribers, WordPress users, or WooCommerce customers.
To do this:-
- Go to Noptin > Email Campaigns
- Click New Campaign
- In the modal, select who you want to send the email to
- Choose a pre-built template or start from a blank email
- Customize your content with text, images, and formatting in the email editor
- ⚠️ Test first:
Send yourself a test email to ensure everything looks correct. - Click Publish to send immediately or schedule for later

5
View Reports and Enable Campaign Statistics
Track opens, clicks, and revenue generated by your campaigns to understand what resonates with your audience.
To enable campaign statistics:-
- Go to Noptin > Settings
- Tick “Show campaign stats”
- If you’re using a compatible plugin, you can also enable e-Commerce tracking.
After sending campaigns, go to Noptin > Dashboard to view statistics, including:
- Opens and open rate
- Clicks and click-through rate
- Unsubscribes
- Revenue (if e-commerce tracking is enabled)
6
Integrate with Forms and CRMs
Connect WordPress Plugins
Noptin works seamlessly with popular WordPress plugins to capture subscribers from contact forms and page builders.
Connect to External CRMs
You can use Noptin as your front-end subscriber capture system while data flows seamlessly into your external CRM.
6
Explore Additional Features
Now that you’ve mastered the basics, explore these advanced features to maximize your email marketing:
Automated Emails & Sequences
Send welcome emails, drip courses, or abandoned cart reminders automatically based on subscriber behavior.
Subscriber Segmentations
You can segment newsletter subscribers using tags, lists, and custom fields.