This guide shows you how to create a newsletter subscription pop-up form in WordPress for free.
Unlike normal newsletter sign-up forms, pop-up forms have significantly higher conversion rates. In fact, the average conversion rate is 3.09%.
Below is an example of an “exit-intent coupon code pop-up“.
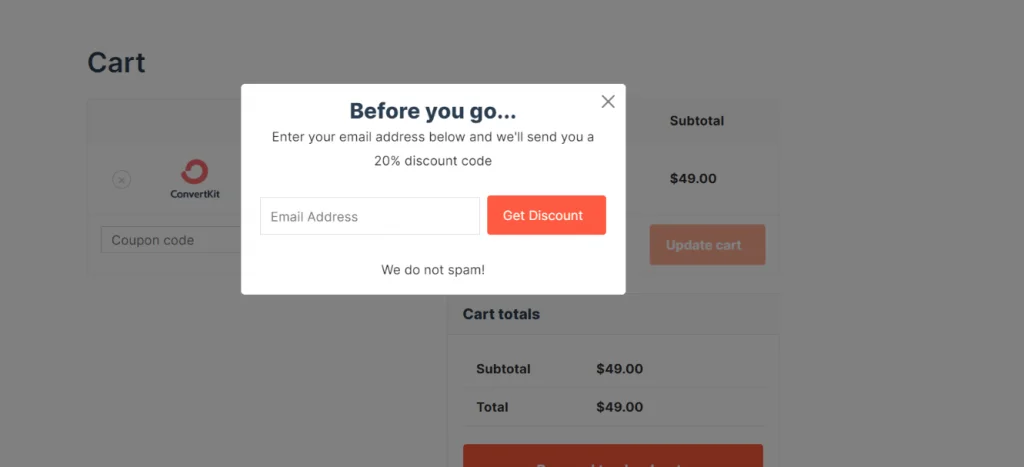
Noptin allows you to create such a system without writing any line of code.
Prerequisites
To continue with this tutorial, you will need to install the latest version of Noptin.
You will also need to install the appropriate add-on to automatically add new email subscribers to your email service provider (e.g., Mailchimp).
Creating the Subscription Pop-Up Form
First, click on Noptin > Subscription Forms to open the forms overview page…
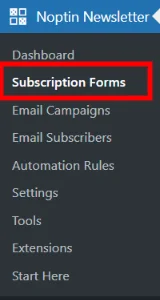
… then click on the Add New button to create a new subscription form.

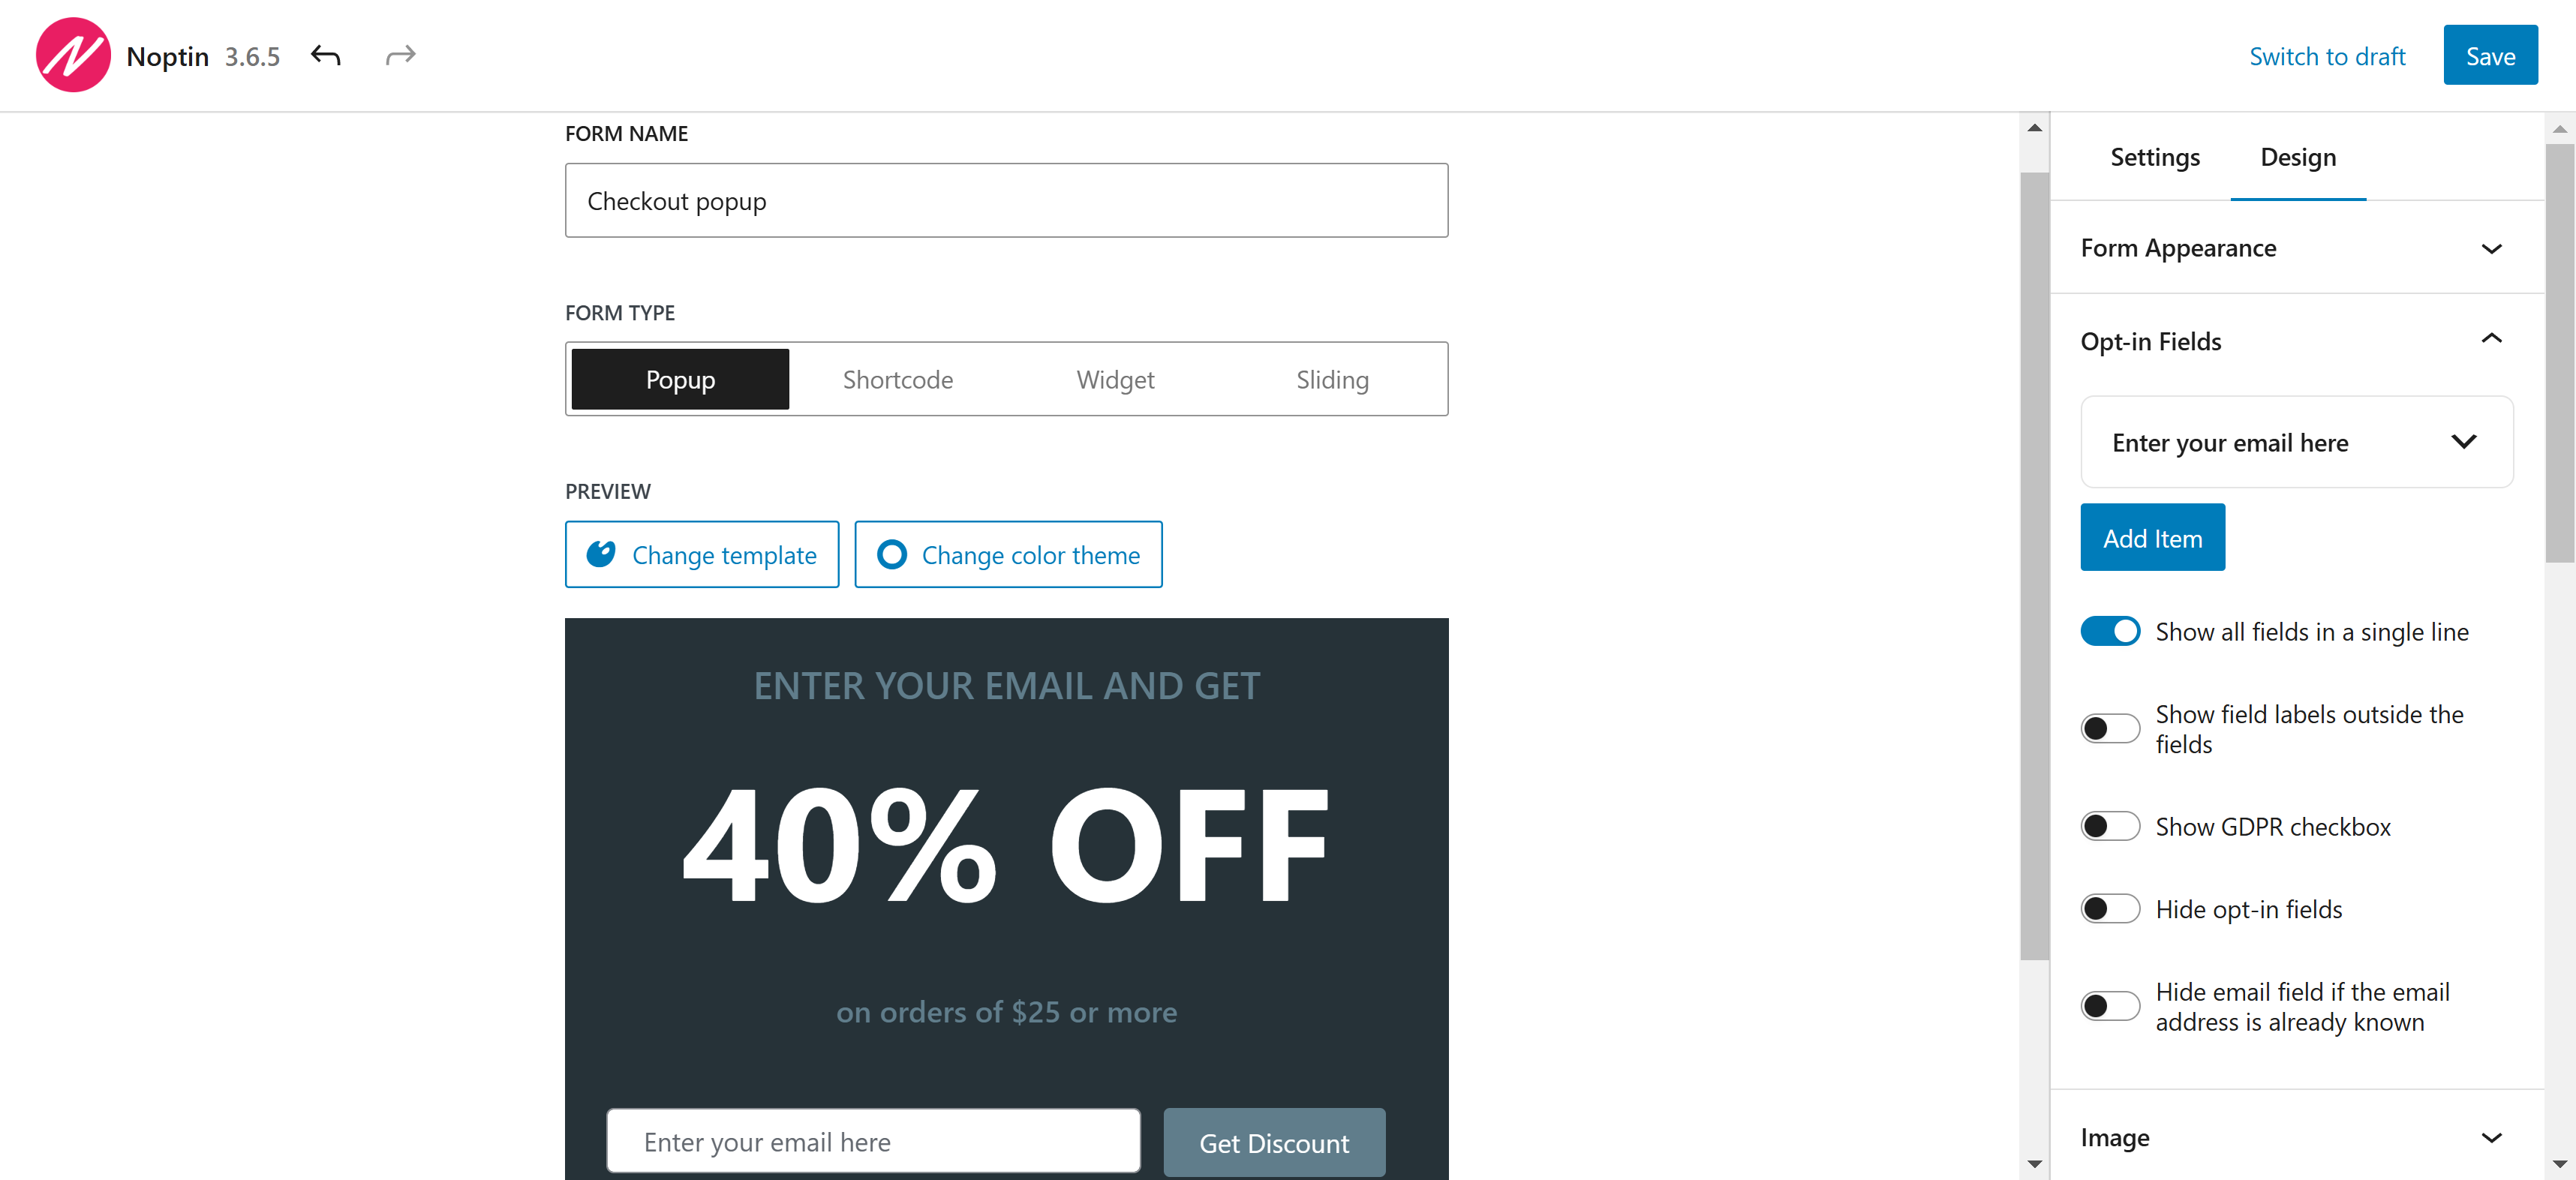
Next, give your new form a name, select pop-up as the form type, and then design it as needed.
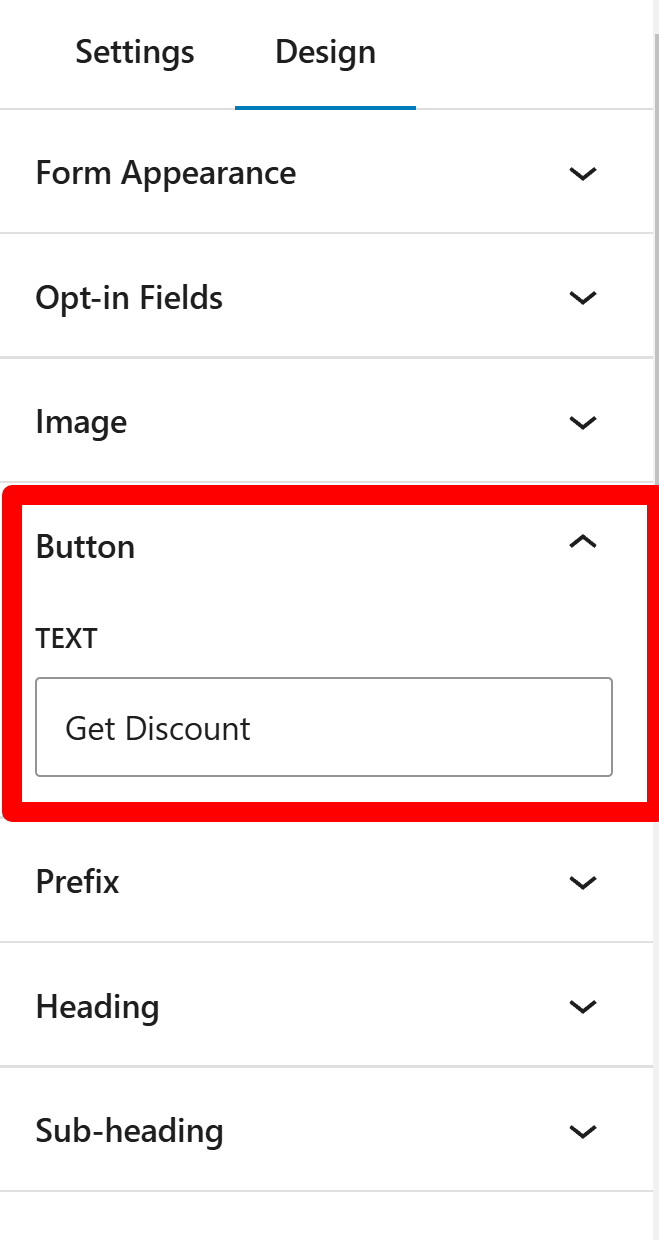
If you’re giving away something free in your pop-up, we recommend you mention it in the subscribe button text, as shown in the example below.
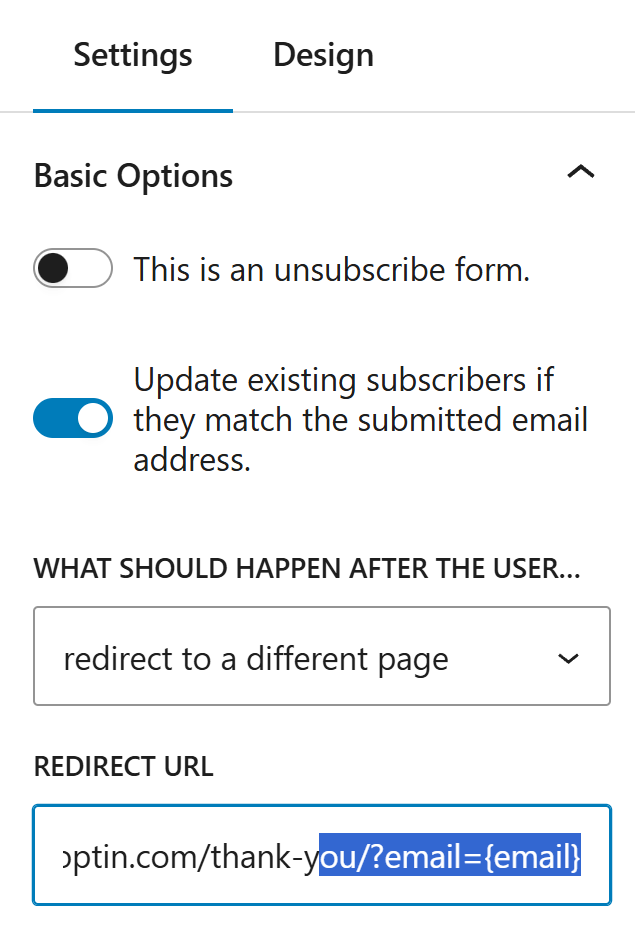
You may also specify a redirect URL if desired. Once set, Noptin will automatically direct new subscribers to the specified page.
As shown in the image below, redirect URLs can contain smart tags.
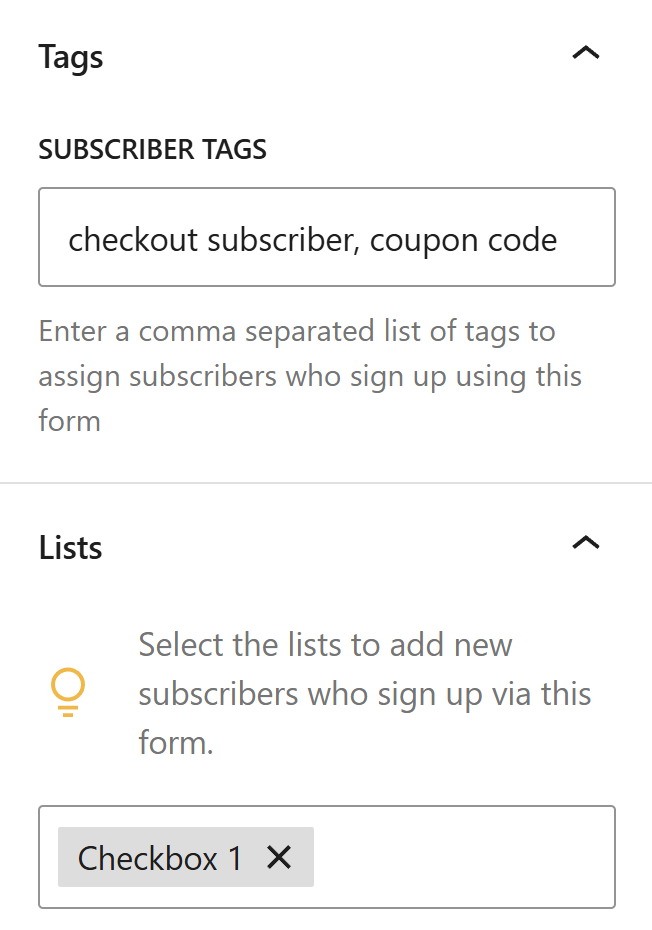
Tags and list settings are not mandatory, but it is advisable to segment your subscribers into relevant groups. Doing so helps deliver targeted emails that align with each subscriber’s preferences and sign-up intent.
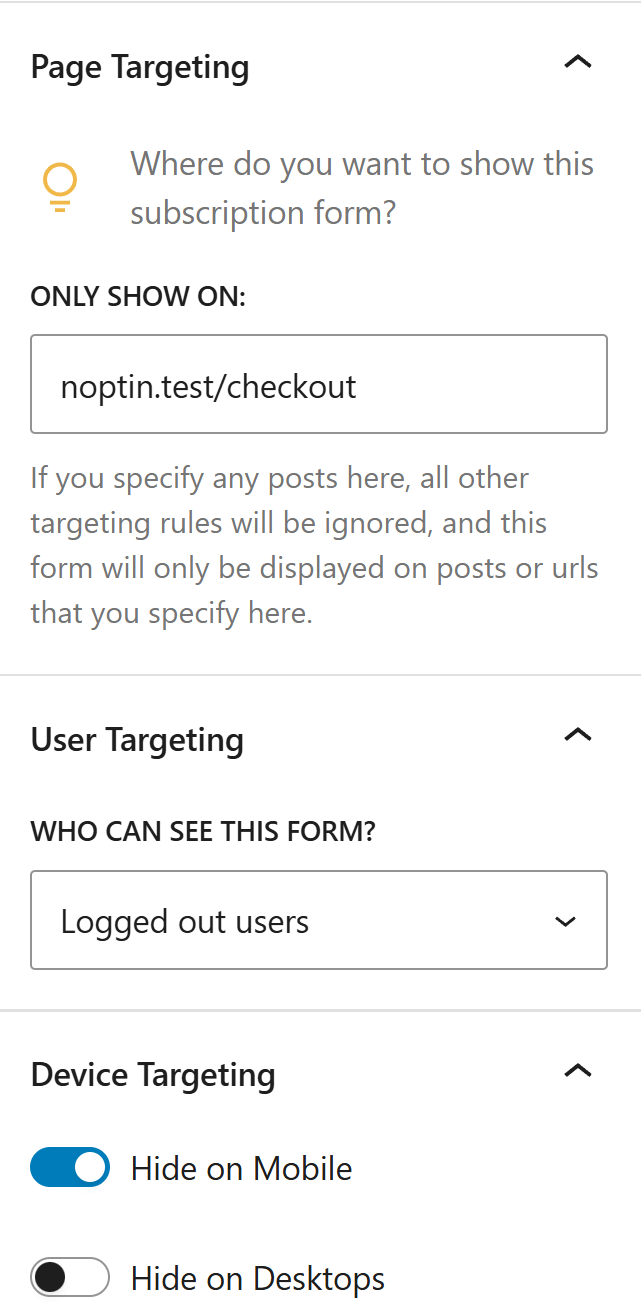
Noptin enables you to choose where the pop-up appears and specify which users can see it. This is particularly useful when your pop-up is intended for only a few specific pages.
In the example below, our pop-up form will only display on the checkout page if a logged-out user visits it via a desktop browser.
That’s all.
There’s only one problem, though. Noptin will display your pop-up subscription form as soon as a page finishes loading. Such types of pop-up sign-up forms can annoy your website visitors.
The following sections show you the other types of pop-up forms that you can create.
Exit-Intent Pop-Up Forms
An exit-intent pop-up form is displayed to a website visitor just before they leave your website. It tracks your website visitors’ mouse movements and pops up when it senses that a visitor’s mouse cursor has just left your page.
As a result, the forms will only show up for users who are navigating with a mouse or trackpad.
The most common use of exit-intent pop-ups is to display a newsletter sign-up form on your checkout page, just before a potential customer leaves the page without completing the purchase. You could then offer them a WooCommerce coupon code in exchange for their email address.
The coupon code should entice them to continue with the purchase, and if it doesn’t, you can send them follow-up emails encouraging them to complete their purchase.
This is known as an “exit-intent coupon code pop-up“.
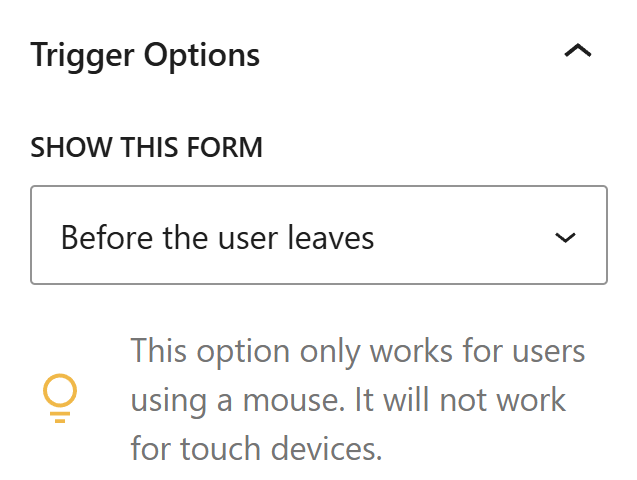
To create such a pop-up form, set the pop-up to display “Before the user leaves“.
Scroll-Percentage Pop-Up Forms
These newsletter sign-up forms will pop up after a user scrolls down a specified percentage of your page.
This is better than immediately displaying your pop-up forms since the user will have read some of your content and will be more likely to convert.
To create such a pop-up form, set the pop-up to display “After the user starts scrolling“.
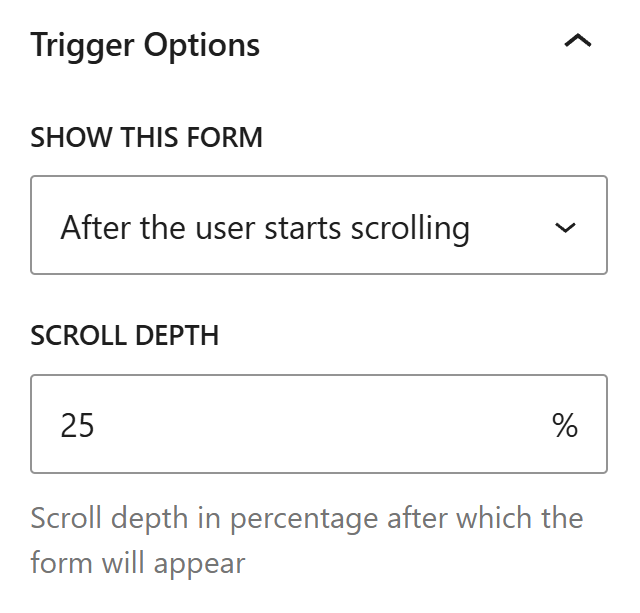
A new text box will appear, allowing you to set the scroll percentage. The default is 25%, but you can set it to any percentage, such as 70% or even 100%.
Click-triggered Pop-Up Forms
These newsletter sign-up forms will pop up after a user clicks on an element such as a button or a link.
They are mostly useful when offering content upgrades, such as in the example below from Backlinko.
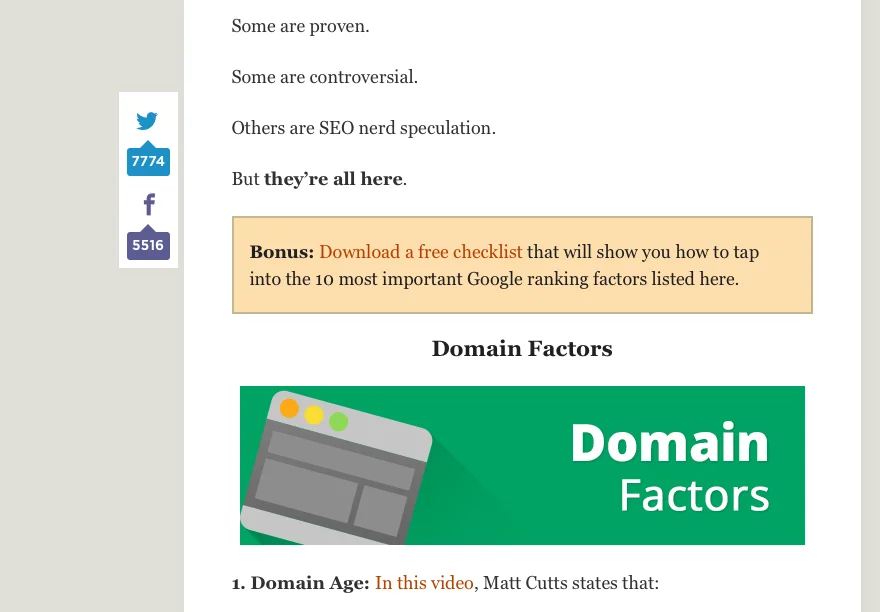
When someone clicks on the “Download a free checklist” link, a newsletter sign-up form will pop up asking them to enter their email address. The checklist will then be sent to the provided email address.
To create such a pop-up form, set the pop-up to display “After clicking on something“.
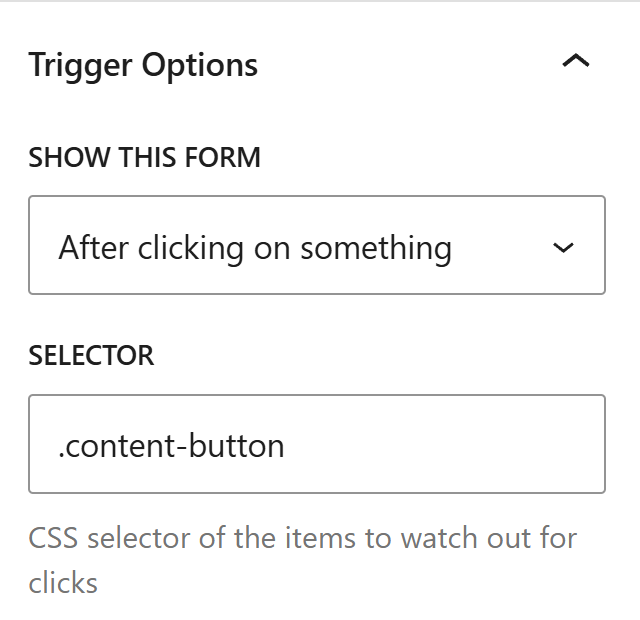
A new text box will appear, allowing you to enter the CSS selector of the element that should be watched for clicks.
Delayed Pop-Up Forms
These newsletter sign-up forms will pop up after a given time delay (measured in seconds). They convert better than normal pop-ups since they give our website visitors time to familiarize themselves with your website first.
To create such a pop-up form, set the form to display “After a time delay“.
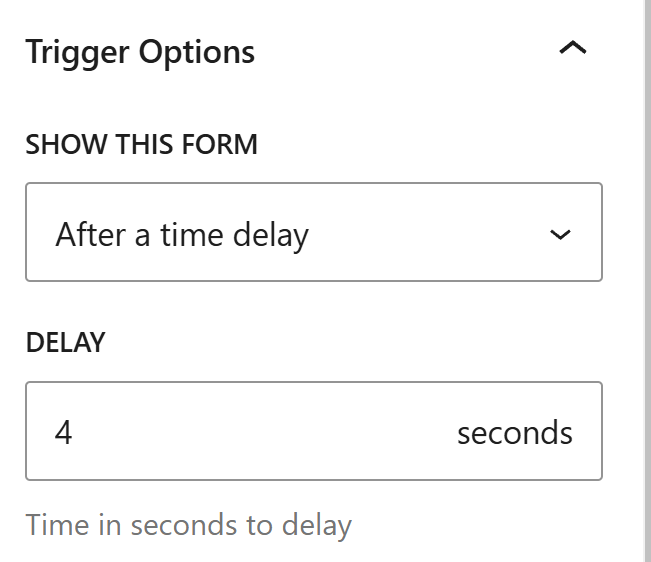
A new text box will appear, allowing you to enter the number of seconds to wait before displaying the pop-up form.
Leave a Reply