
This guide shows you how to automatically send your WooCommerce customers a thank you email after they purchase something from your store.
This allows you to:-
- Build a positive relationship with your customers.
- Appreciate your customers’ support.
- Make more sales by including a unique next-order coupon in the thank-you emails.
Automated thank-you emails are sent automatically after a customer makes a purchase, which means you don’t have to worry about remembering to send them manually. The emails can also be personalized with the customer’s name and other details, making them feel more valued and special.
And the best part is, you’ll be able to do all this for free, and without writing any line of code.
What You’ll Learn
- How to set up an automated WooCommerce thank-you email.
- How to personalize the email with your customers’ details.
- Tips to write the perfect thank you email.

You might also like:–
Prerequisites
To follow along with this tutorial, you need to install at least version 3.0 of WooCommerce (Free) and the latest version of Noptin (also free).
Noptin is a free and lightweight WooCommerce email marketing automation plugin. It can help you save time and make more sales at the same time.
Step 1: Create a new automated email
The first step is to create a new automated email.
To do this:-
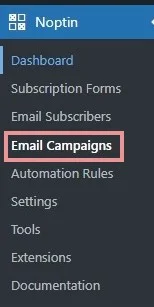
First, log into your WordPress admin dashboard then click on Noptin > Email Campaigns to open the email campaigns overview page.
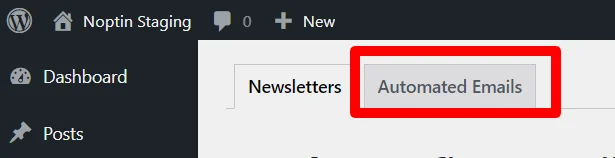
Next, click on the Automated Emails tab at the top of this page to open the automated emails section.
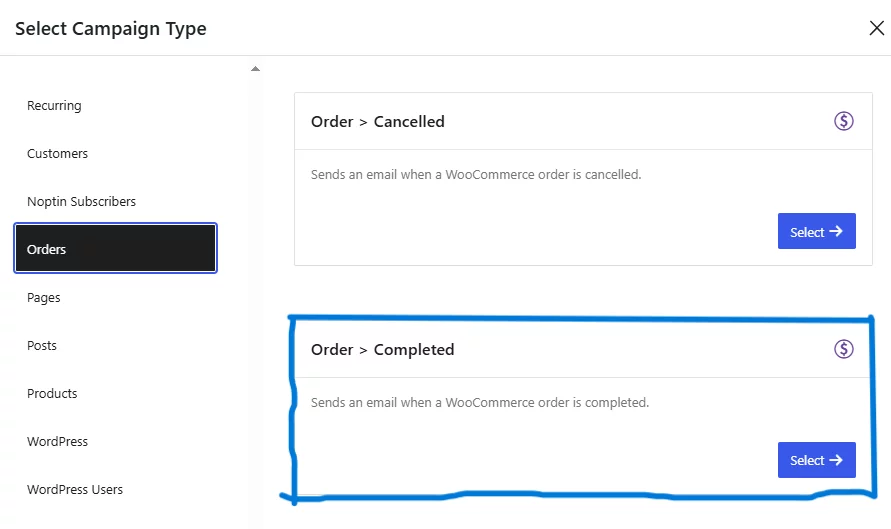
Finally, click on the New Campaign button then select the type of campaign that you wish to create. In this instance, select Order-Completed
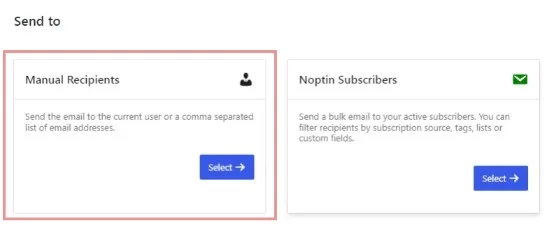
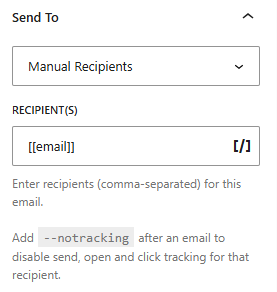
Since you want to thank customers who have made a purchase on your WooCommerce store, select Manual Recipients. You can use the email tag or add other emails seperated by commas.
Triggers
Depending on when you wish to send the thank you email, you can either set up an “Order > Completed” email or a “Product Purchase” email.
Order > Completed – Select this if you would like to send a thank-you email for all products in your WooCommerce store.
Product Purchase – Select this if the email should only send for a specific product.
Step 2: Set up the thank you email
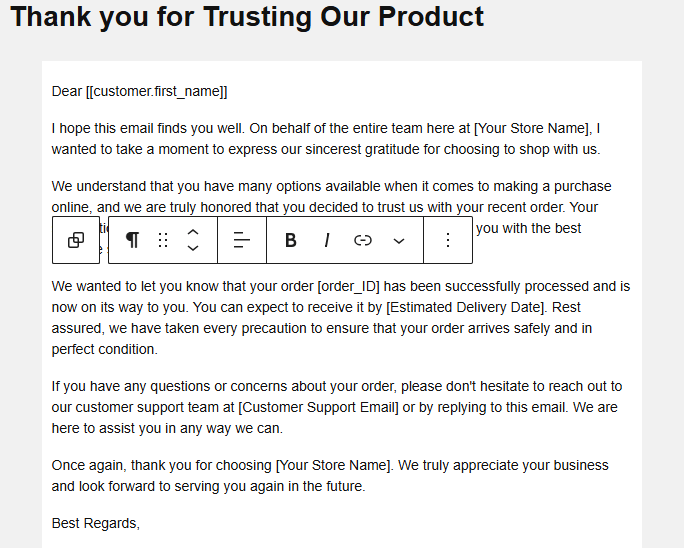
After you create a new automated email, Noptin will open the email editor.
The editor allows you to:-
1. Set the thank-you email subject. Remember to keep it short and sweet.

2. Provide the email content. Start drafting your thank you email by just typing or copy-pasting from another platform. You can also use the in-built WordPress blocks to customize it
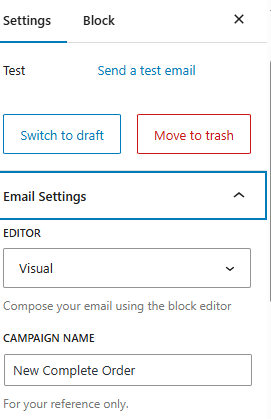
3. Configure your email. On the settings tab on the right, select Email Settings to give your campaign a name so you can identify it easily among other campaigns you might have set.
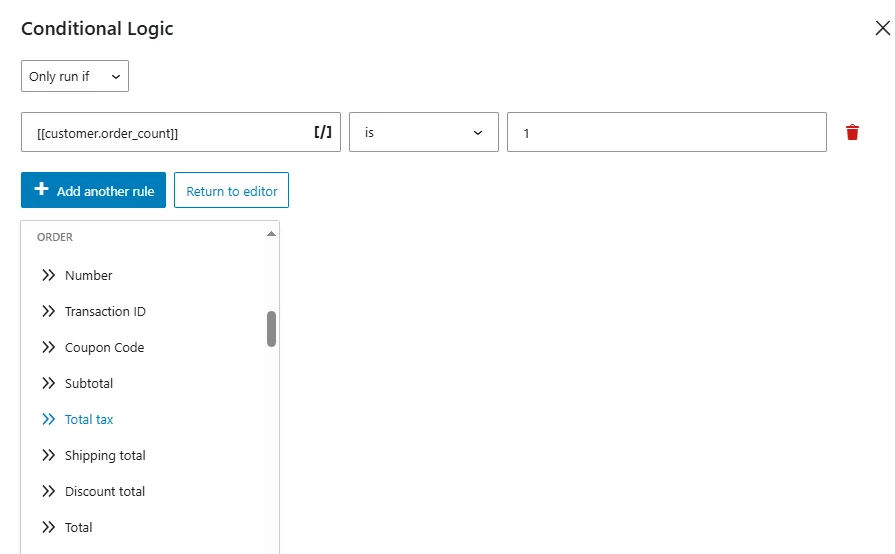
4. Set CONDITIONAL LOGIC. This are rules that must be fulfilled to trigger the automatic email to your customer. For example, if you want to automatically thank your customer after making their first order or reaching a certain mile store, you turn conditional logic button on and then select Edit Conditional Logic where you set the rules (conditions) to be fulfilled.
5. Set the ‘Send from.’ Determine the email address you want to be used to send the automatic email

6. Select the Email recipient (s). Ensure you select Manual Recipients if you want to add more emails to the default email tag, separate them using commas
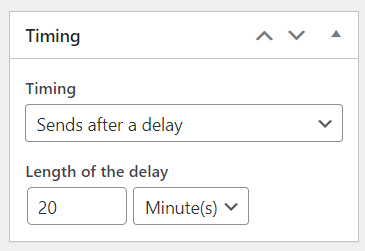
7. Select Timing. You can set the email to send out as soon as there’s a new order, or delay it for a given number of minutes, hours, days, weeks, months, or even years.
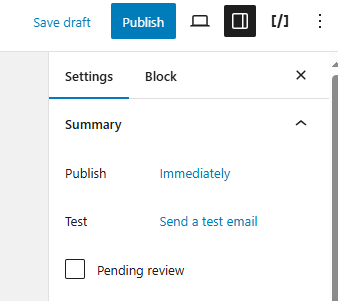
8. Publish the WooCommerce thank-you email. You can also set the email to only send out to new customers as well as send yourself a test email.
Bonus 2: Tips for crafting the perfect thank you email
Here are some tips for crafting a thoughtful and effective WooCommerce new order thank-you email:
- Start with a greeting. Begin your email with a greeting, such as “Dear [[customer.first_name]],” or “Hello [[customer.first_name]],”.
- Personalize the thank-you email with the customer’s name and order details
- Express your gratitude and be sure to use words like “thank you” or “grateful.”
- Include a coupon code or special offer as a token of appreciation
- Offer further assistance or support. If appropriate, let them know that you are available to assist them if needed.
- Use a closing and sign-off. End your email with a closing, such as “Sincerely,” or “Best regards,” followed by your name.
- Proofread and edit. Make sure to proofread and edit your email for spelling and grammar errors.
Bonus 1: Sample new order thank-you email
Below is a sample WooCommerce thank-you email. It displays important order details as well as providing the customer with a unique WooCommerce coupon code that they can use in their next purchase. The coupon code is dynamically generated to prevent misuse.
Hi [[customer.first_name]],

Thank you for your purchase! We are excited to have you on board and to provide you with the best experience possible.

As a token of our appreciation, we would like to offer you a special discount on your next purchase. Simply use the coupon code [[noptin_coupon_code]] at checkout to receive 40% off your next order.

Your order details are as follows:

[[order.details]]

We will keep you updated on the status of your order and let you know as soon as it is shipped. In the meantime, if you have any questions or concerns, please don't hesitate to contact us.

Thank you again for your business. We look forward to serving you in the future.

Sincerely,
[Your Name]


Leave a Reply