You can connect Noptin to your Slack channel and automatically send new messages to the channel whenever something happens on your WordPress site.
This is a premium feature.
That means that you have to purchase a plan before you can use it.
Install Addon
- First, download the Slack addon from your account.
- Log in to the WordPress admin area of your website.
- Navigate to Plugins > Add New then click on Upload Plugin.
- Upload the plugin you downloaded in the first step.
- Click on Install Now.
- Wait for WordPress to install the plugin then click on Activate Plugin.
Connect to Slack
After activating the addon, WordPress will redirect you to the integration’s settings page.
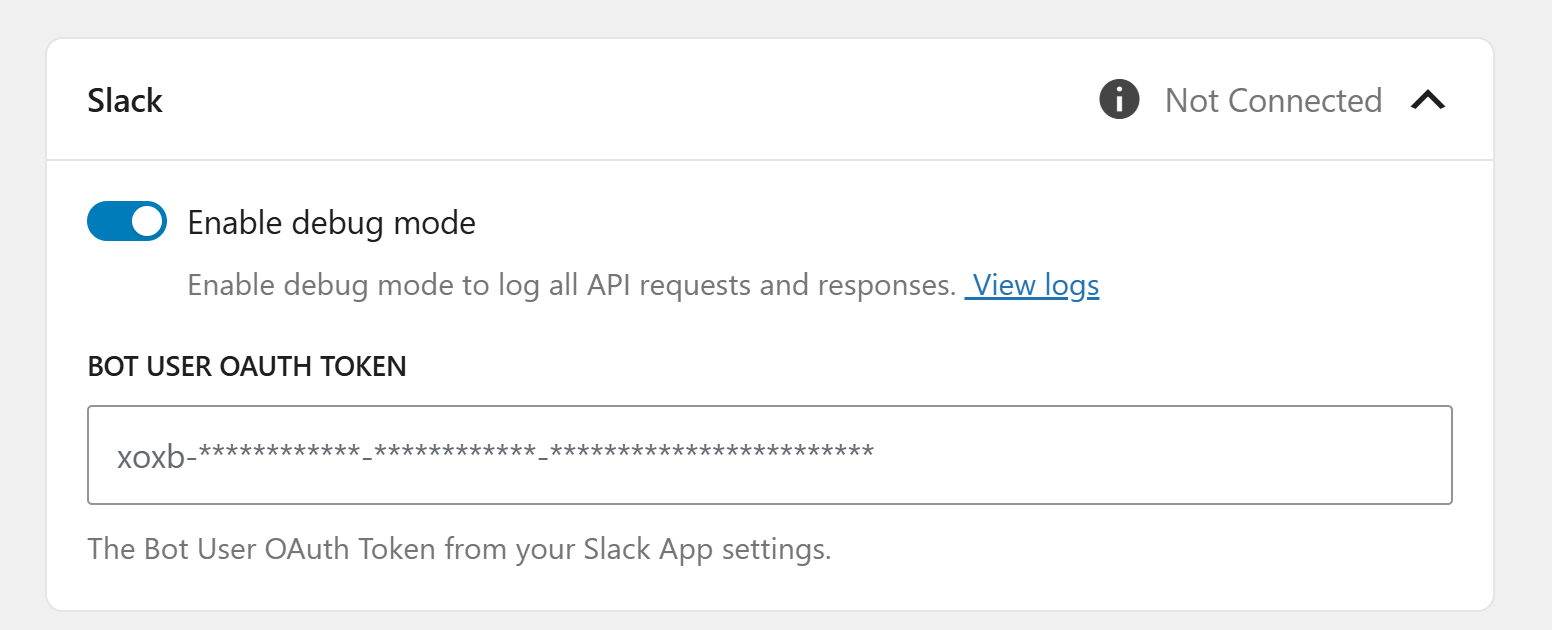
Enter your bot user OAuth token and then save your settings.
To get a “Bot user Oauth Token“, you must create and configure a Slack App.
Here’s a step-by-step guide:
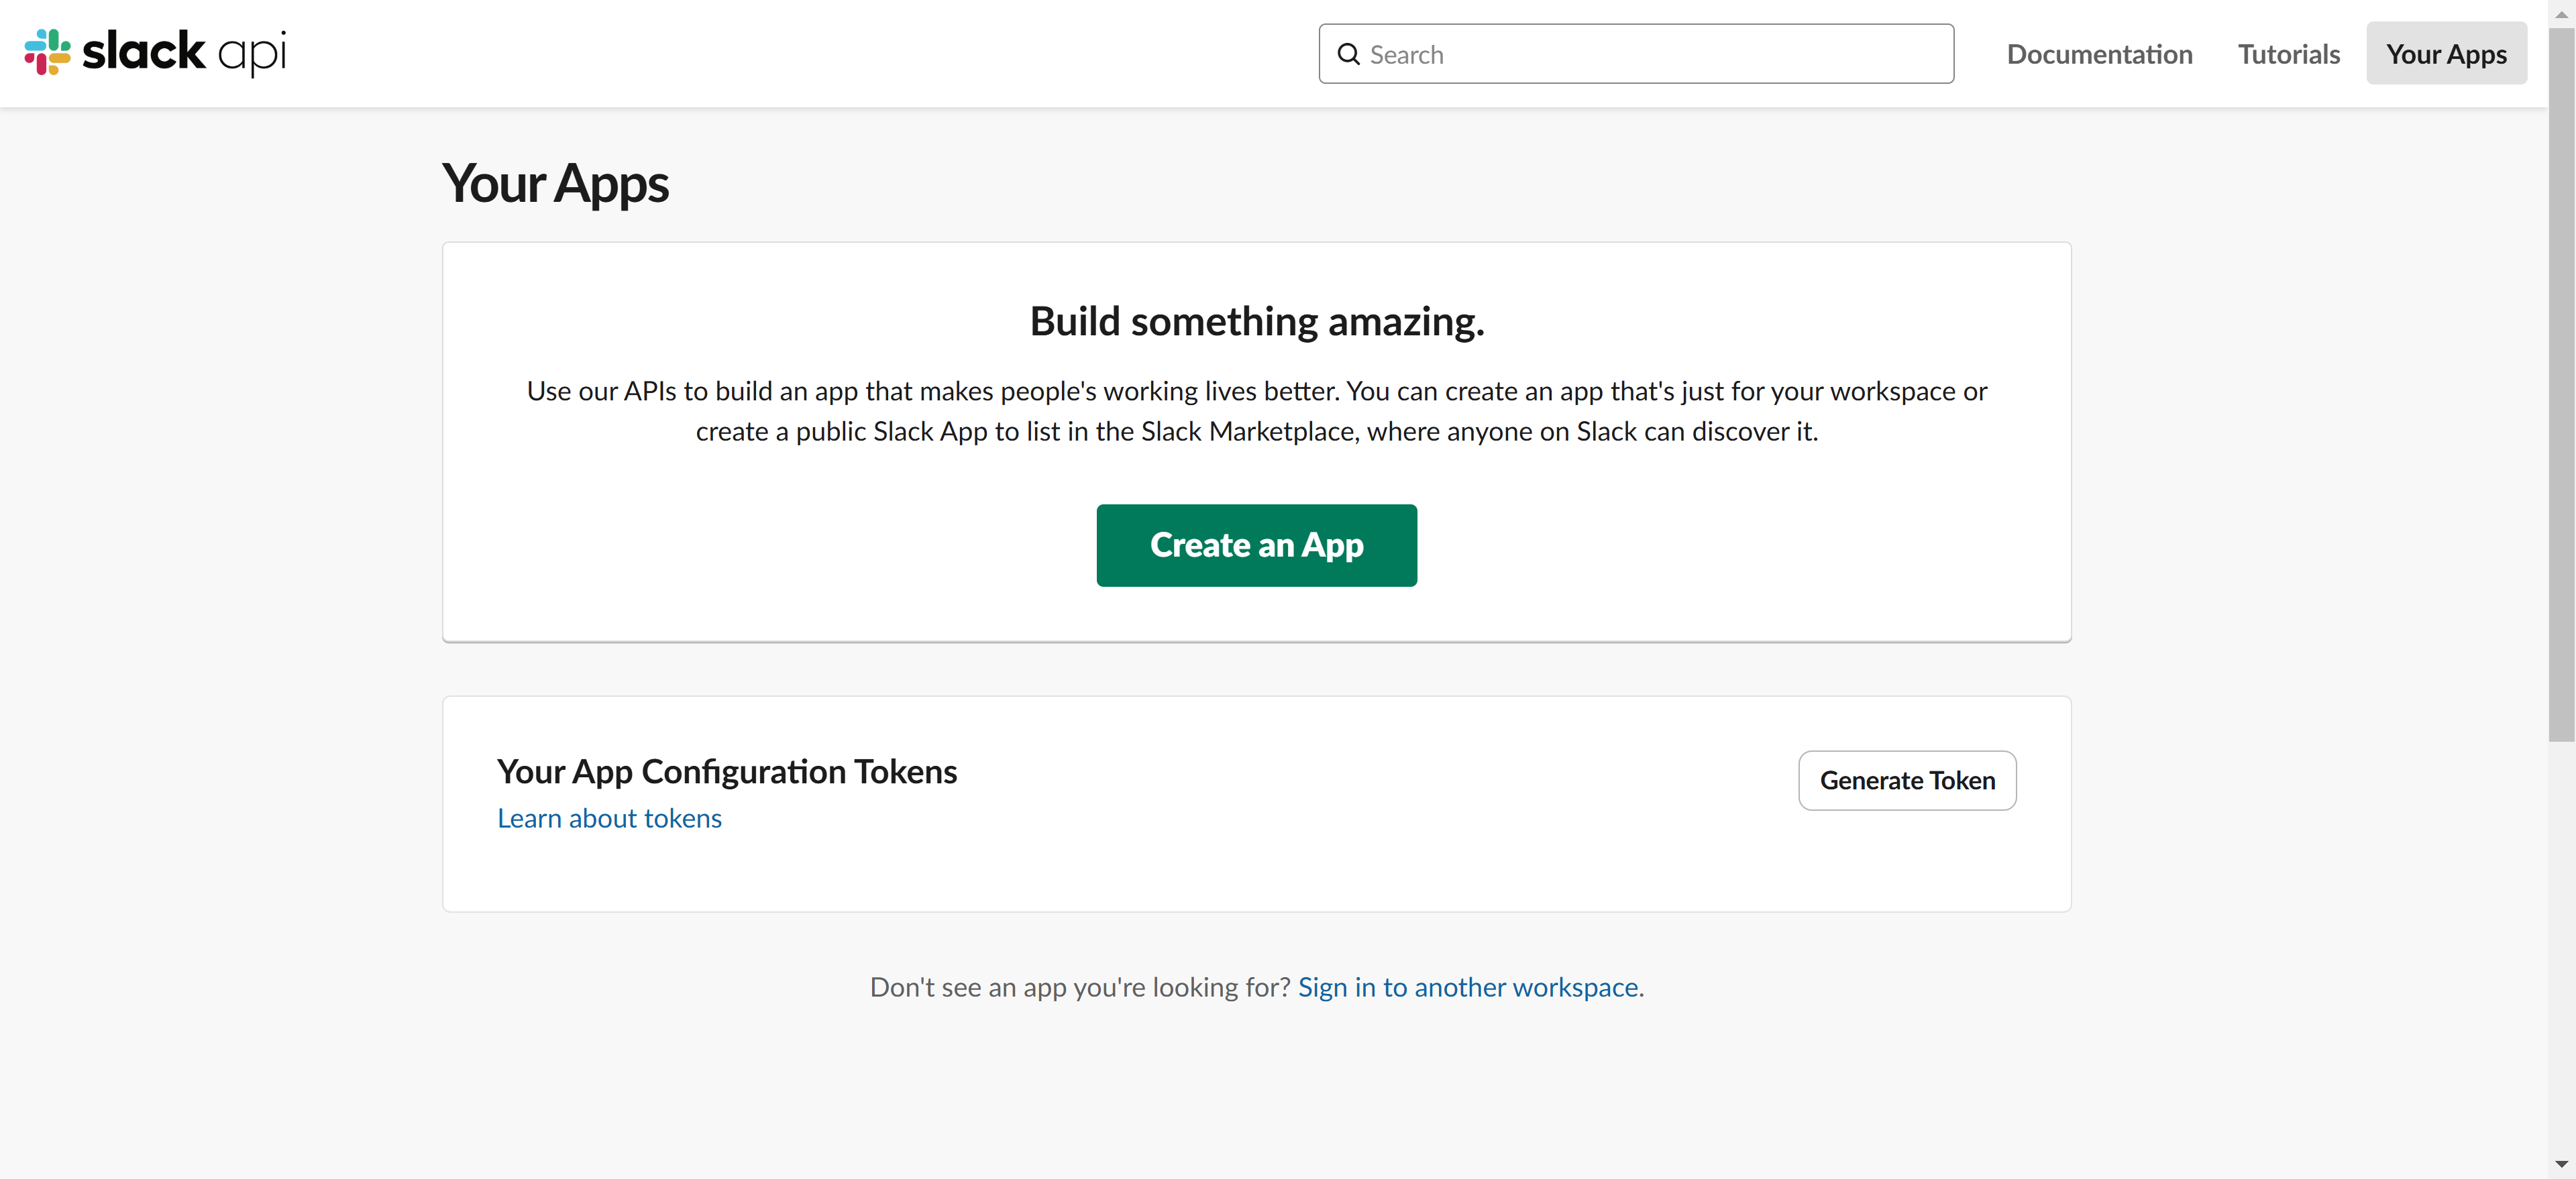
1. Create a Slack App
Go to https://api.slack.com/apps and click the “Create an App” button.
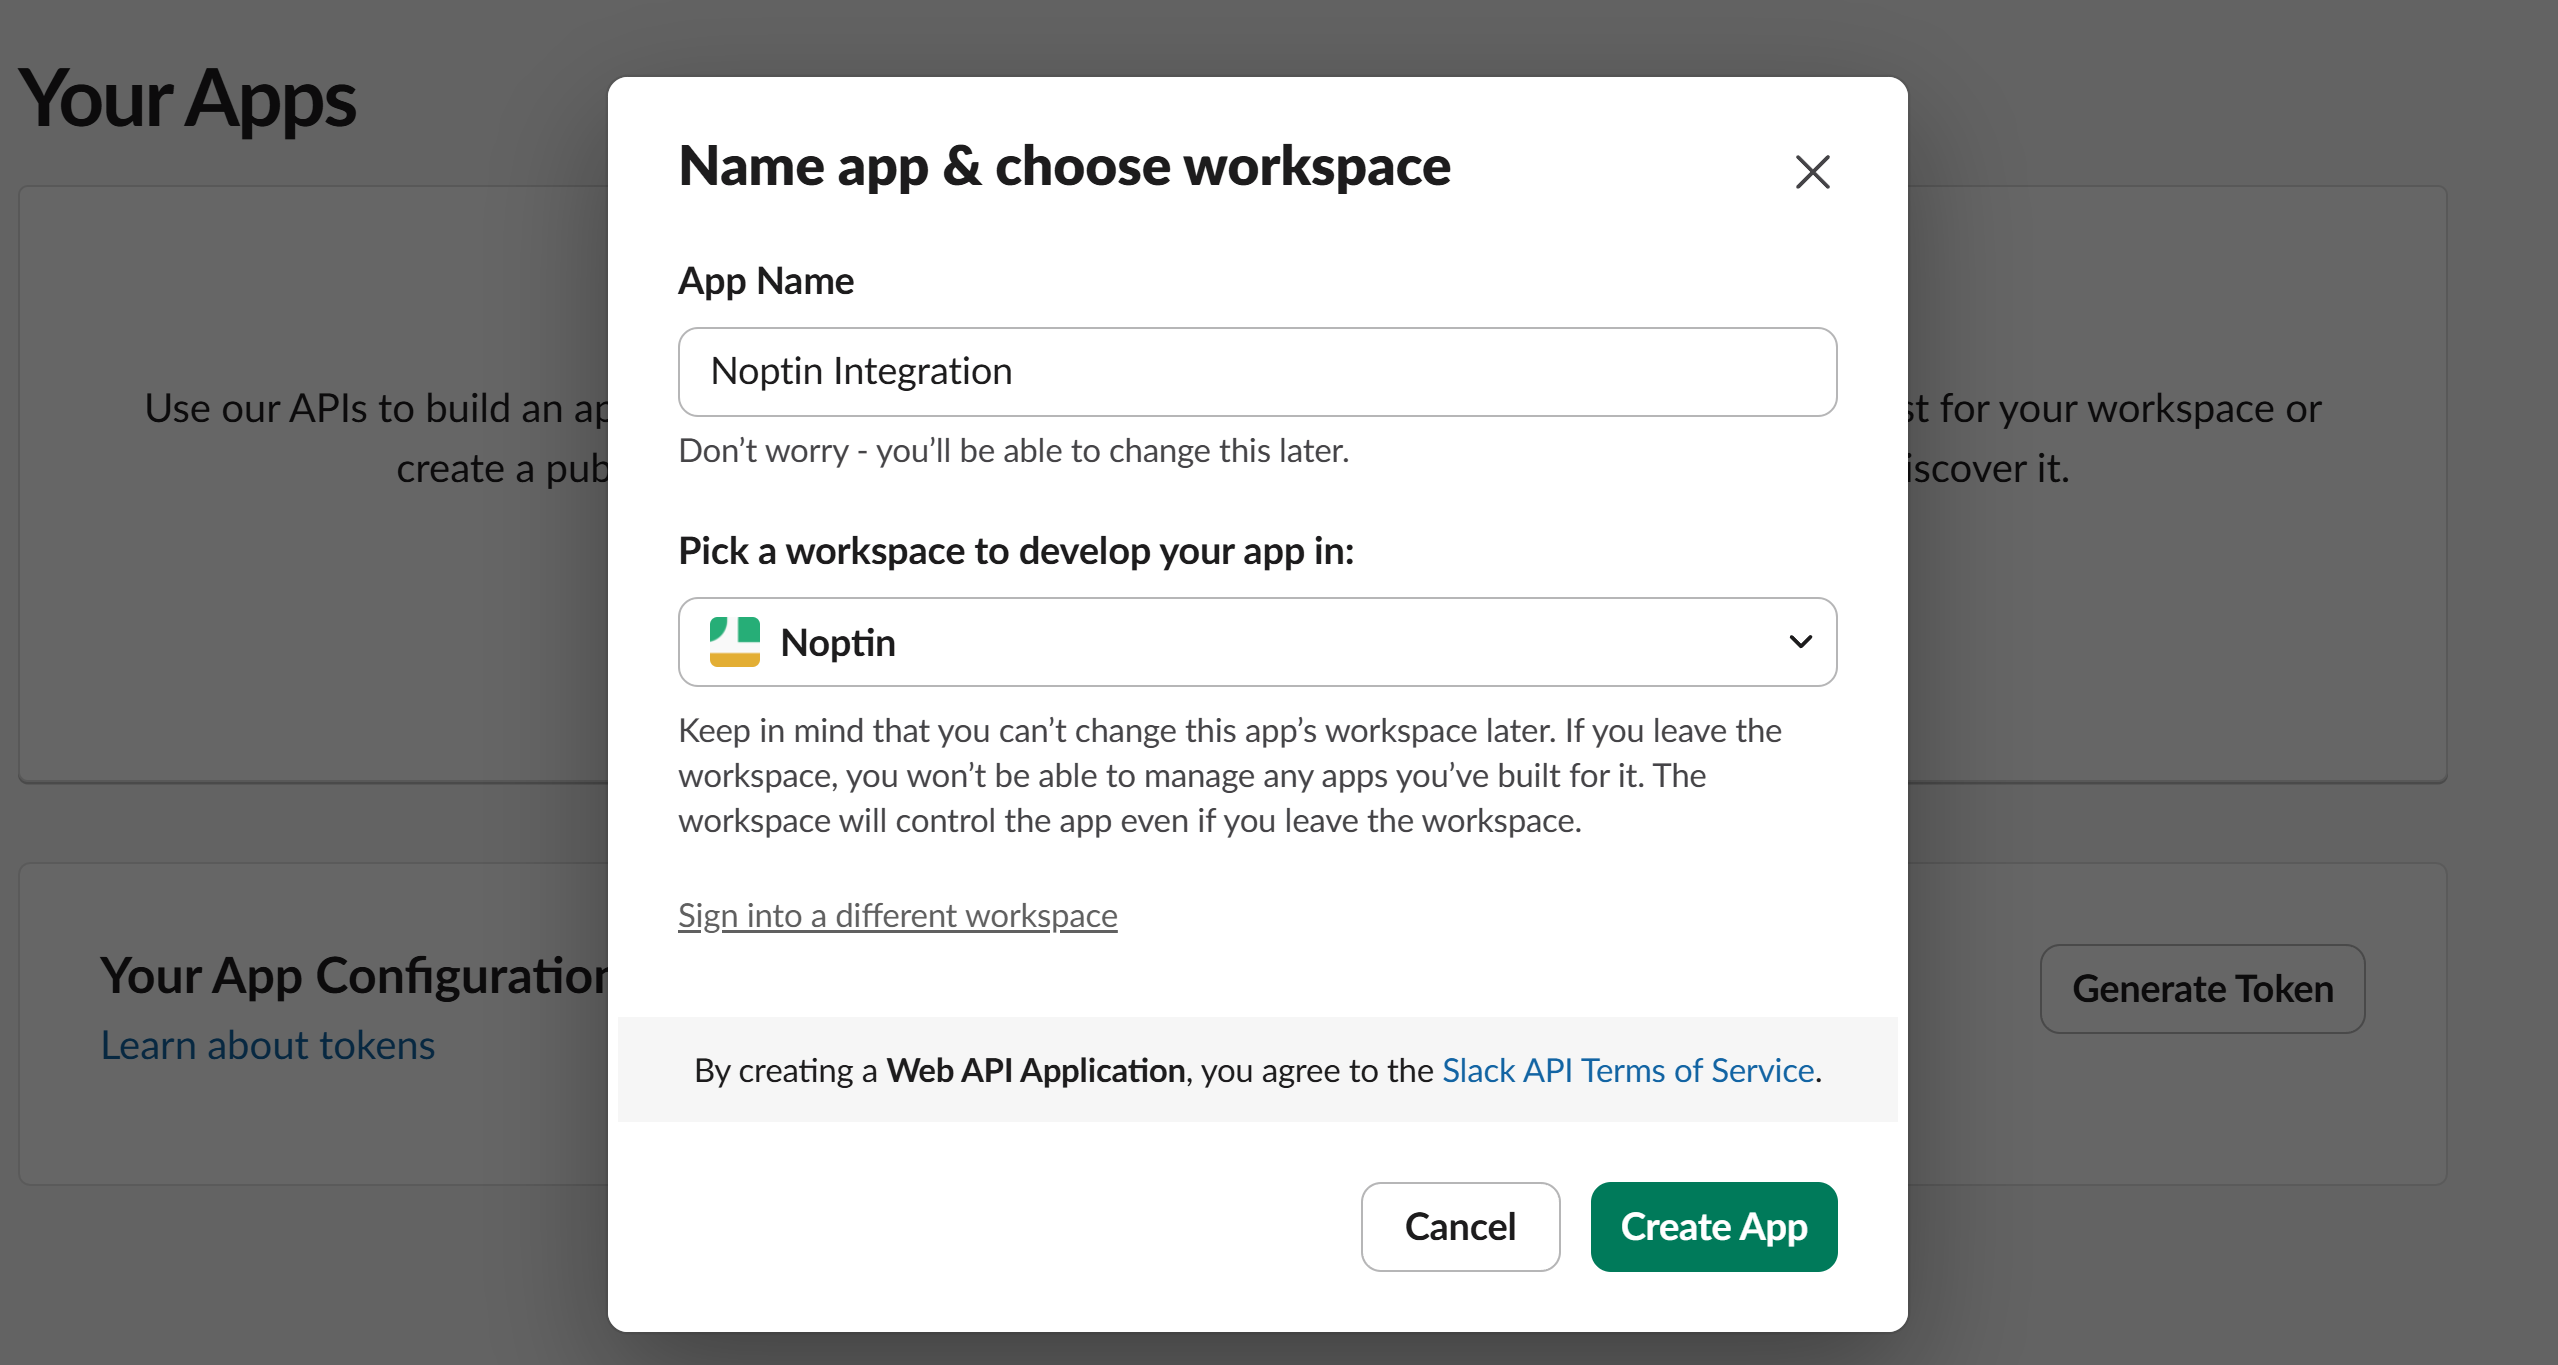
Slack will open an app creation modal. Choose “From scratch“

Finally, enter your app name, select your workspace, and create the app.
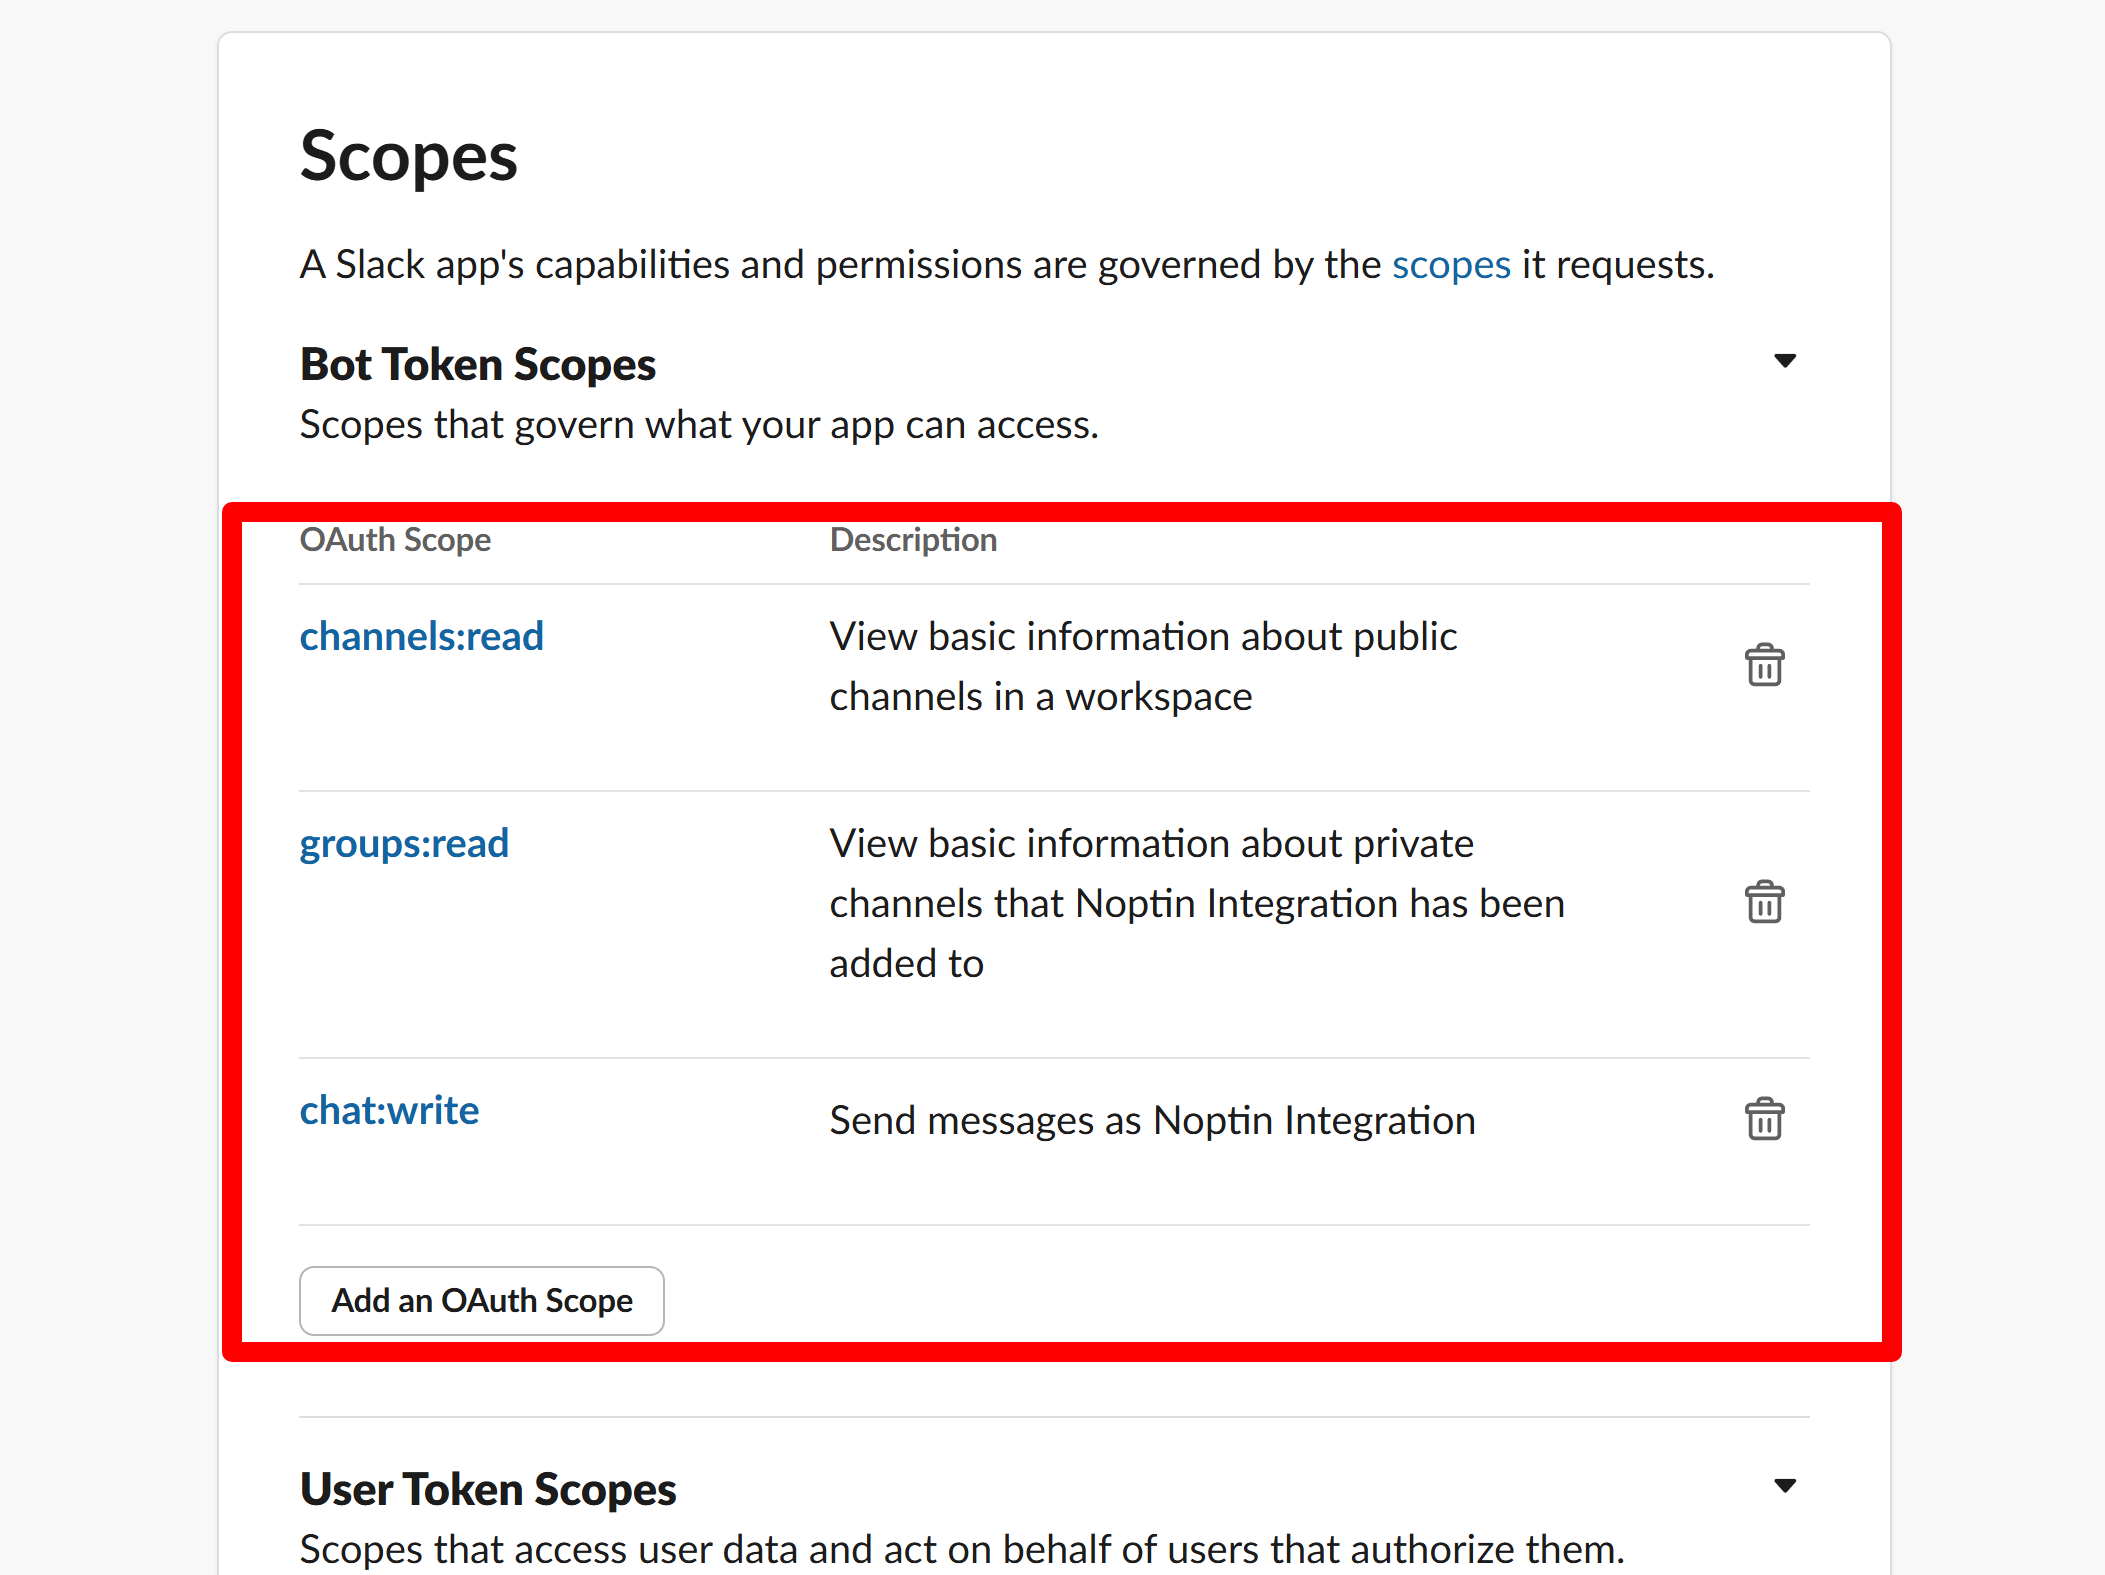
2. Configure Bot User
- In your app settings, go to “Features” → “OAuth & Permissions“
- Under “Bot Token Scopes“, add these permissions:
chat:write(to send messages)channels:read(to see channel info)groups:read(for private channels)
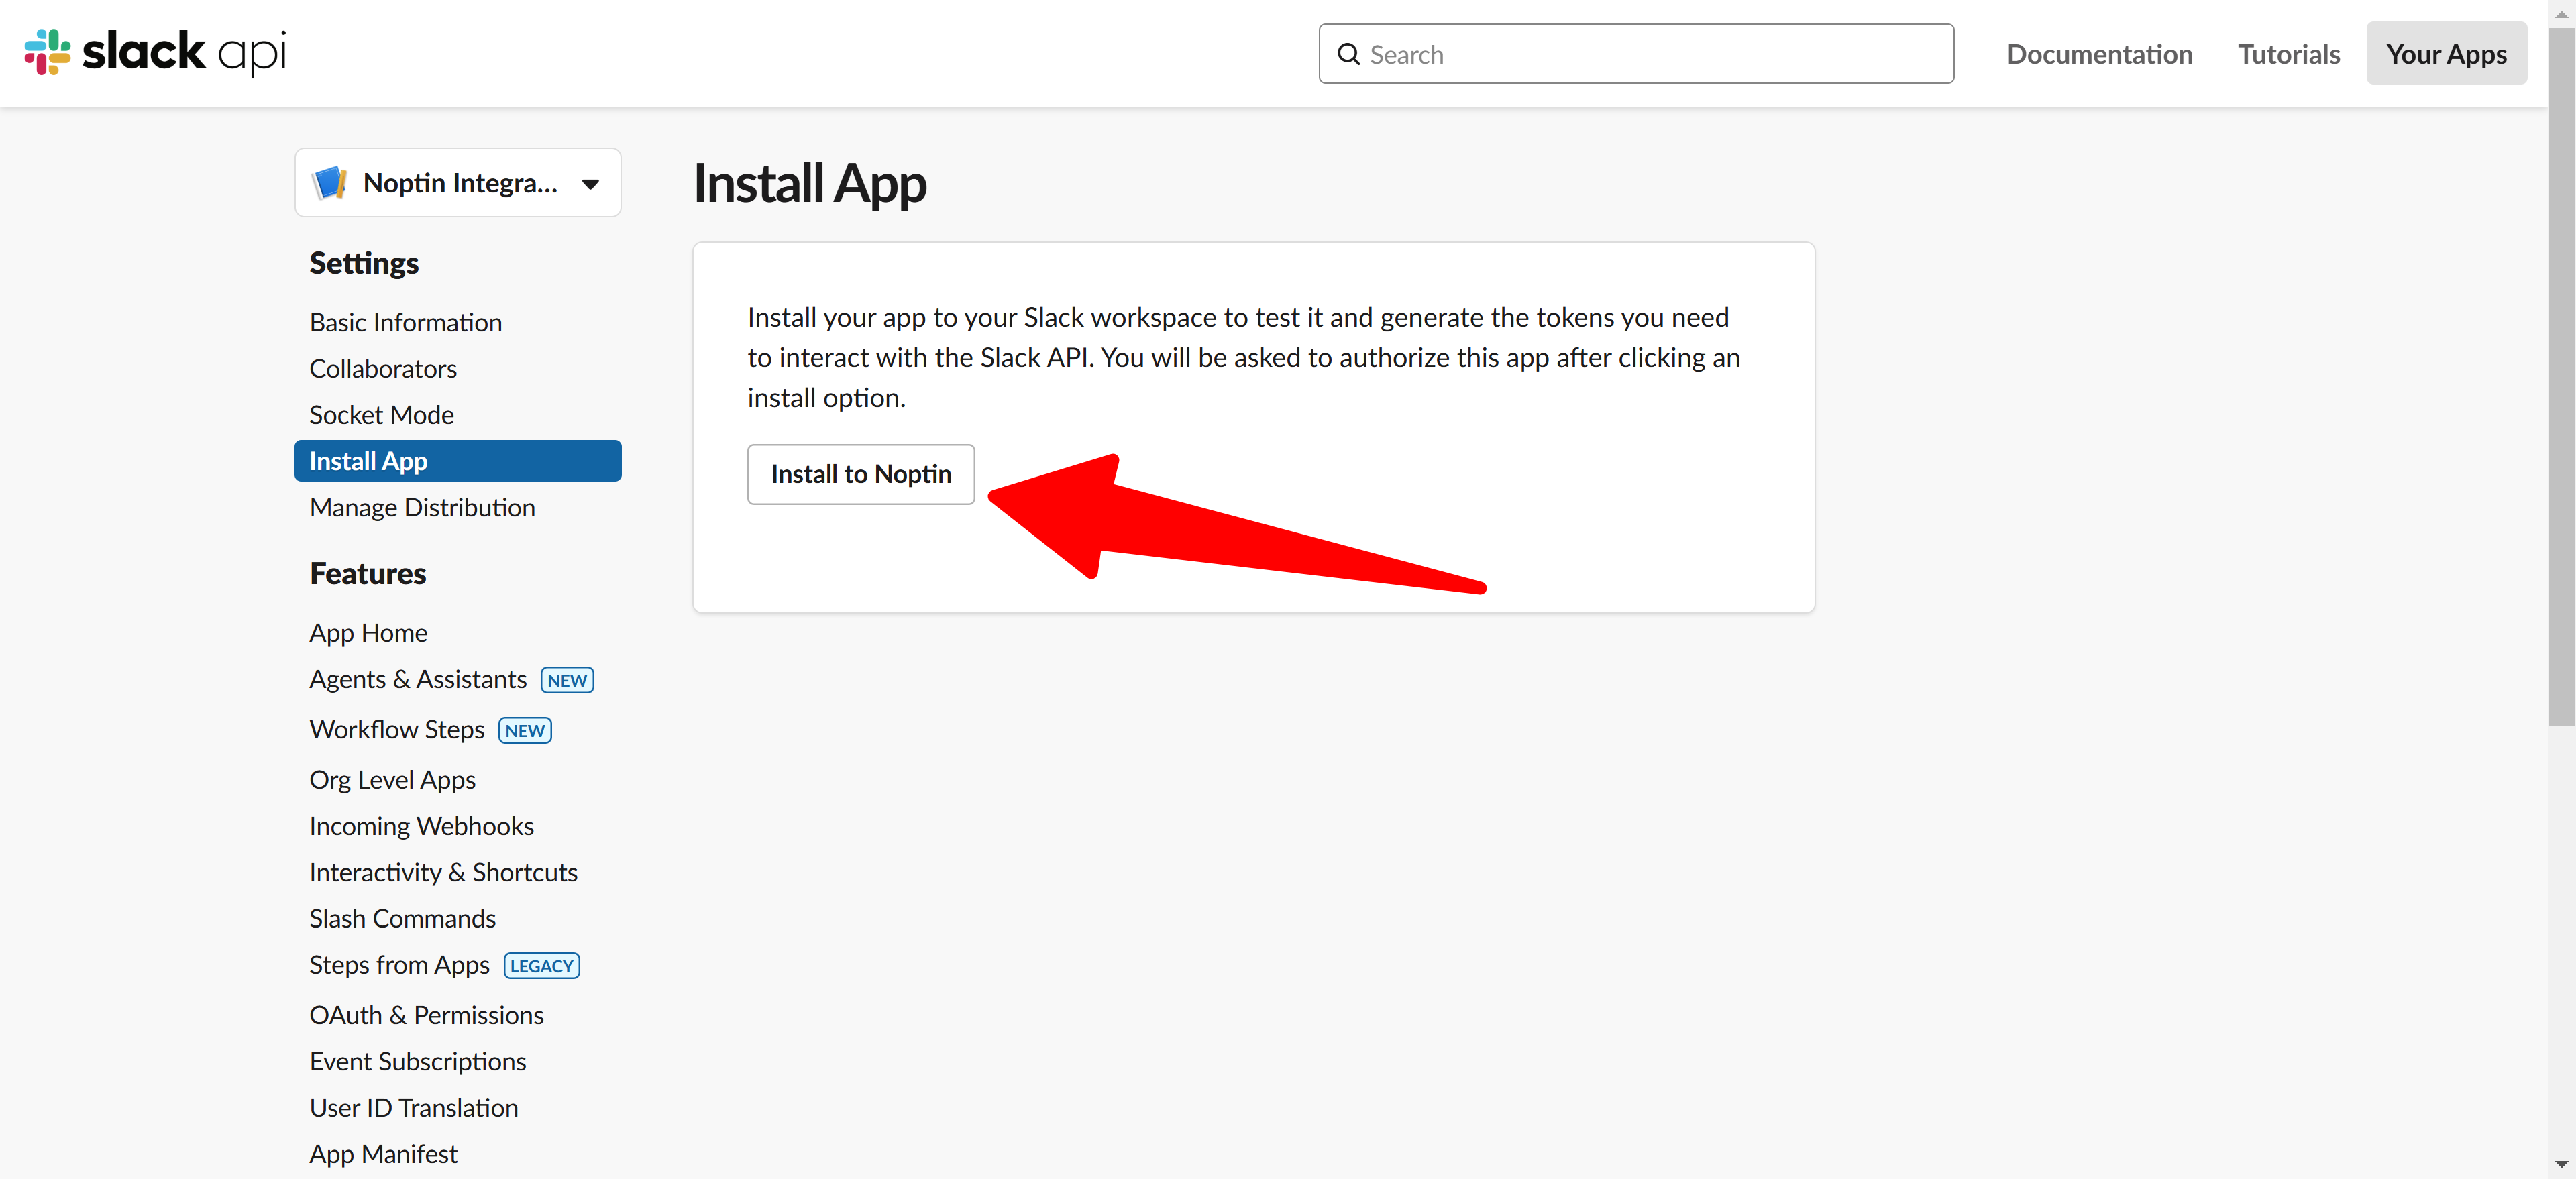
3. Install the App
- Go to “Settings” → “Install App“
- Click “Install to {Workspace}“
- Authorize the app
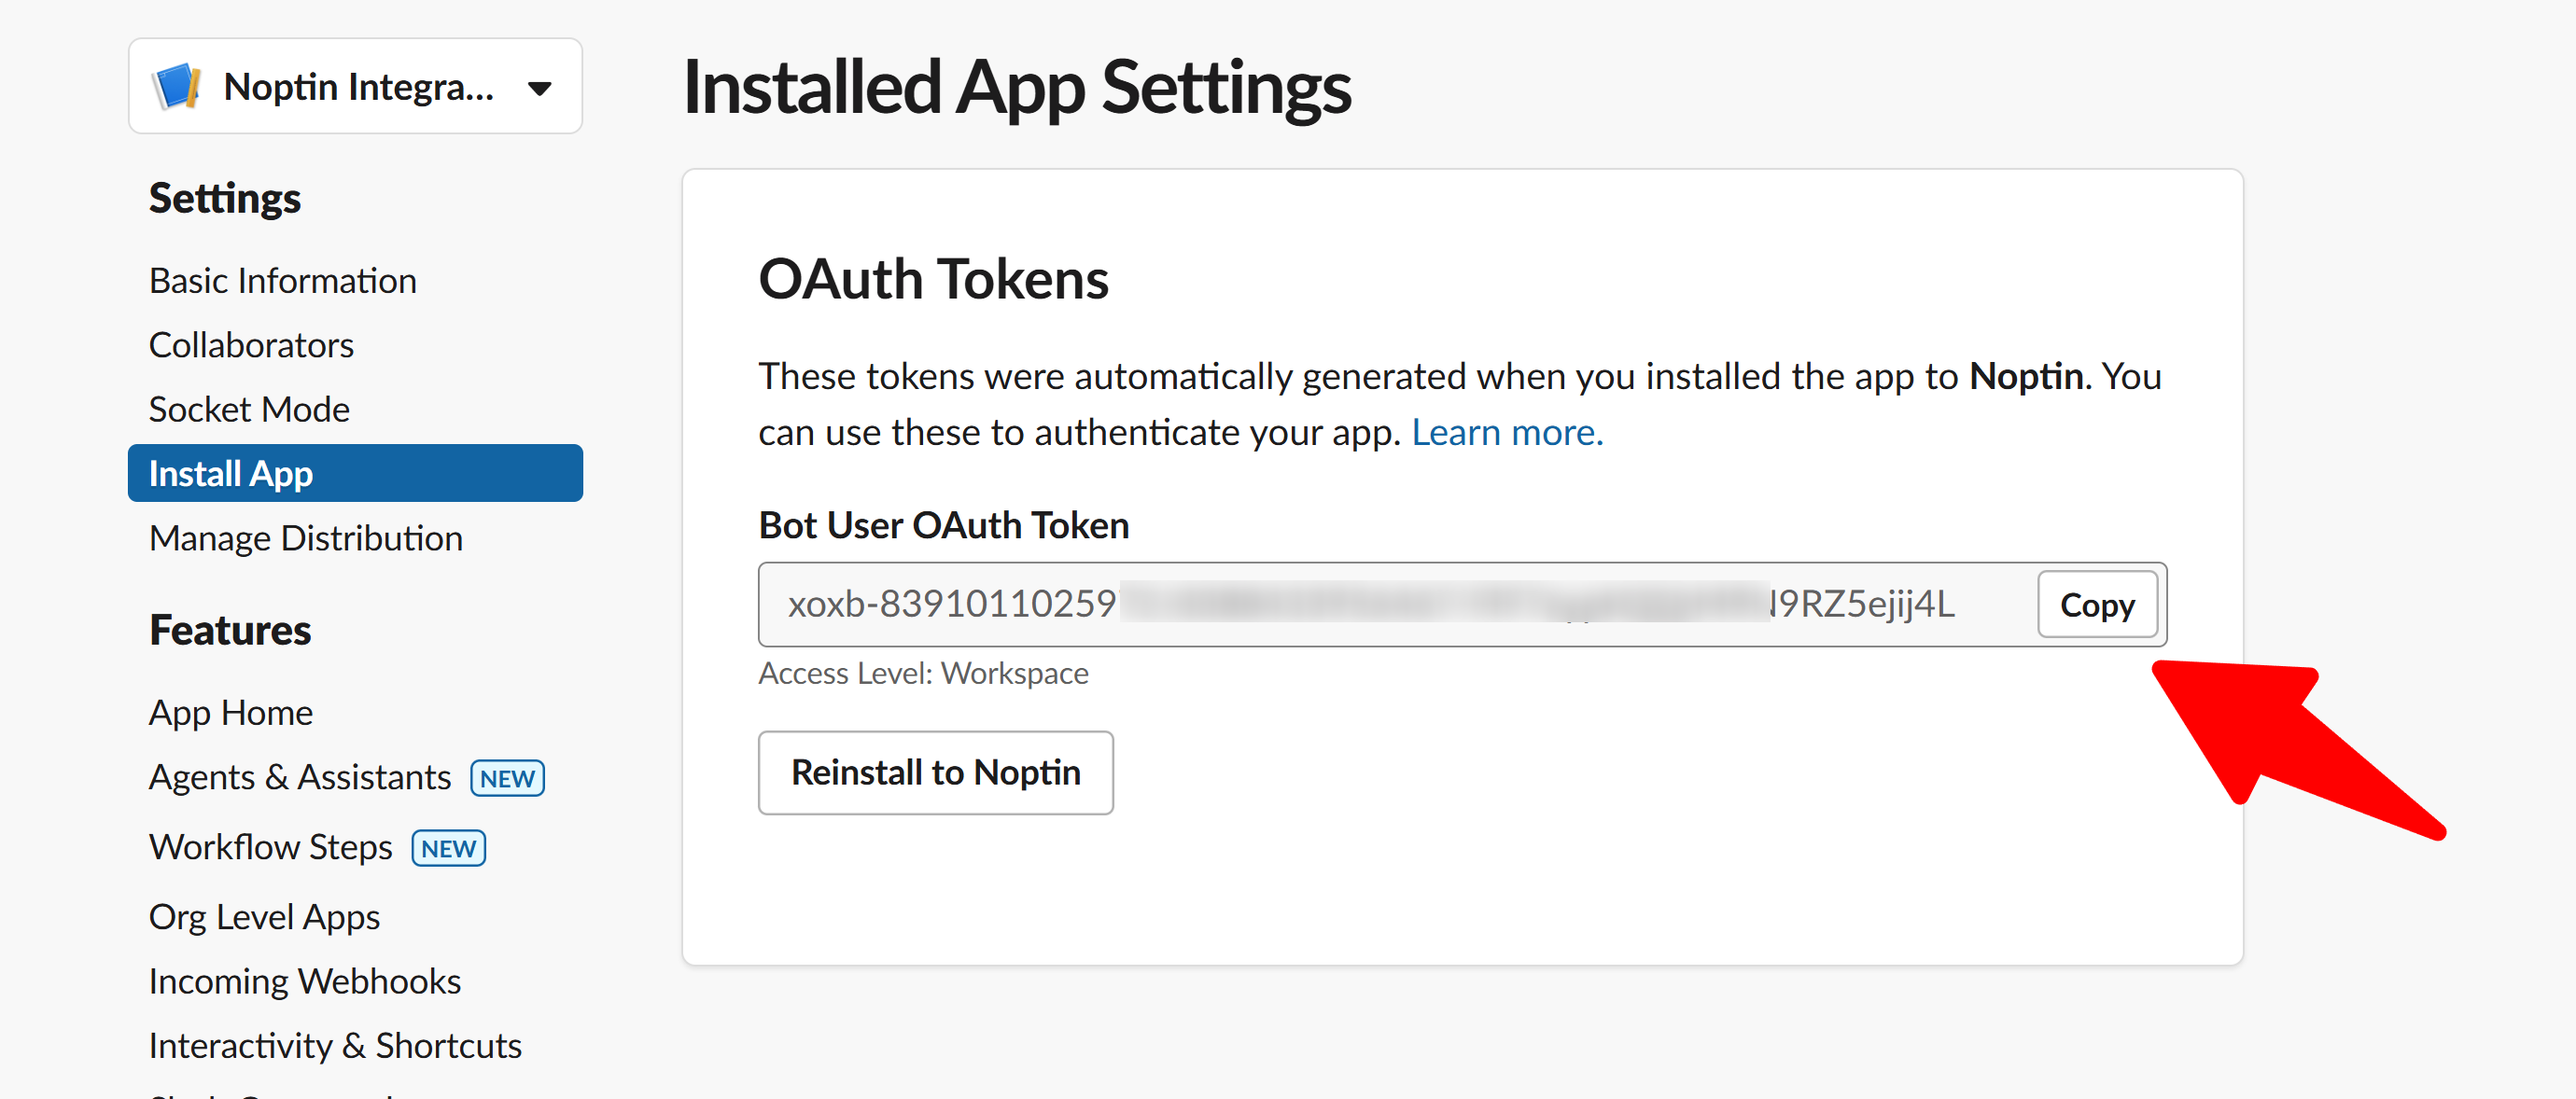
4. Get the Bot Token
- Go to “Settings” → “Install App“
- Look for “Bot User OAuth Token” – it starts with
xoxb - Copy it into the Noptin settings then save the settings.
Set-up automation rules
After connecting Noptin to Slack, you can create automation rules to send messages to Slack channels when specific events occur.
When creating the automation rule, select “Slack > Send Message” as the action…
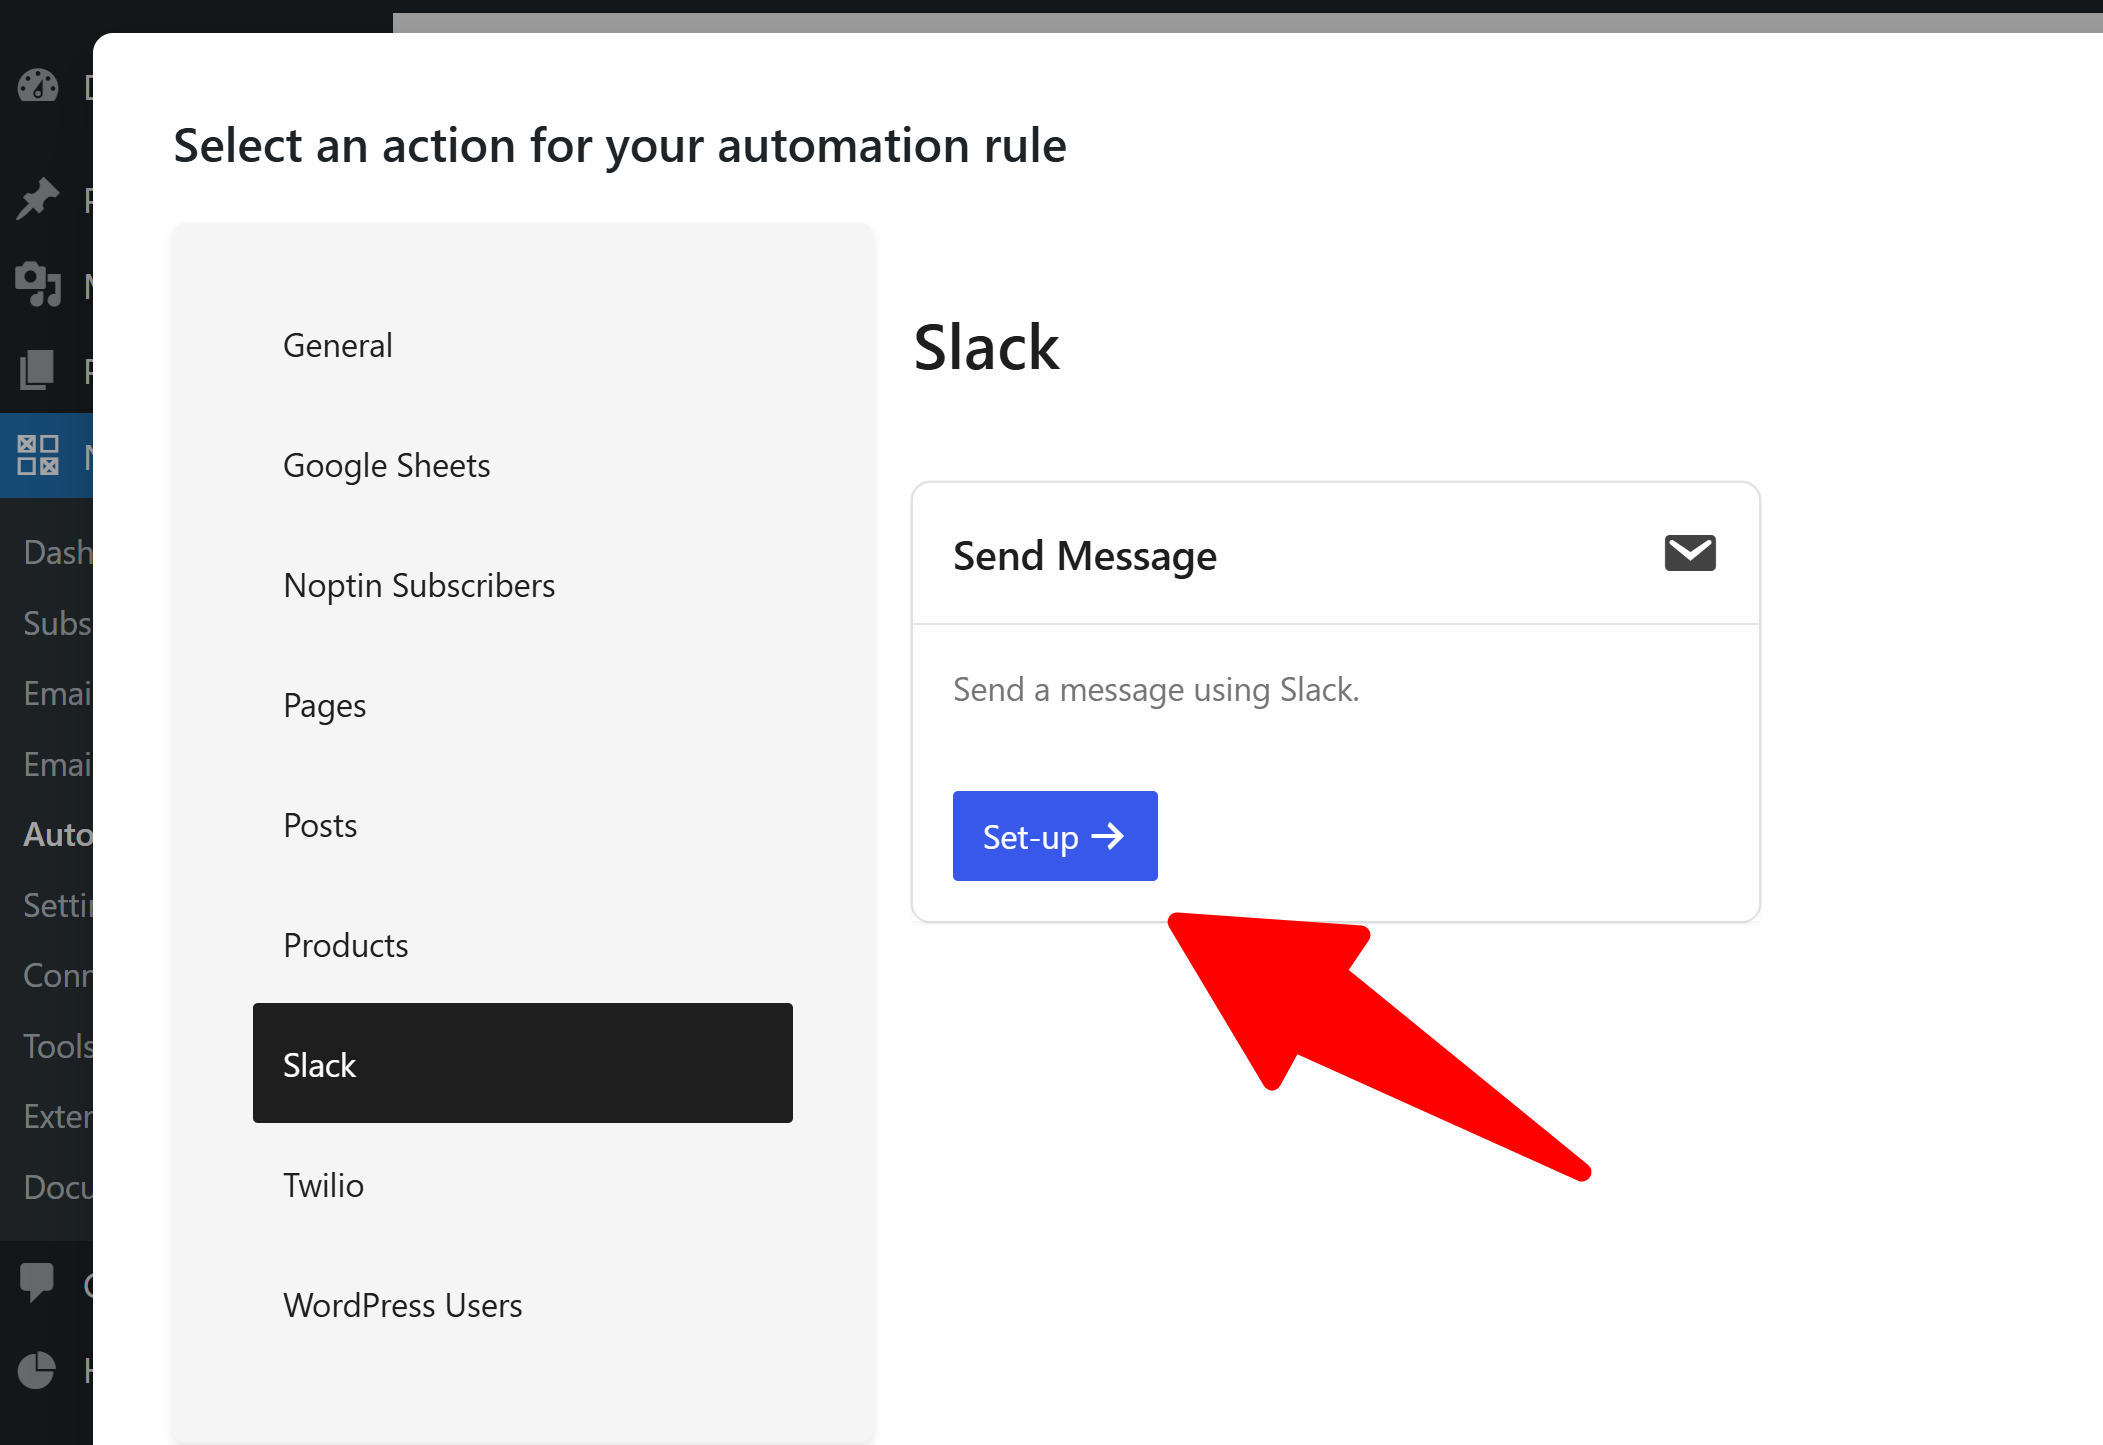
… and then specify your message and target channel.
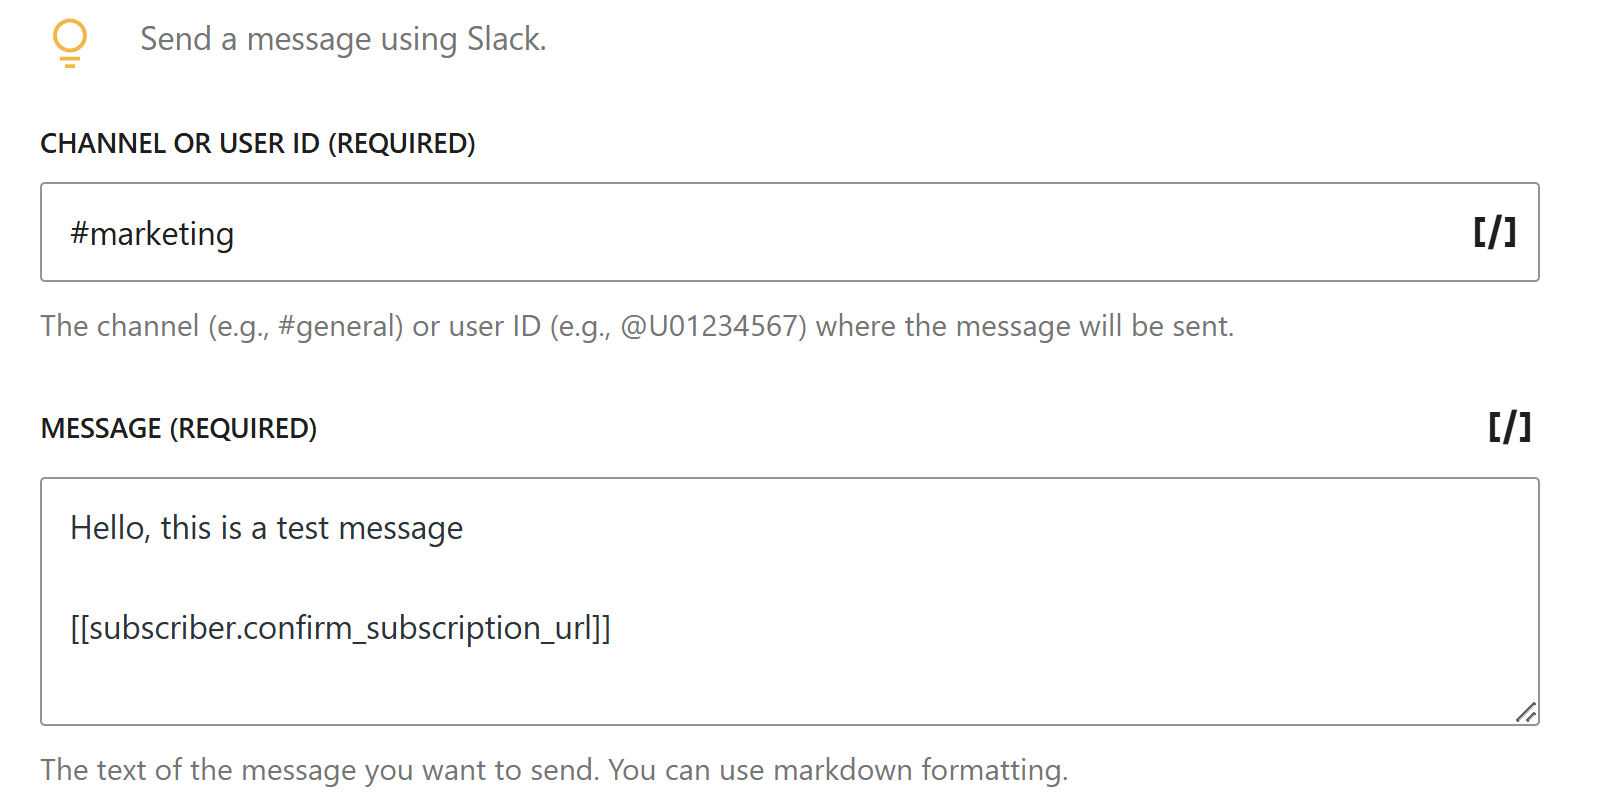
You can use merge tags to include dynamic content.
Required:-
Add the Bot to Your Channel
- Open Slack and go to the channel where you want to send messages
- Type
/invite @your-bot-nameand press Enter - Click “Send” to add the bot
Example Automation Rules
1. New Subscriber Notification.
| Config | Value |
|---|---|
| Trigger | When someone subscribes |
| Action | Send Slack message |
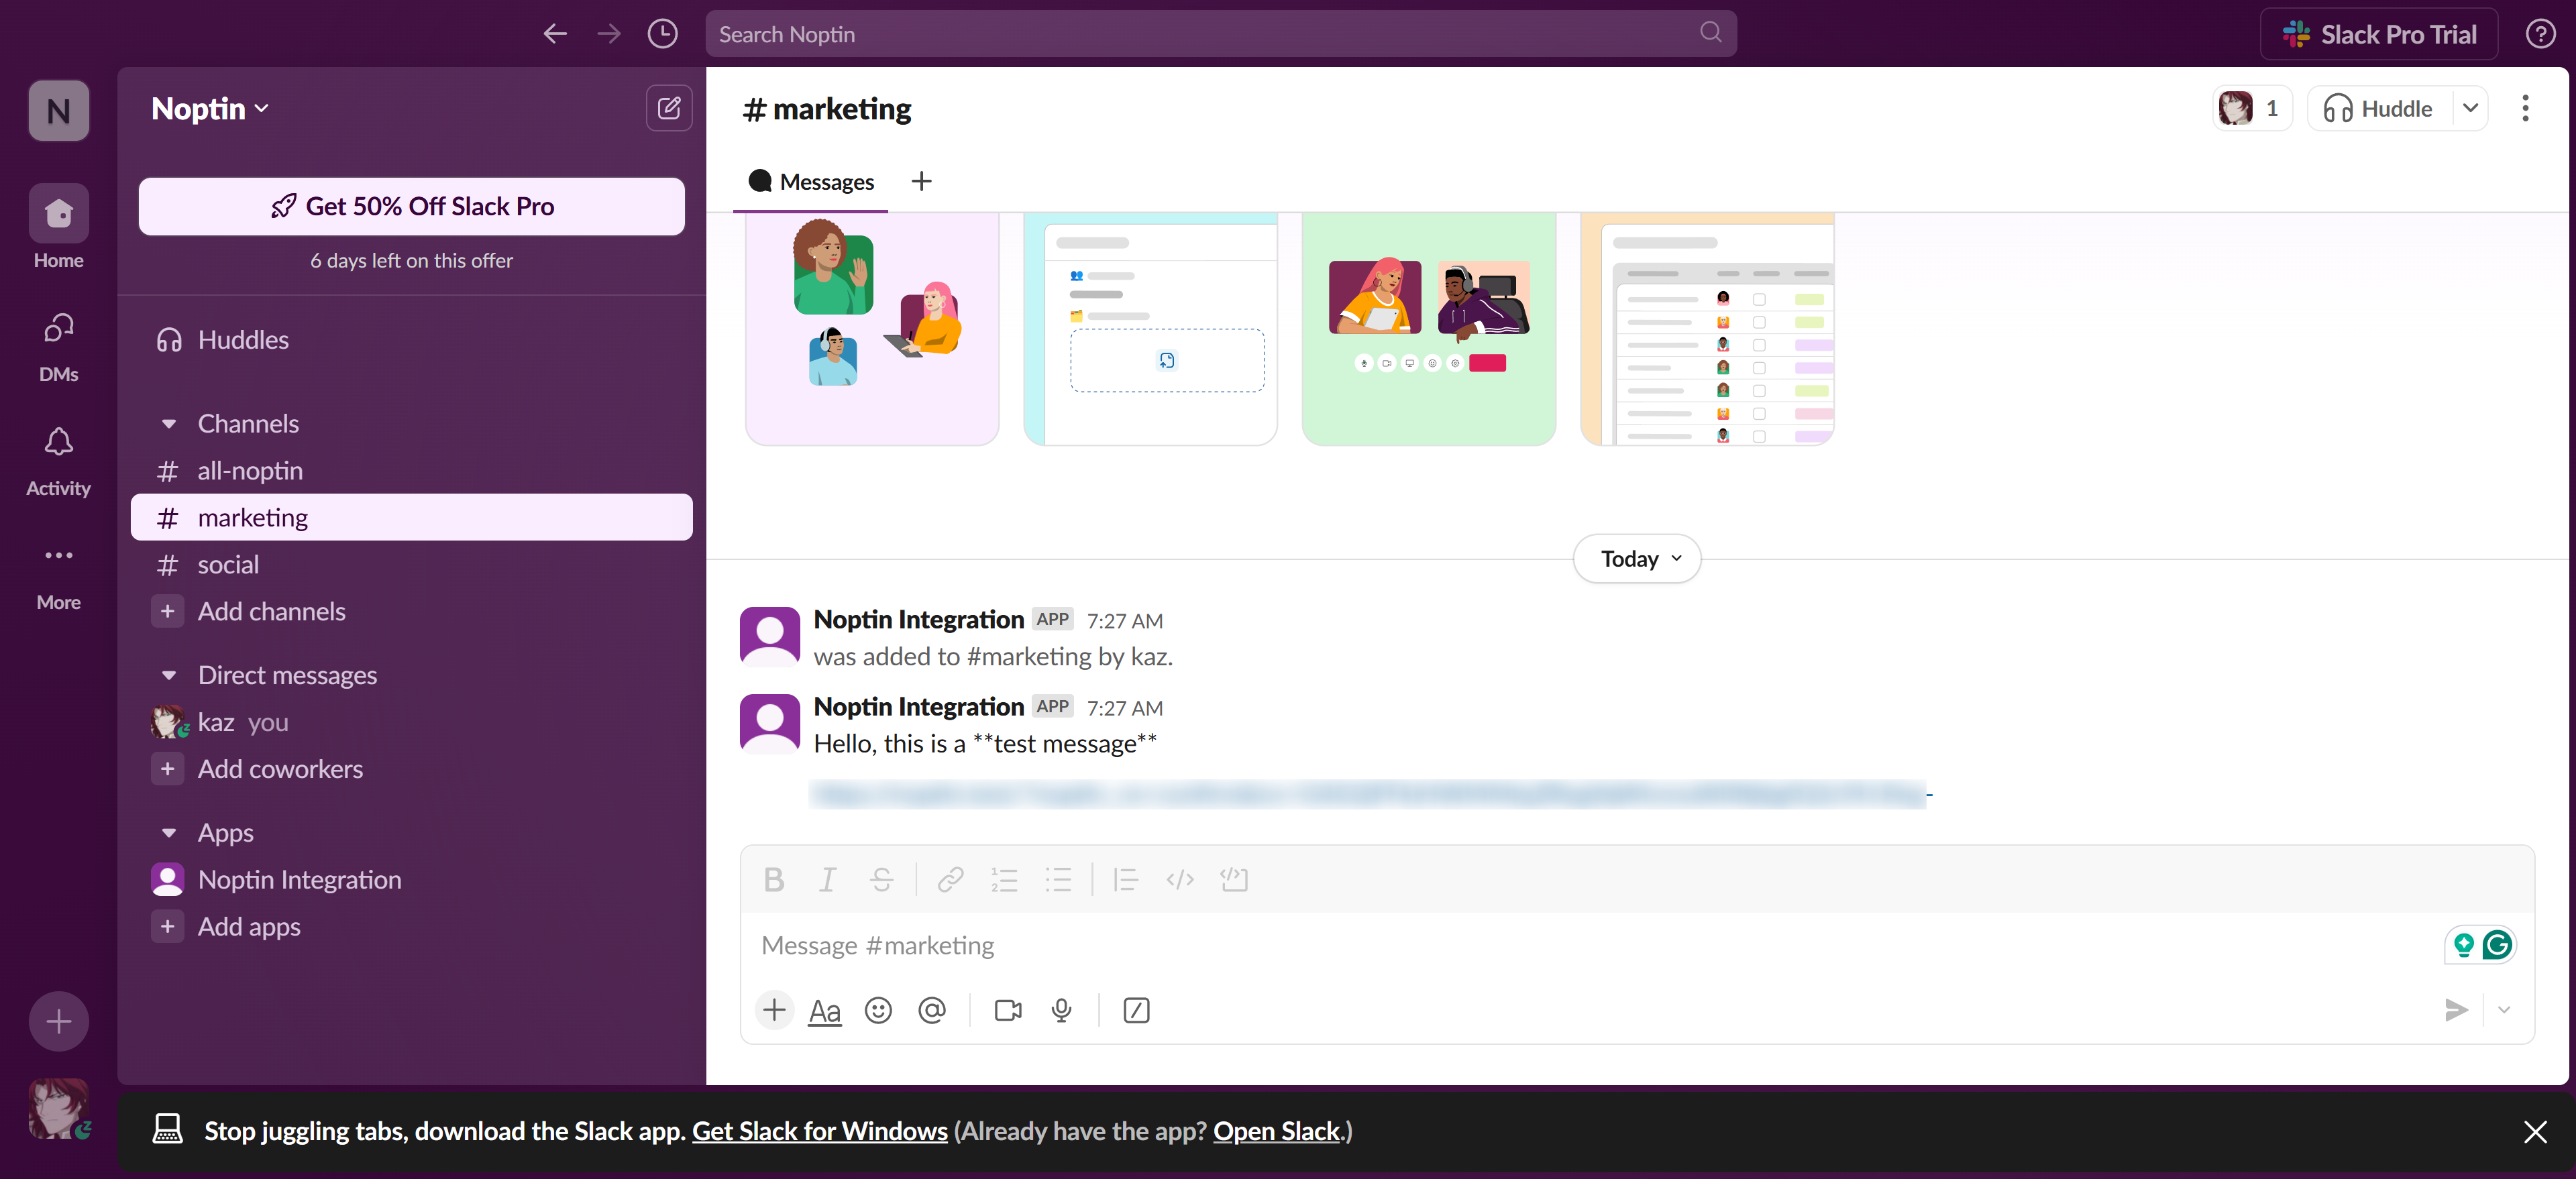
| Channel | #marketing |
| Message | 🎉 New subscriber! [[email]] just joined our mailing list. |
2. WooCommerce Order Alert
| Config | Value |
|---|---|
| Trigger | When a new order is received |
| Action | Send Slack message |
| Channel | #sales |
| Message | 💰 New order #[[order.number]] received! Total: [[order.total]] Customer: [[order.billing_first_name]] [[order.billing_last_name]] |
3. New Post Notification
| Config | Value |
|---|---|
| Trigger | When a post is published |
| Action | Send Slack message |
| Channel | #content |
| Message | 📝 New post published! Title: [[post.title]] URL: [[post.url]] |
Troubleshooting Tips
Message Not Sending
- Verify your bot token is correct
- Ensure the bot is invited to the channel
- Check if the channel name is correct (case-sensitive)
- Enable debug mode in Noptin settings to view logs
Common Errors
not_in_channel: Invite the bot using/invite @bot-namechannel_not_found: Double-check the channel nameinvalid_auth: Verify your bot token
Leave a Reply