
Your website visitors are slipping through your fingers. Most people who leave your site never return.
Building an email list is the only way to “own” your audience, and you don’t need a complex system to start.
In this guide, I’ll show you how to use Noptin, a lightweight but powerful WordPress newsletter plugin, to get your first signup form live in under 10 minutes.
Don’t have time to read this? I’ve created a quick checklist that you can use.
Install and Activate Noptin
First, we need the right tool. Noptin is a favorite because it’s fast and doesn’t bloat your website. If you haven’t already done so, go ahead and install it.
Step 1: Create a newsletter subscription form (1 minute)
In your WordPress dashboard, go to Noptin → Subscription Forms, then click Add New to create a new subscription form.

Noptin will open the new form inside the form editor. Give your form a name, then select pop-up as the form type.
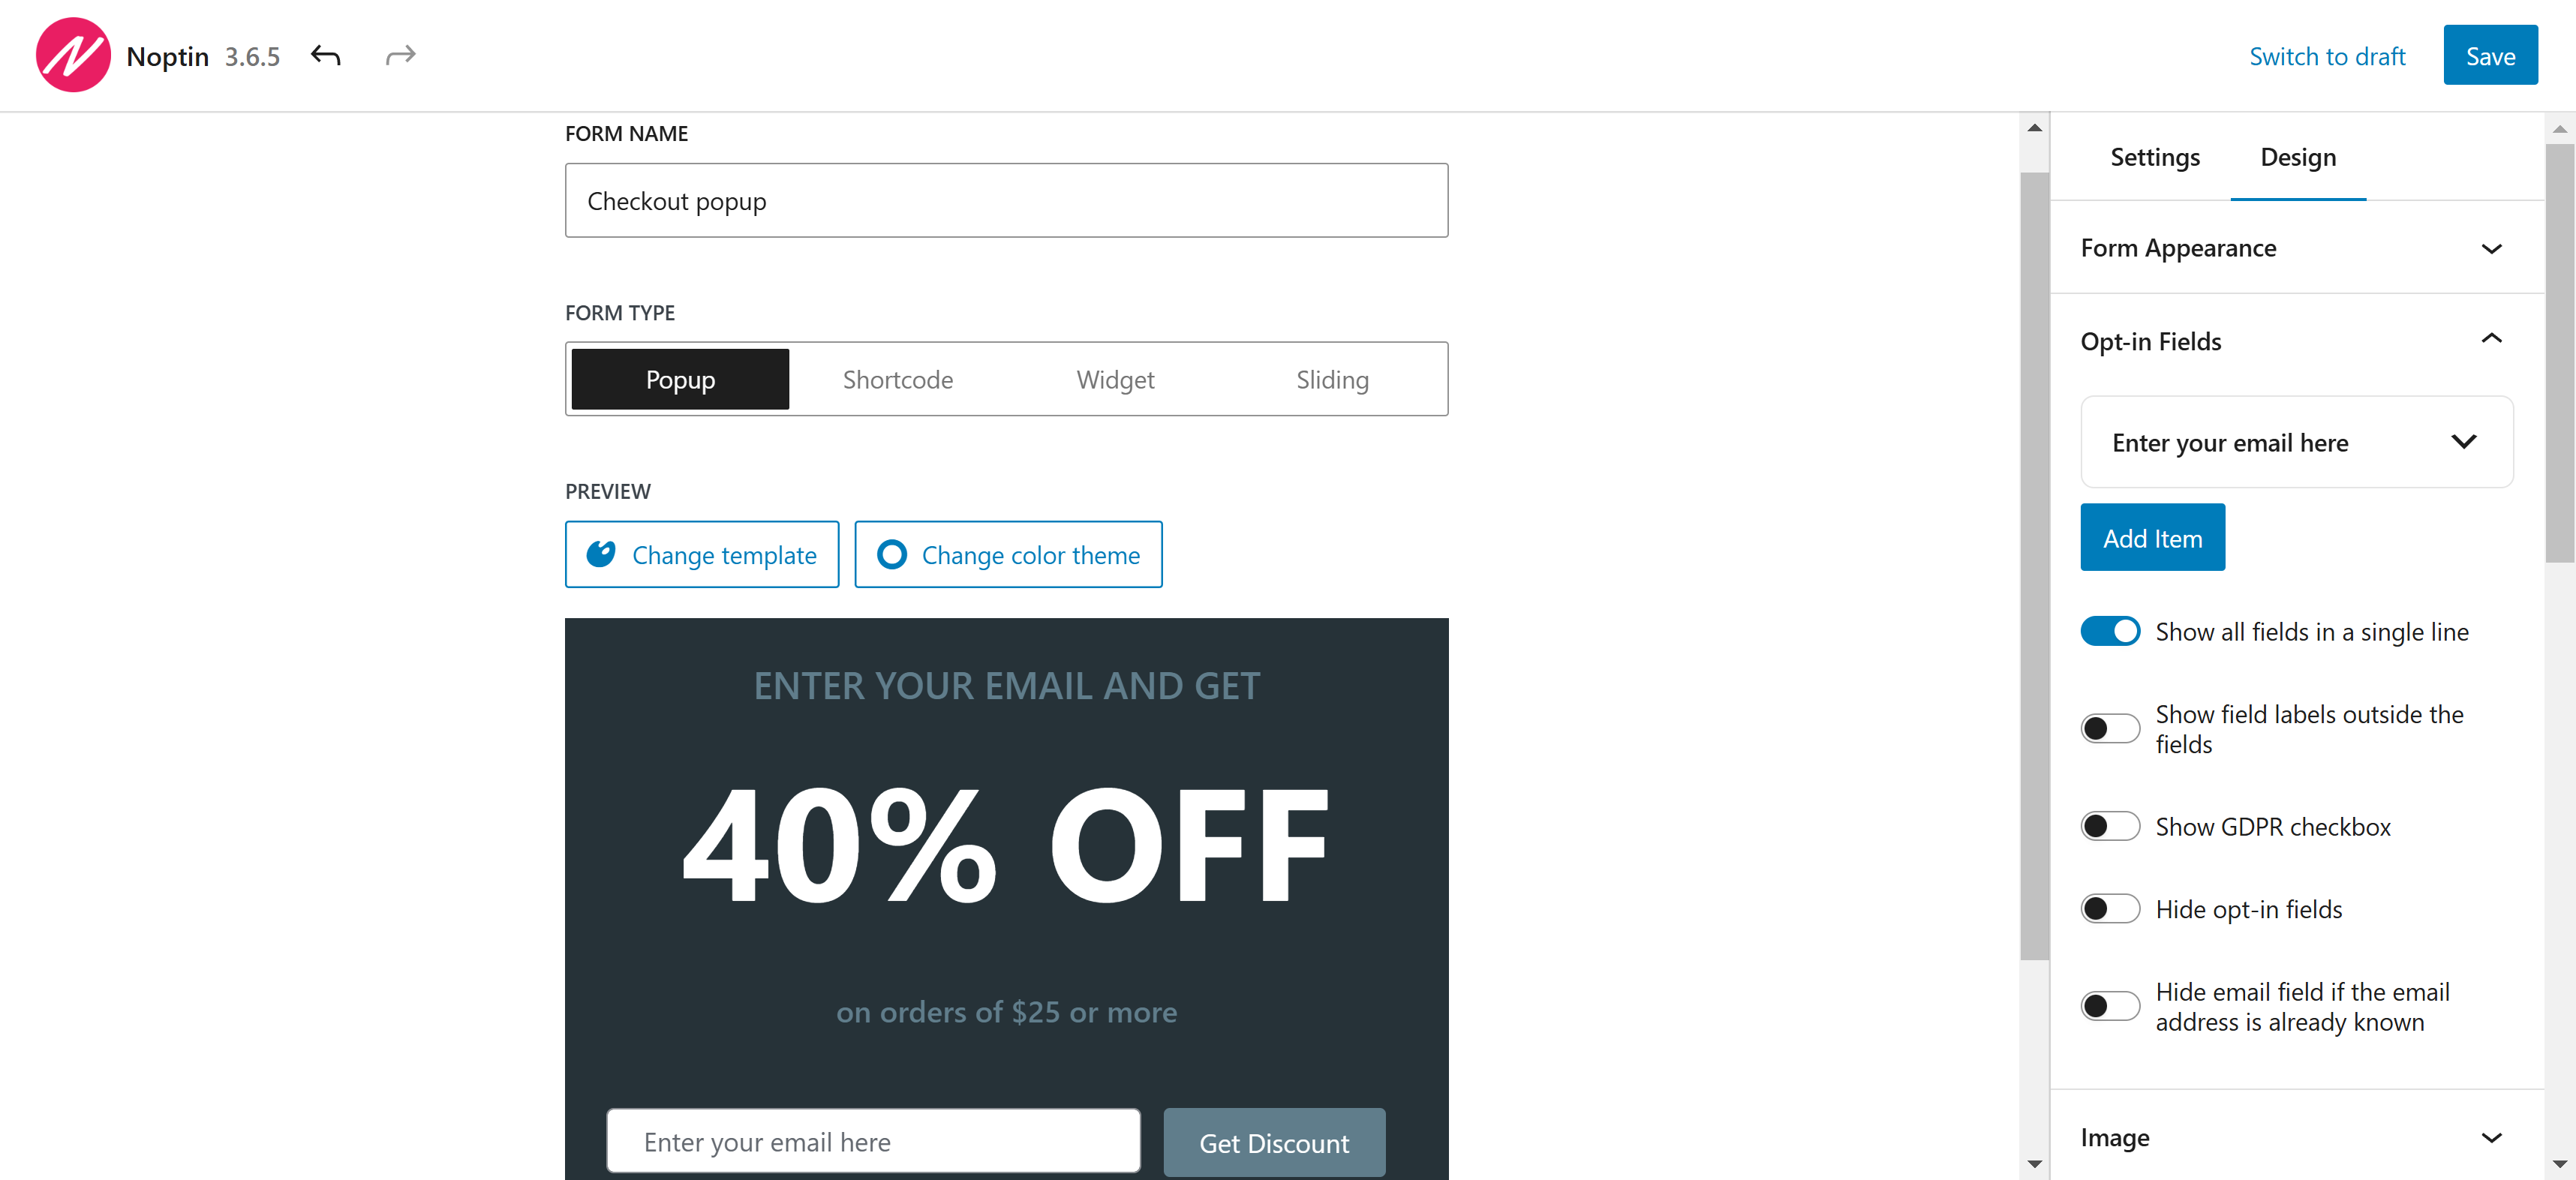
Why a pop-up form? Unlike normal newsletter sign-up forms, pop-up forms have significantly higher conversion rates. In fact, the average conversion rate is 3.09%.
Don’t worry too much about the type of form. Popups give you quick feedback, but you can make any type of form you want.
Step 2: Pick a Simple Template (1 minute)
Noptin has dozens of form templates. Feel free to switch through them and check if you find any template that matches your branding. If the colors in a template don’t match your brand, you can click the “Change Color Theme” button to select alternative colors.
Keep it minimal. Don’t add many fields to your form. One field (email address) beats five fields that nobody fills.
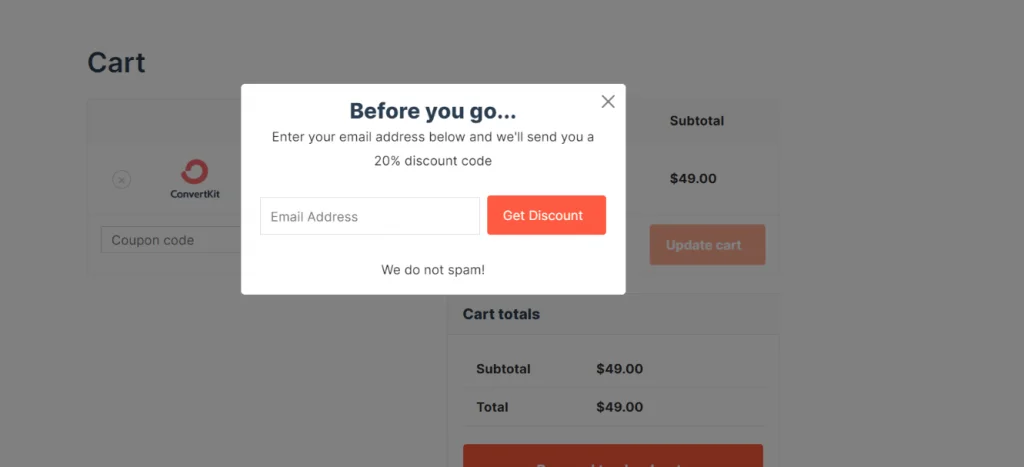
Step 3: Edit the Copy (2 minutes)
Click inside the form and change three things:
| Copy | Example |
|---|---|
| Headline | Get WordPress Tips That Actually Work |
| Description | Join 1,000+ site owners getting practical email & automation tips. |
| Button Text | Join Free |
Promise one clear benefit but avoid long explanations. Visitors should understand the benefit in under two seconds.
Avoid buzzwords because they often confuse rather than clarify. Instead of using jargon, describe features and benefits in straightforward language. This builds trust with your audience.
Step 4: Choose When the Popup Appears (2 minutes)
Noptin allows you to set when the pop-up will appear, on which pages it will show, and who can see it.
If not sure, set the form to show:
- After a time delay of 5 seconds
- On your entire site
- And to all visitors
Start broad. You can fine-tune later.
Step 5: Publish the Form (2 minutes)
After completing the form edits, click the publish button to make it live. Next, open your site in a private/incognito window and wait for the pop-up to show.
Enter your email, then click the Subscribe button to test.
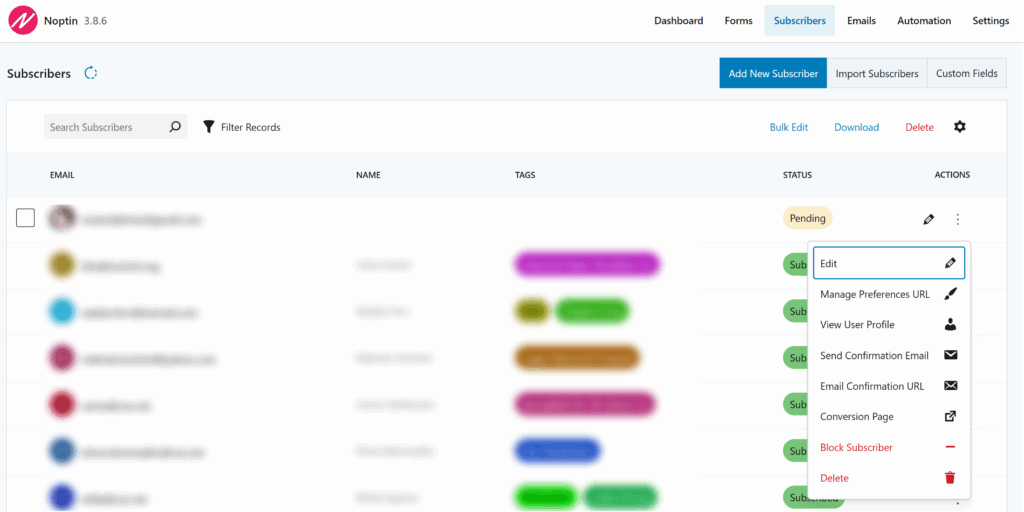
Step 6: Confirm Where Subscribers Are Saved (2 minutes)
By default, Noptin stores subscribers inside your WordPress site. Open the Noptin subscribers page to check if your test email was added to the subscribers list.
External services aren’t necessary for Noptin. However, you can integrate Mailchimp, ActiveCampaign, or other supported platforms to send new subscribers to them.
Next steps
Once your signup form is live, you can:
- Set up an automated welcome email
- Display newsletter subscription forms inside your blog posts
- Add a newsletter subscription checkbox to your registration, contact, or checkout forms.
- Notify your subscribers whenever you publish new content on your site.
None of these is required to start collecting subscribers. You’ve already done the most important step.


Leave a Reply