Studies show that clear communication with customers improves trust and reduces confusion. When an order is canceled in WooCommerce, sending an automatic cancellation email is a simple way to keep your customers informed and maintain a positive relationship.
This guide will show you how to automatically send cancellation emails to your WooCommerce customers, helping you provide better service and improve customer satisfaction.
What You’ll Learn
This tutorial will show you how to automatically send cancellation emails to your customers when their WooCommerce orders are cancelled.
You’ll learn how to create professional-looking emails that keep customers informed about their order status.
You will be able to personalize these emails with your customer’s details and track how well they perform over time.
You might also like:-
Prerequisites
To follow along with this tutorial, you need to install at least version 3.0 of WooCommerce (Free) and the latest version of Noptin (also free).
You will also have to install the Ultimate Add-ons Pack.
Noptin is a free and lightweight WooCommerce email marketing automation plugin. It can help you save time and make more sales at the same time.
Step 1: Access the Noptin Email Campaigns Dashboard
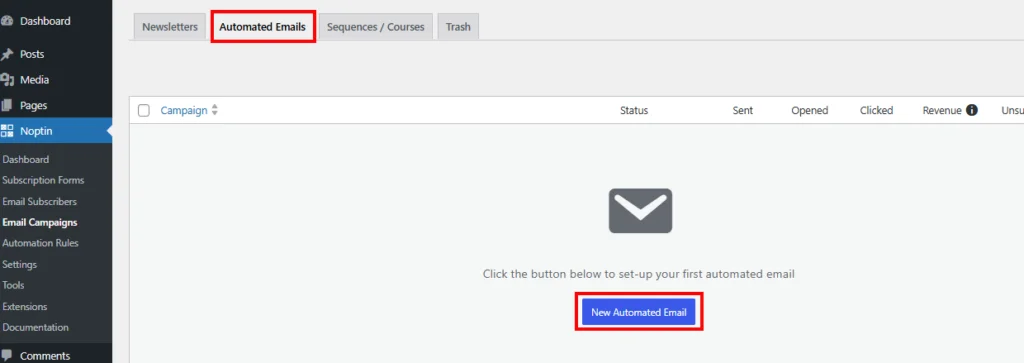
To begin setting up your automated cancellation emails, log in to your WordPress dashboard. From the left sidebar menu, navigate to Noptin and then Email Campaigns.
Once there, click on the Automated Emails tab at the top of the page. If this is your first time setting up an automated email, you’ll see a prompt saying “Click the button below to set-up your first automated email.”
Simply click the New Automated Email button to start creating your cancellation notification.
Step 2: Select the Campaign Type
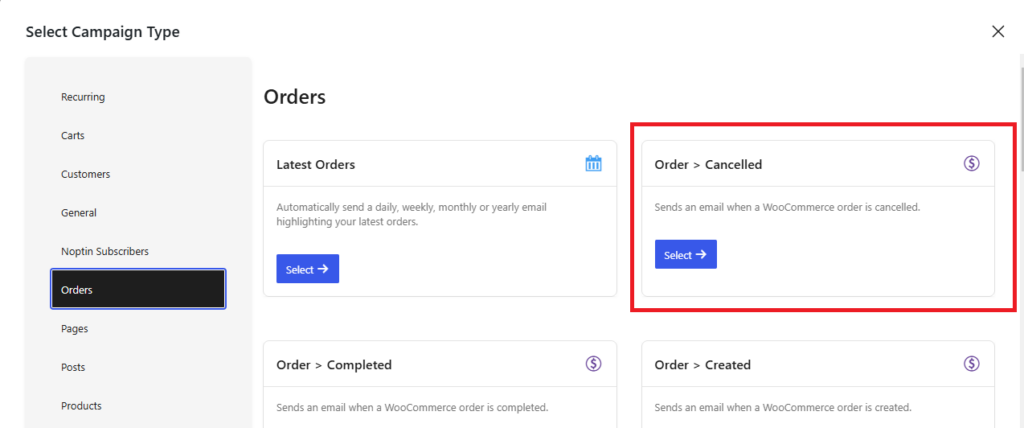
After clicking the “New Automated Email” button, a pop-up window will appear asking you to select a campaign type. From the left sidebar of options, click on Orders.
In the main panel, you’ll find the Order > Cancelled option described as “Sends an email when a WooCommerce order is cancelled.” Click the Select button next to this option to continue the setup process.
Step 3: Choose Your Email Recipients
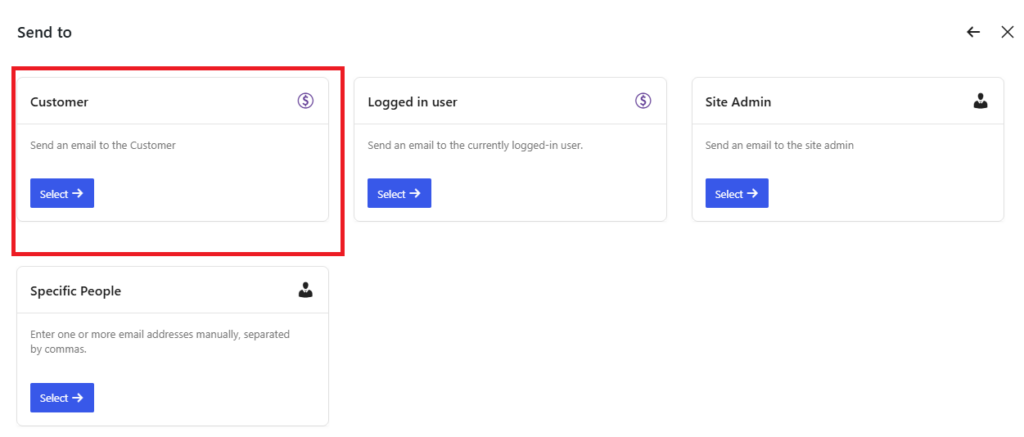
Next, you’ll need to specify who will receive the cancellation emails. In the “Send to” screen, you’ll see several recipient options.
Since we want to notify the person who placed the order, select the Customer option. The description confirms this will “Send an email to the Customer.” Click the Select button to move forward with your setup.
While other options like “Logged in user,” “Site Admin,” and “Specific People” are available, the “Customer” option is most appropriate for order cancellation notifications.
Step 4: Select an Email Template
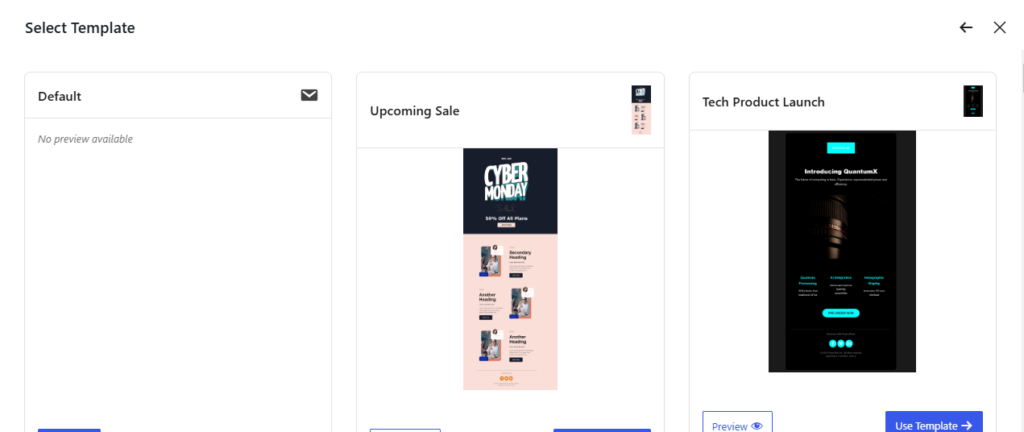
Now it’s time to choose how your email will look. In the “Select Template” screen, you’ll see several template options. Choose a template that matches your brand’s style.
You can preview each template by clicking the Preview button. Once you’ve found the right template for your needs, click Use Template to continue.
Step 5: Customize Your Email Content
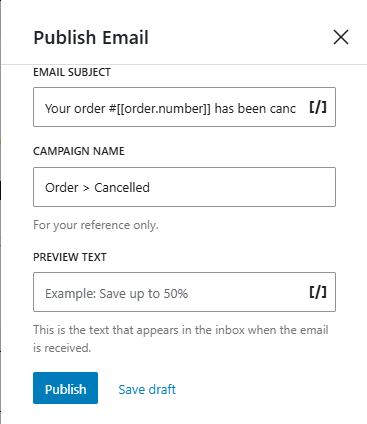
Now it’s time to personalize your email. Enter an appropriate Email Subject line such as “Your order #[[order.number]] has been cancelled.” Give your campaign a name for internal reference, like “Order > Cancelled.” Add Preview Text that will appear in the recipient’s inbox, perhaps something like “Information about your cancelled order.”
For the email body, create content that includes a friendly opening acknowledging the cancellation. Provide clear information about what happens next, such as refund timing or alternative products. You might want to include a special offer to encourage a future purchase, and don’t forget to add your contact information for any questions the customer might have.
You can use dynamic placeholders like [[order.number]] and [[customer.email]] to personalize the message with the customer’s specific information. Once you’ve completed your customization, click Publish to activate the email or Save draft if you need to return to it later.
Step 6: Verify and Test Your Automated Email
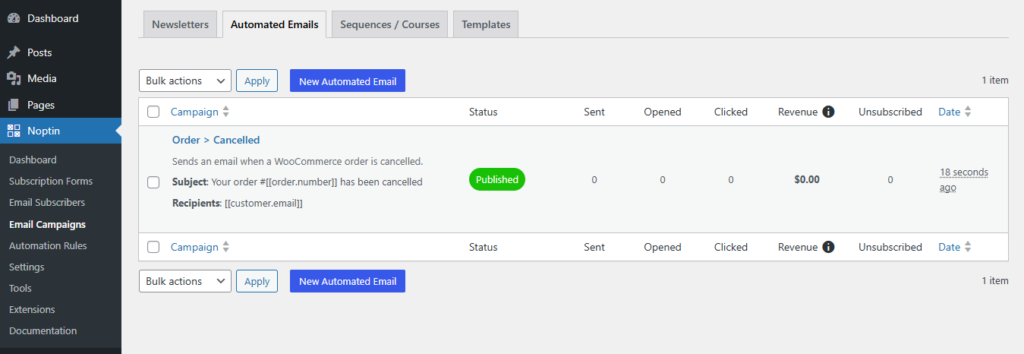
After publishing your email, you can return to the Automated Emails dashboard. You should see your new “Order > Cancelled” campaign listed with its status showing as “Published.”
The dashboard displays information about recipients using the [[customer.email]] placeholder and shows the email subject line you created. You’ll also notice metrics columns for Sent, Opened, Clicked, Revenue, and Unsubscribed that will populate as emails are sent to customers.
Automated order cancellation emails are a simple yet effective way to improve customer communication in your WooCommerce store. With Noptin, setting up these emails is straightforward and can significantly enhance your customer service capabilities. By following the steps outlined in this guide, you can ensure your customers stay informed when orders are cancelled, helping to maintain trust and encourage future purchases despite the current cancellation.
Have you implemented automated emails in your WooCommerce store? Share your experiences in the comments below!


Leave a Reply