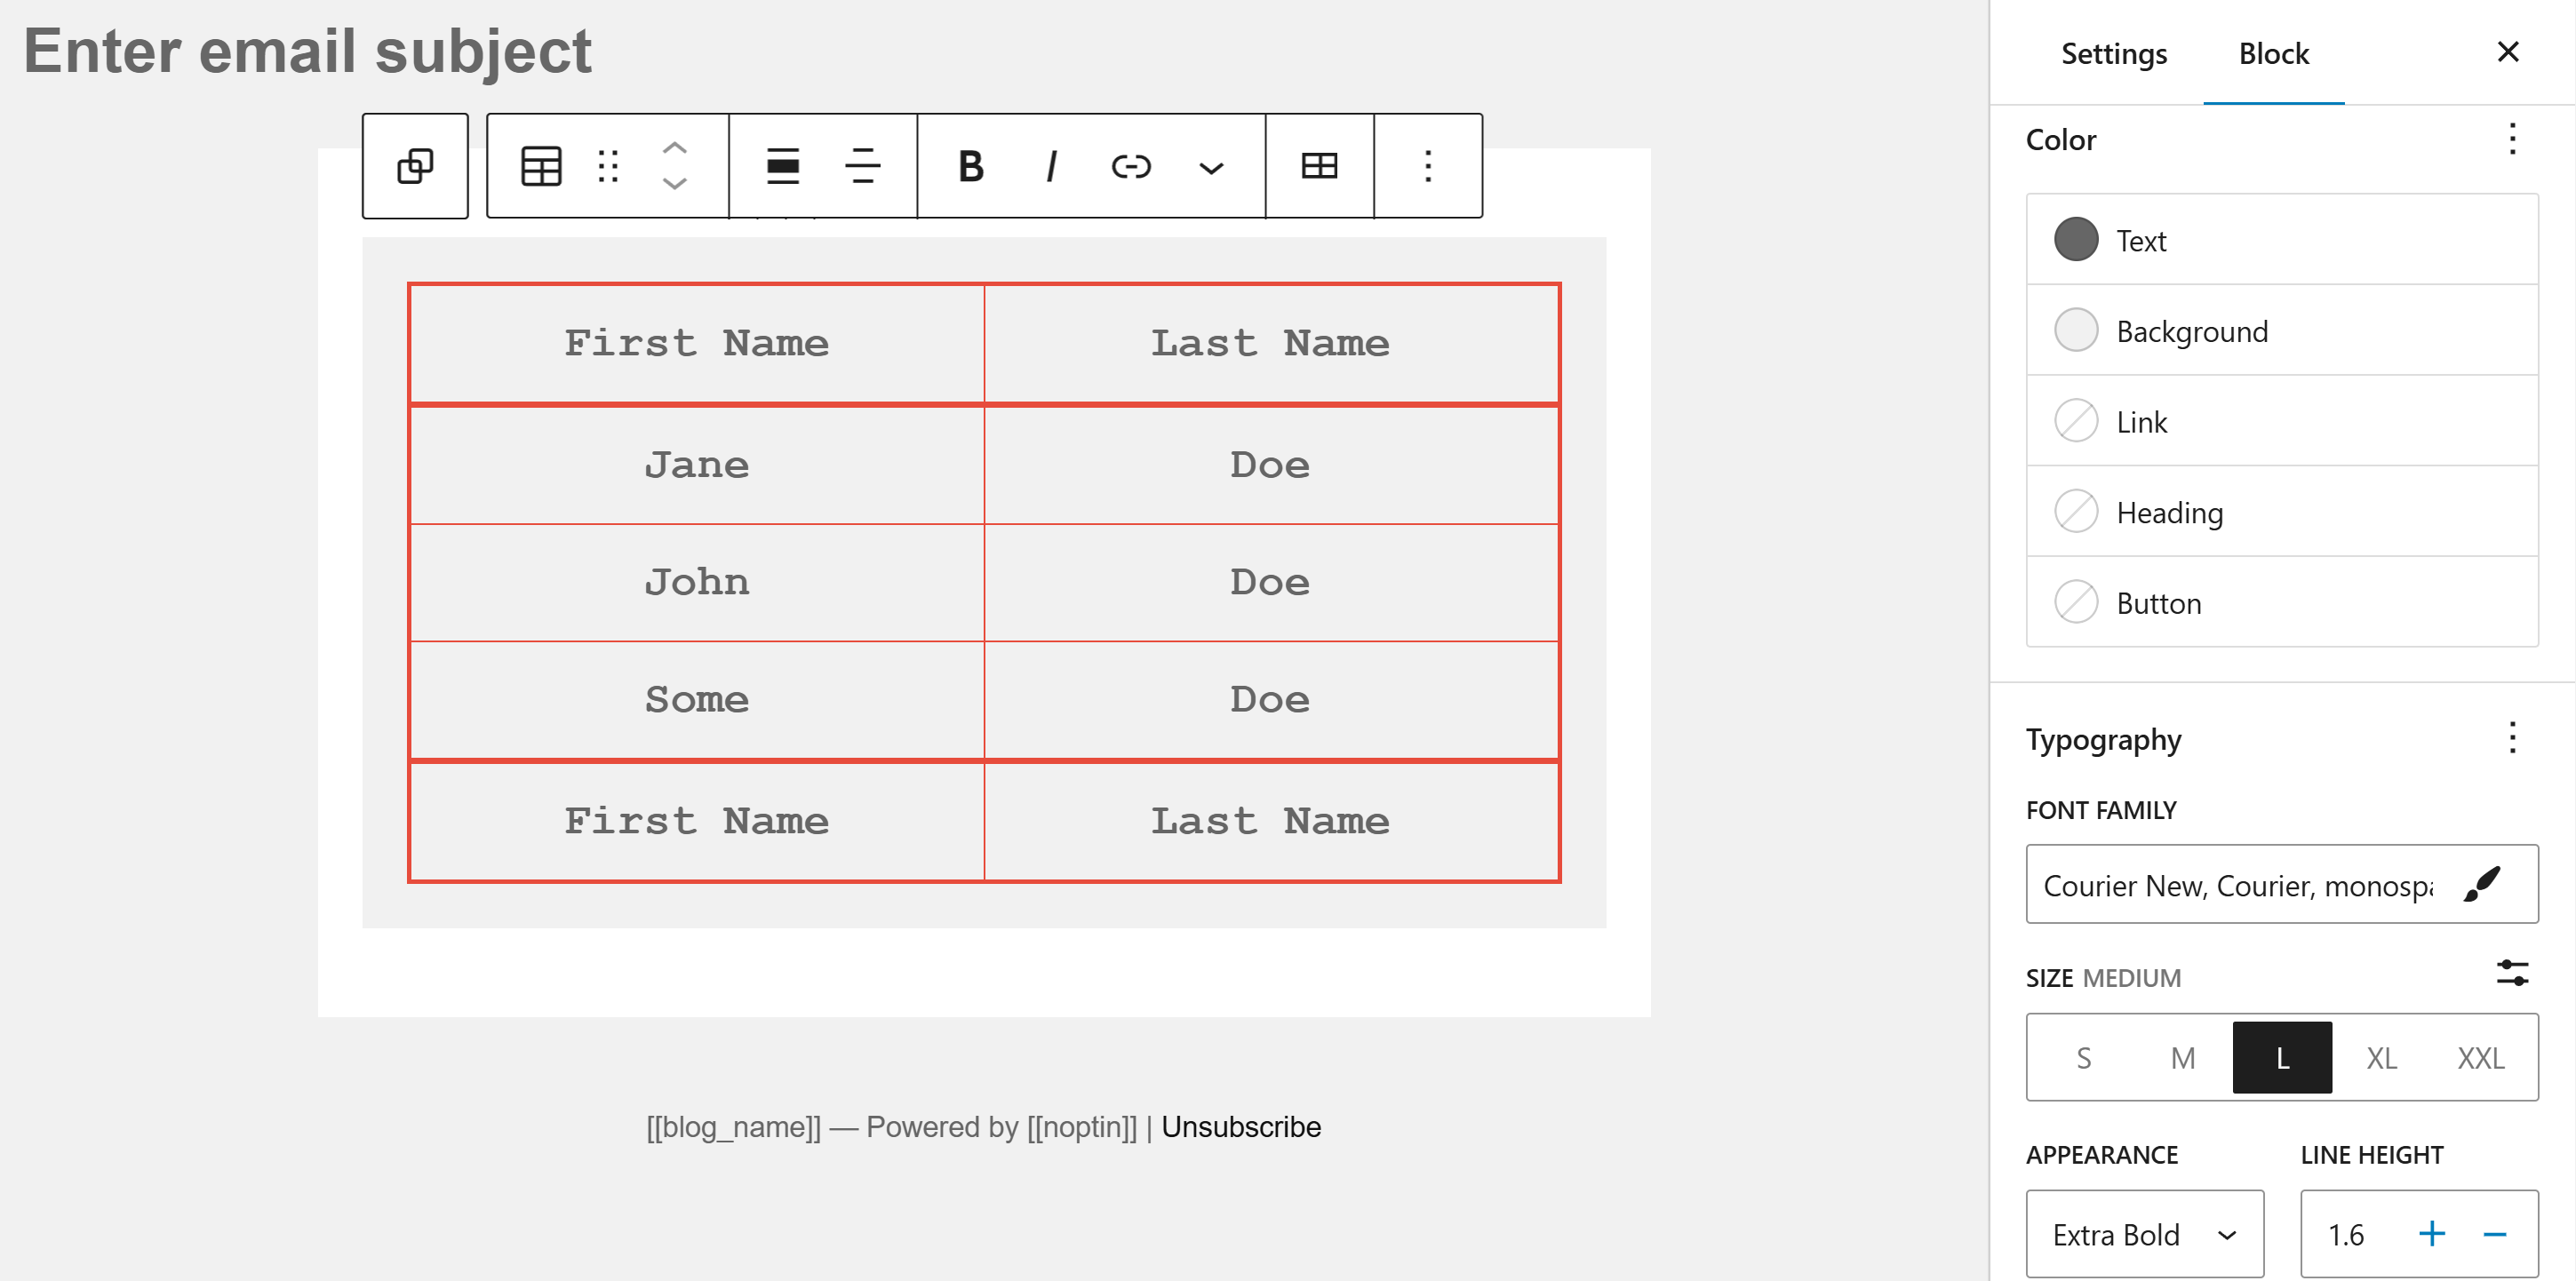
The table block lets you organize content into rows and columns. It’s useful for creating structured layouts and presenting data in your emails.

How It Works

Add the block by clicking the plus icon and selecting “Table”.

You can:

  • Add/remove rows and columns
  • Add/remove the header and footer sections
  • Enter content in each cell
  • Toggle “Fixed width table cells”
  • Change the text, border, and background colors
  • Set the text alignment
  • Adjust typography
noptin table block settings

Email Client Compatibility

Tables are well-supported in email clients because:

  • They use traditional HTML table elements
  • Styling is kept inline
  • Fixed widths are preserved
  • Cell padding remains consistent

However, keep in mind:

  • Some email clients may ignore percentage widths
  • Complex merged cells might be rendered differently
  • Border styles may vary slightly

Tips

  • Keep tables simple
  • Use for data presentation
  • Avoid nested tables when possible
  • Test responsive behavior
  • Consider mobile view for wide tables

Related Guides

  • Columns Block

    The Columns Block allows you to add different types of columns to your email Adding Columns Select Columns: In the block, select the type of column you want to use. Add Content: Click within each column to add content. You can insert other blocks (like images, headings, or paragraphs) into each column. Increase/Decrease Columns Column…

    Read More

  • Separator Block

    The separator block in Noptin visual email editor creates a break between two blocks of content with a horizontal line. This helps create a separation between ideas or sections in your content or email Adding a Separator Block Open the visual email editor in Noptin On the left panel, Select Separator to add the separator block in…

    Read More

  • Spacer Block

    The spacer block in visual email editor in Noptin allows you to create space between two blocks. To add a horizontal space (between blocks in a row), the spacer block has you covered. Adding a Spacer Block Block Toolbar Options Transform Convert the Spacer block into a Columns or Sections block. Click on the Spacer button on the tool bar to…

    Read More

  • Heading Block

    The heading block helps you structure your email content into sections.

    Read More

  • Paragraph Block

    Besides adding text, the Paragraph block offers various formatting options to customize text content. It lets you make the text bold, italics, and strikethrough.

    Read More

  • Image Block

    Use the image block to display images in your email newsletter.

    Read More

  • List Block

    The list block helps you create ordered (numbered) and unordered (bullet) lists in your emails.

    Read More

  • Button Block

    The button block displays eye-catching calls to action in your emails.

    Read More

  • Custom HTML Block

    The custom HTML block lets you add custom HTML code directly to your emails.

    Read More

  • Social Icons Block

    The social icons block helps you add social media links to your emails.

    Read More