Once you understand what email sequences are, it’s time to create your first one. In Noptin, this is a simple process, but there are a few important steps to follow so that your emails work correctly with triggers and merge tags.
Step 1: Create a New Sequence
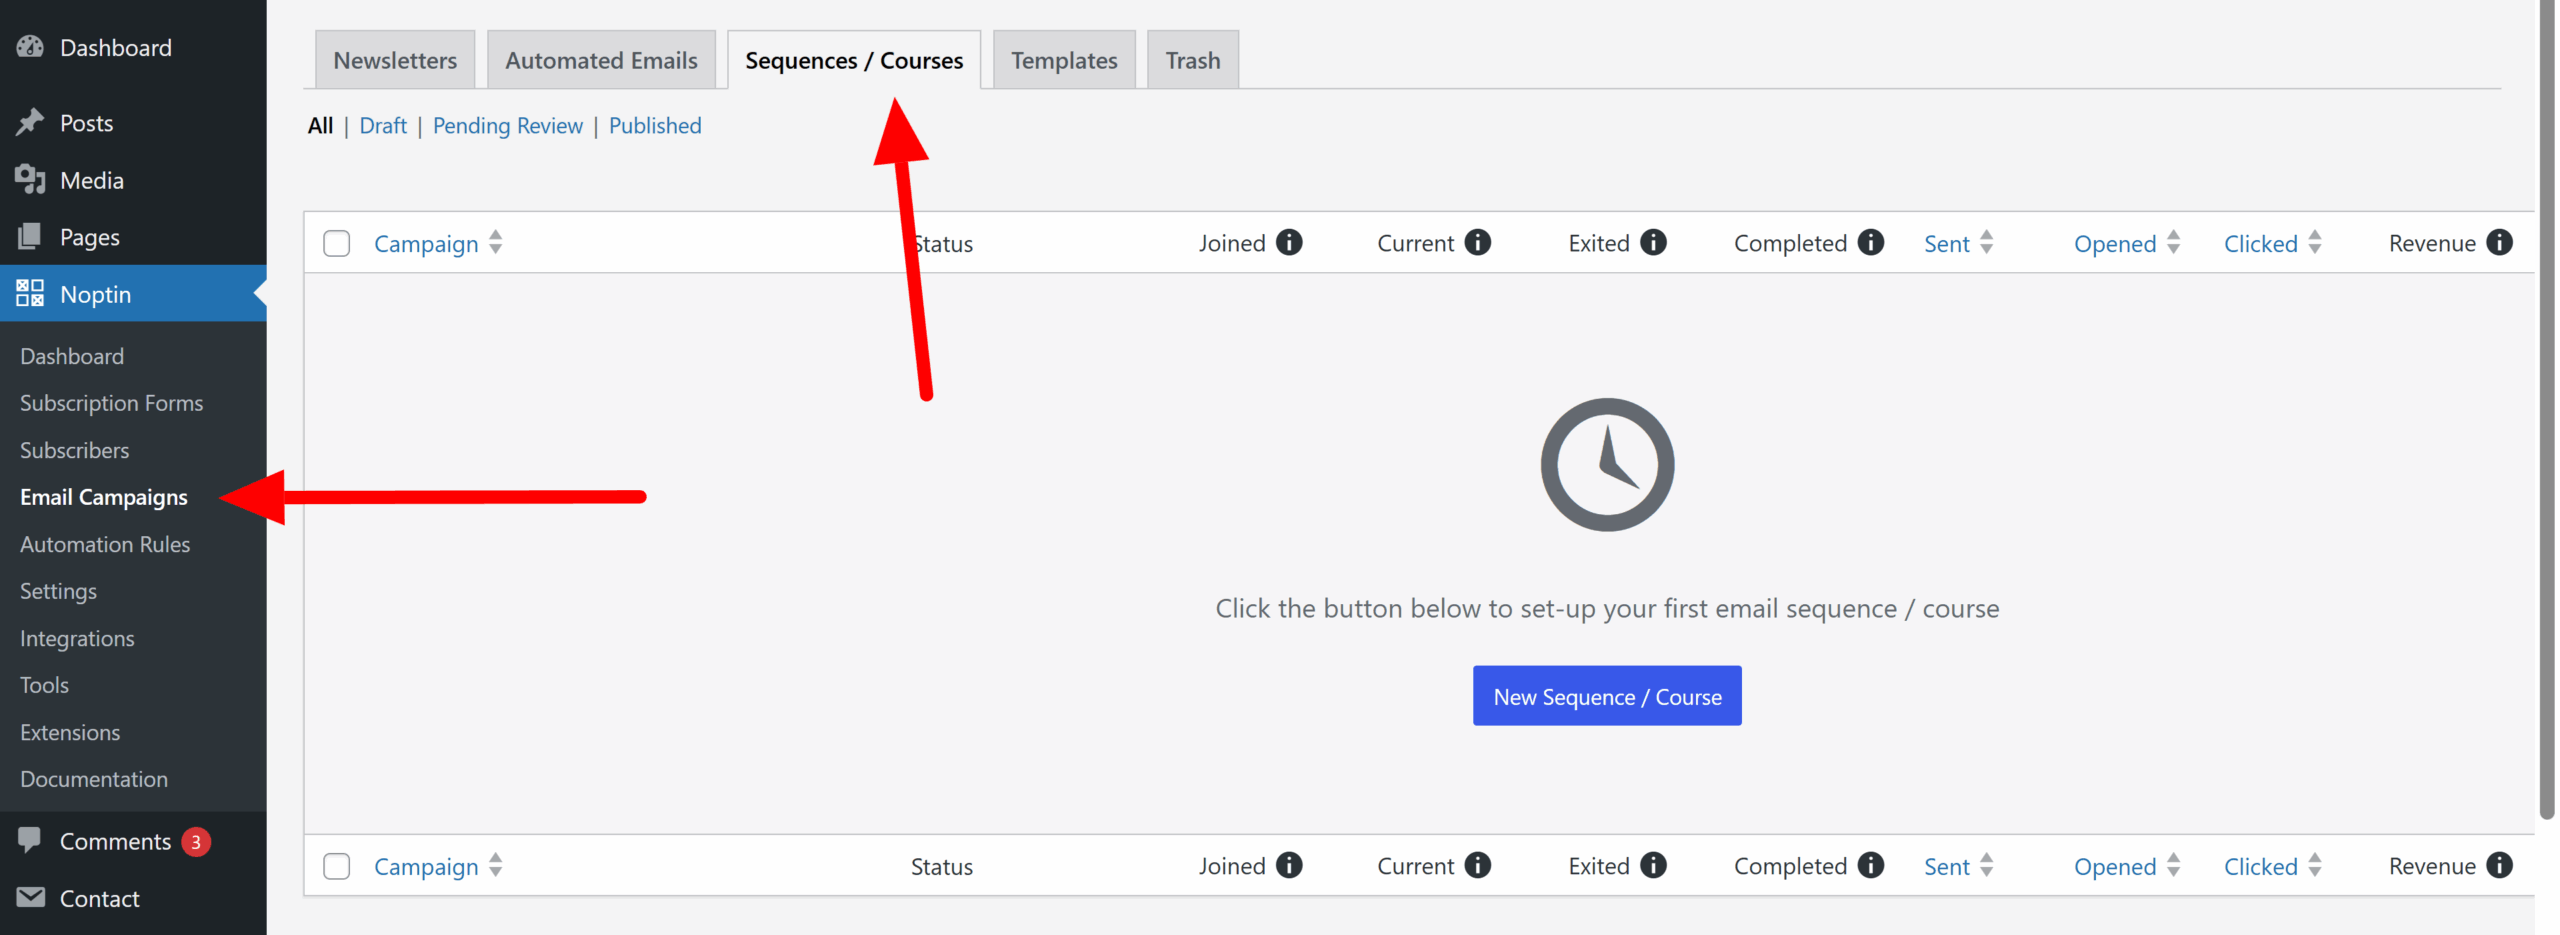
First, open the email sequences overview page at Noptin → Email Campaigns → Sequences / Courses.
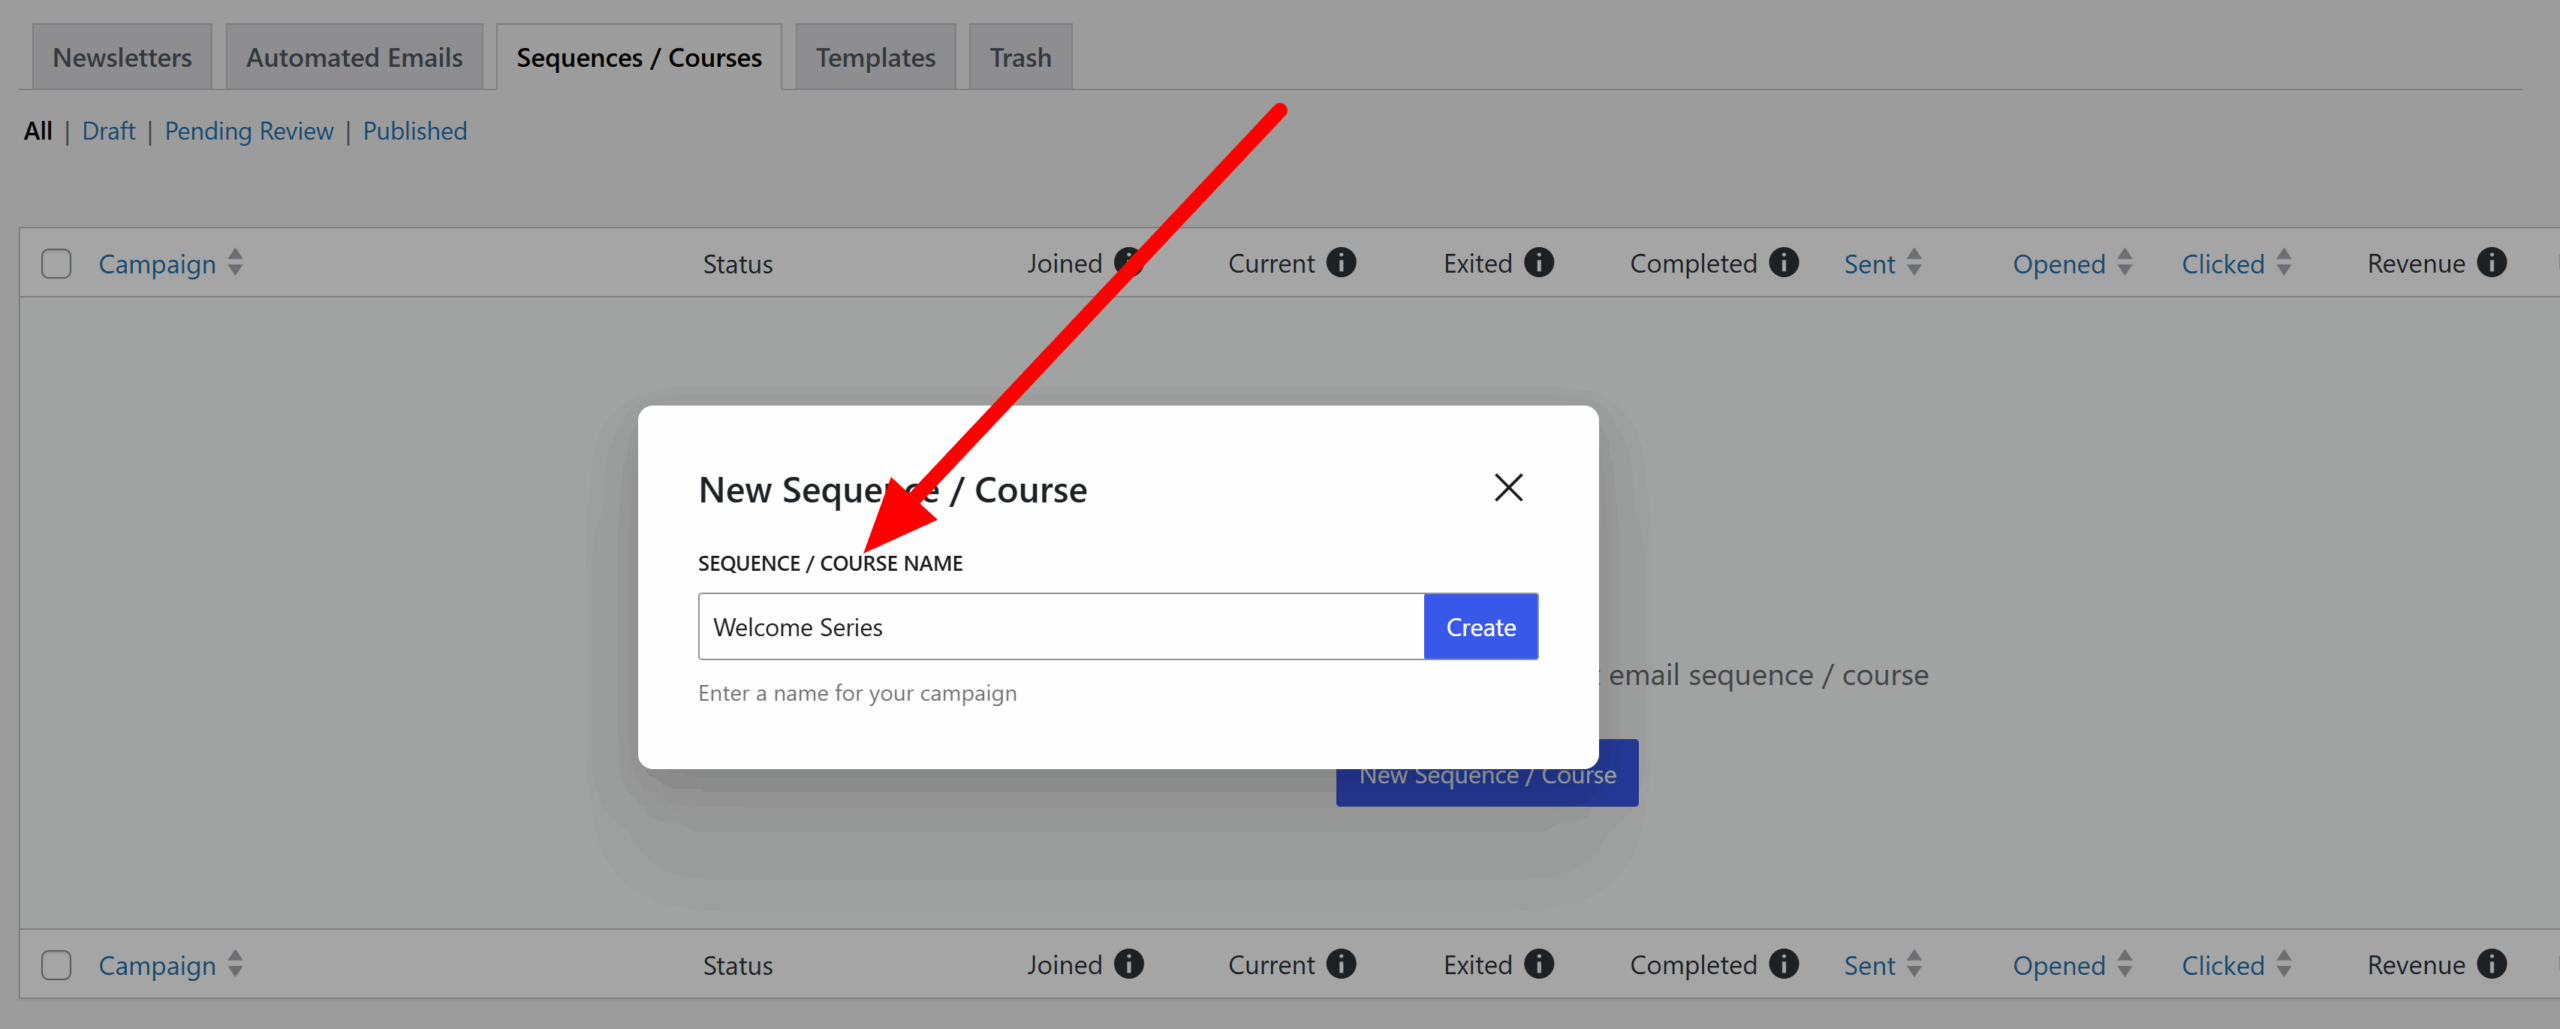
Next, click the New Sequence / Course button to create a new sequence. Give your sequence a descriptive name, such as “Welcome Series” or “Onboarding Course.”
Tip:-
Choose a name that clearly reflects the purpose of the sequence so you can easily identify it later.
Once done, click the Create button to finish creating your email sequence. Noptin will redirect you to the new sequence’s overview page.
Step 2: Set a Trigger with Automation Rules
Before adding any emails, you need to decide how subscribers will enter the sequence. This is done with an automation rule.
First, click on Noptin > Automation Rules to open the automation rules overview page…
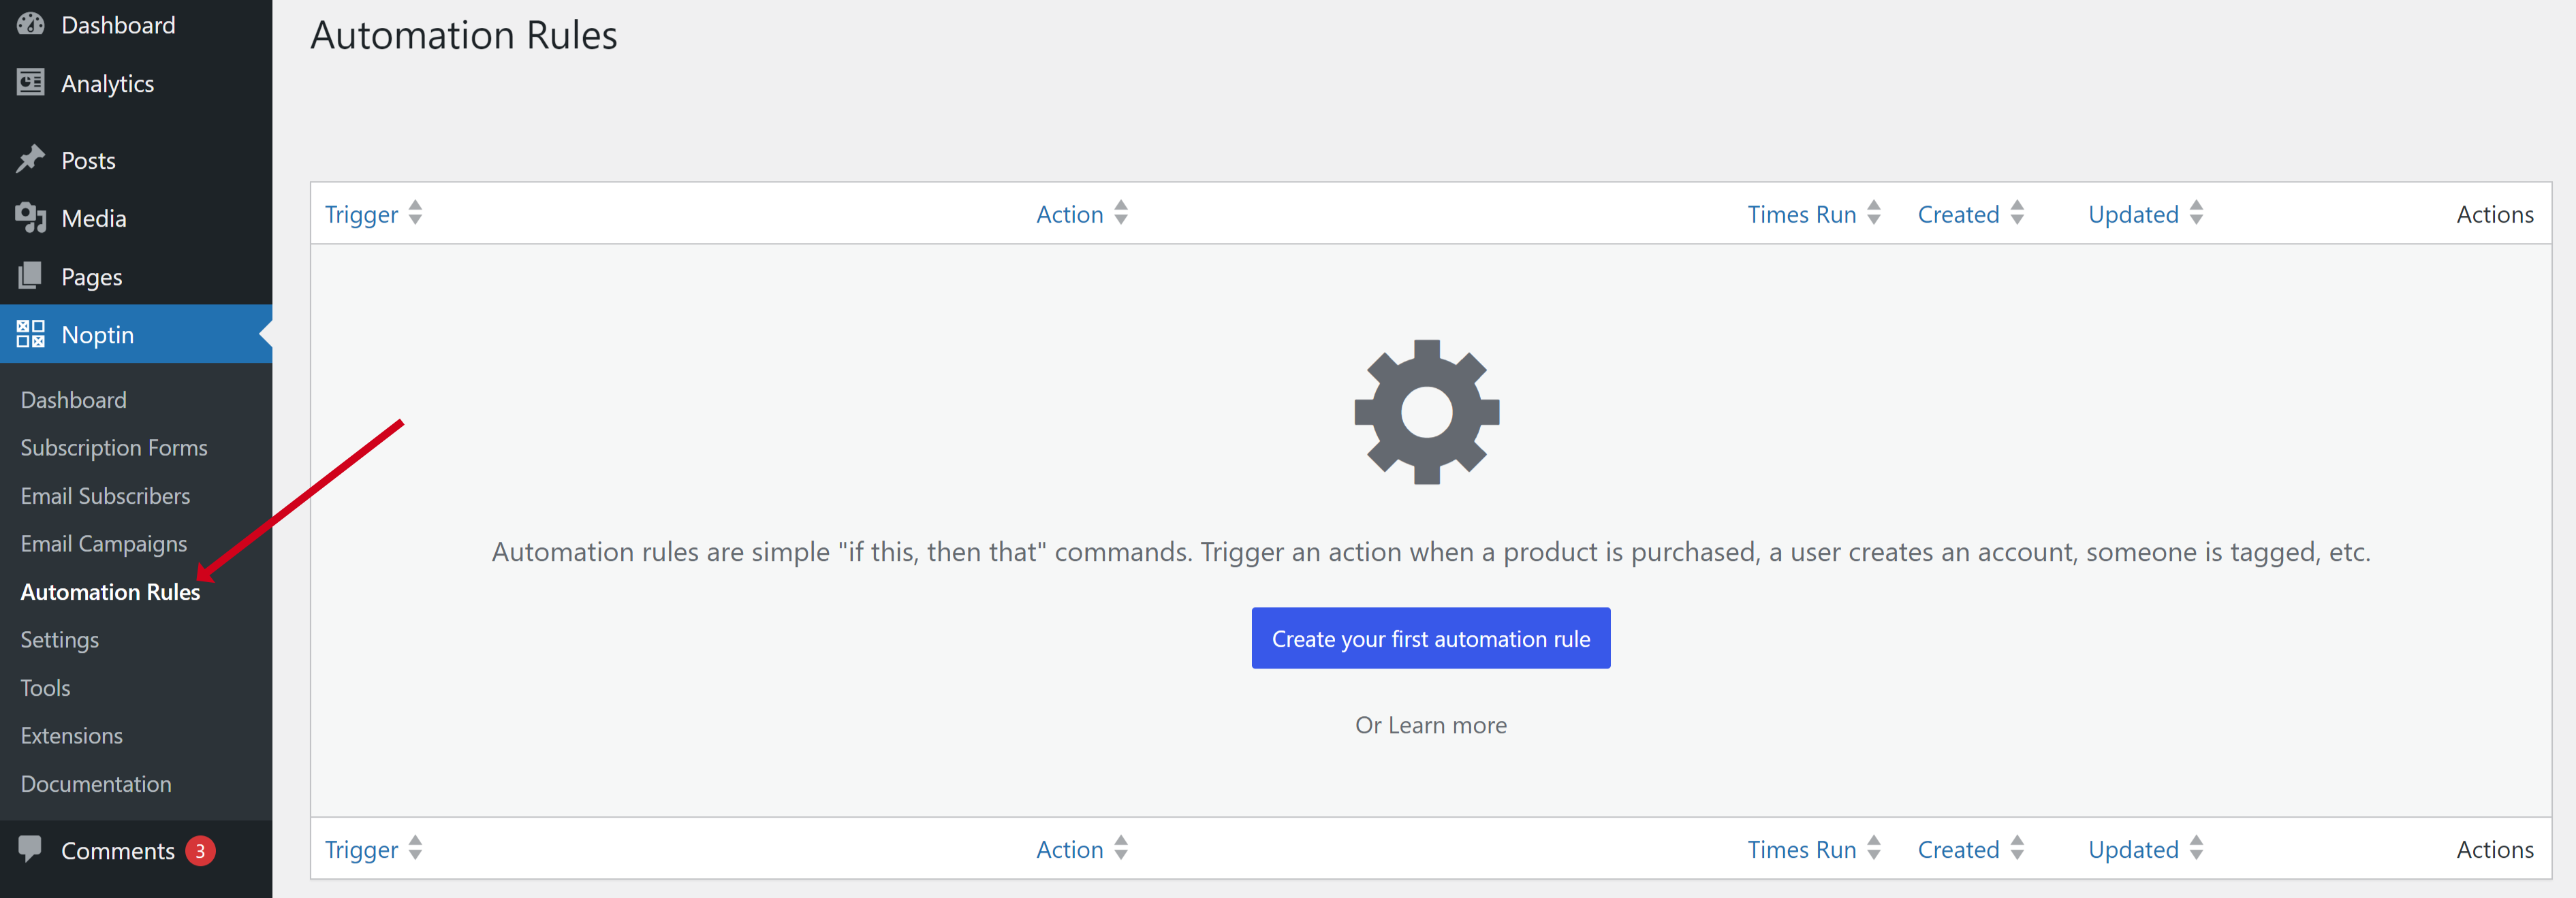
… and then click the “Create your first automation rule” button to open the automation rule creation modal.
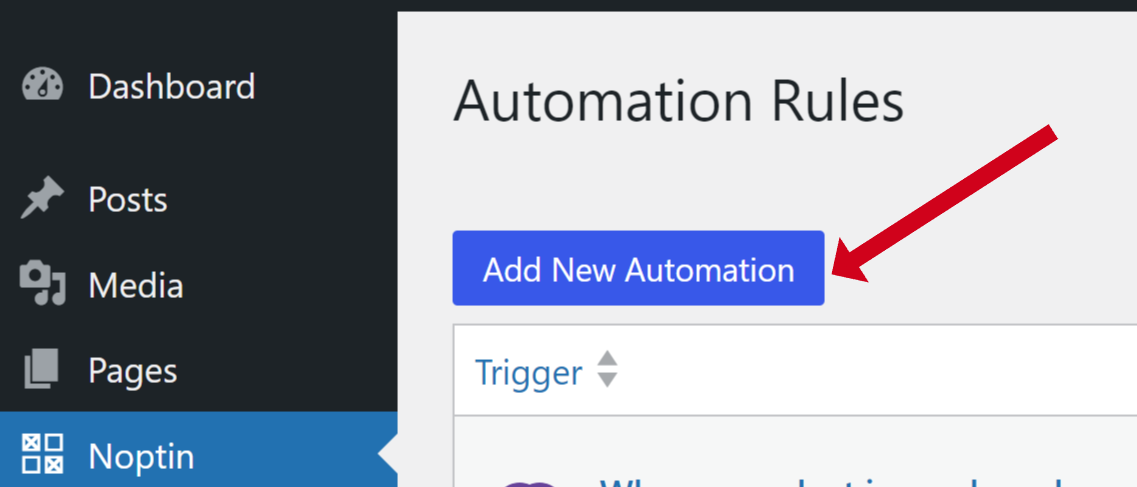
If you already have an automation rule, then you should click the “Add New Automation” button instead.
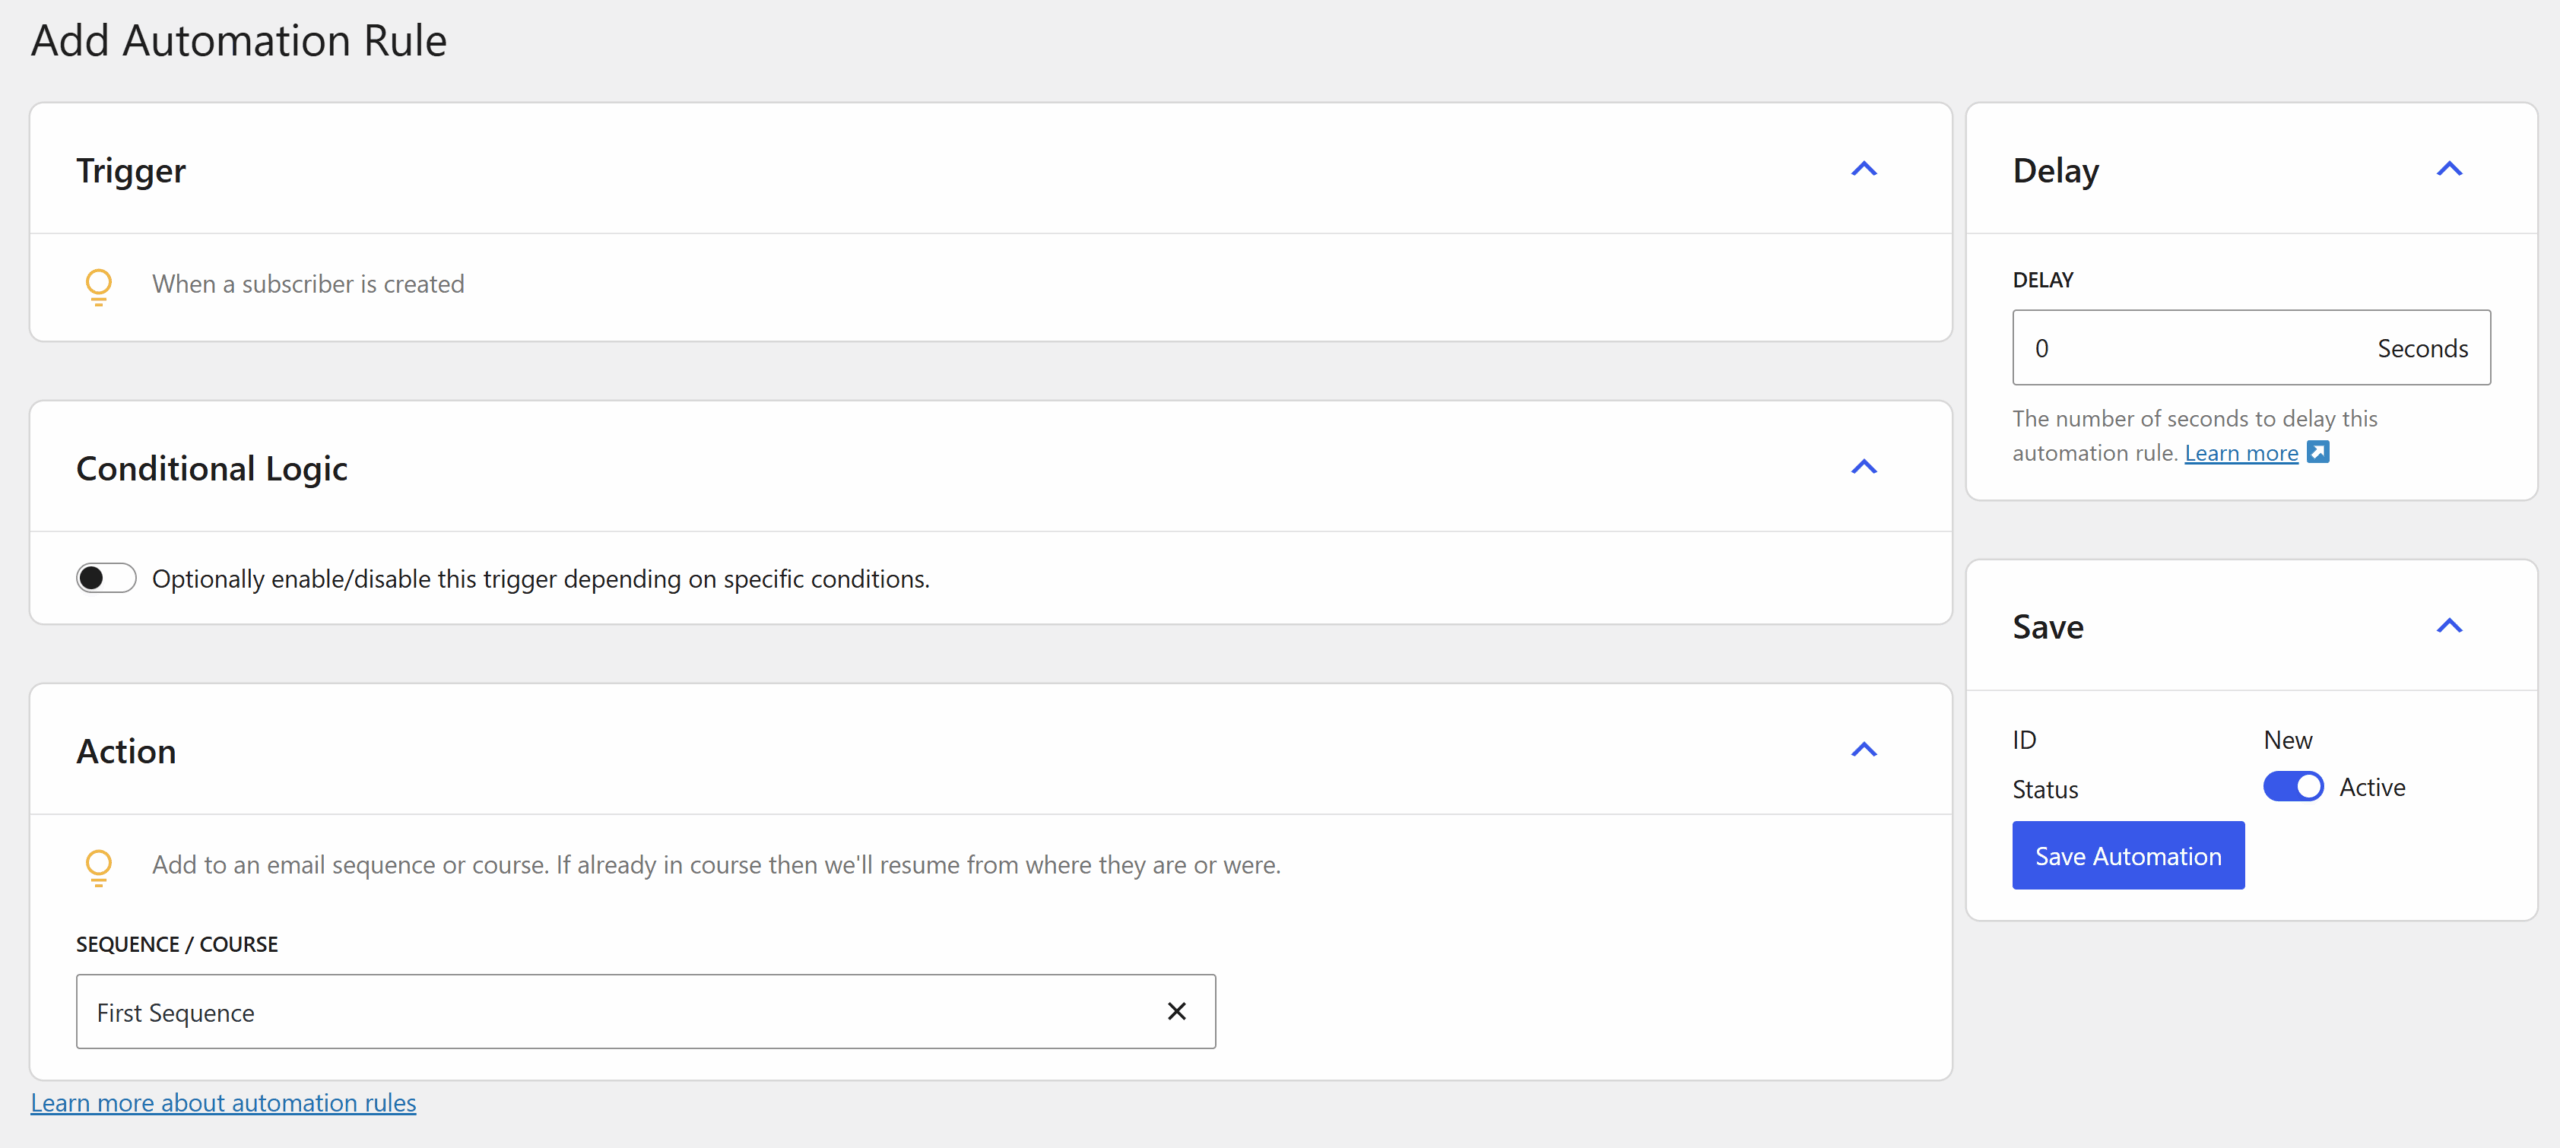
Next, select the trigger for your automation rule.

Finally, select “Add to sequence or course” as the action for your automation rule.
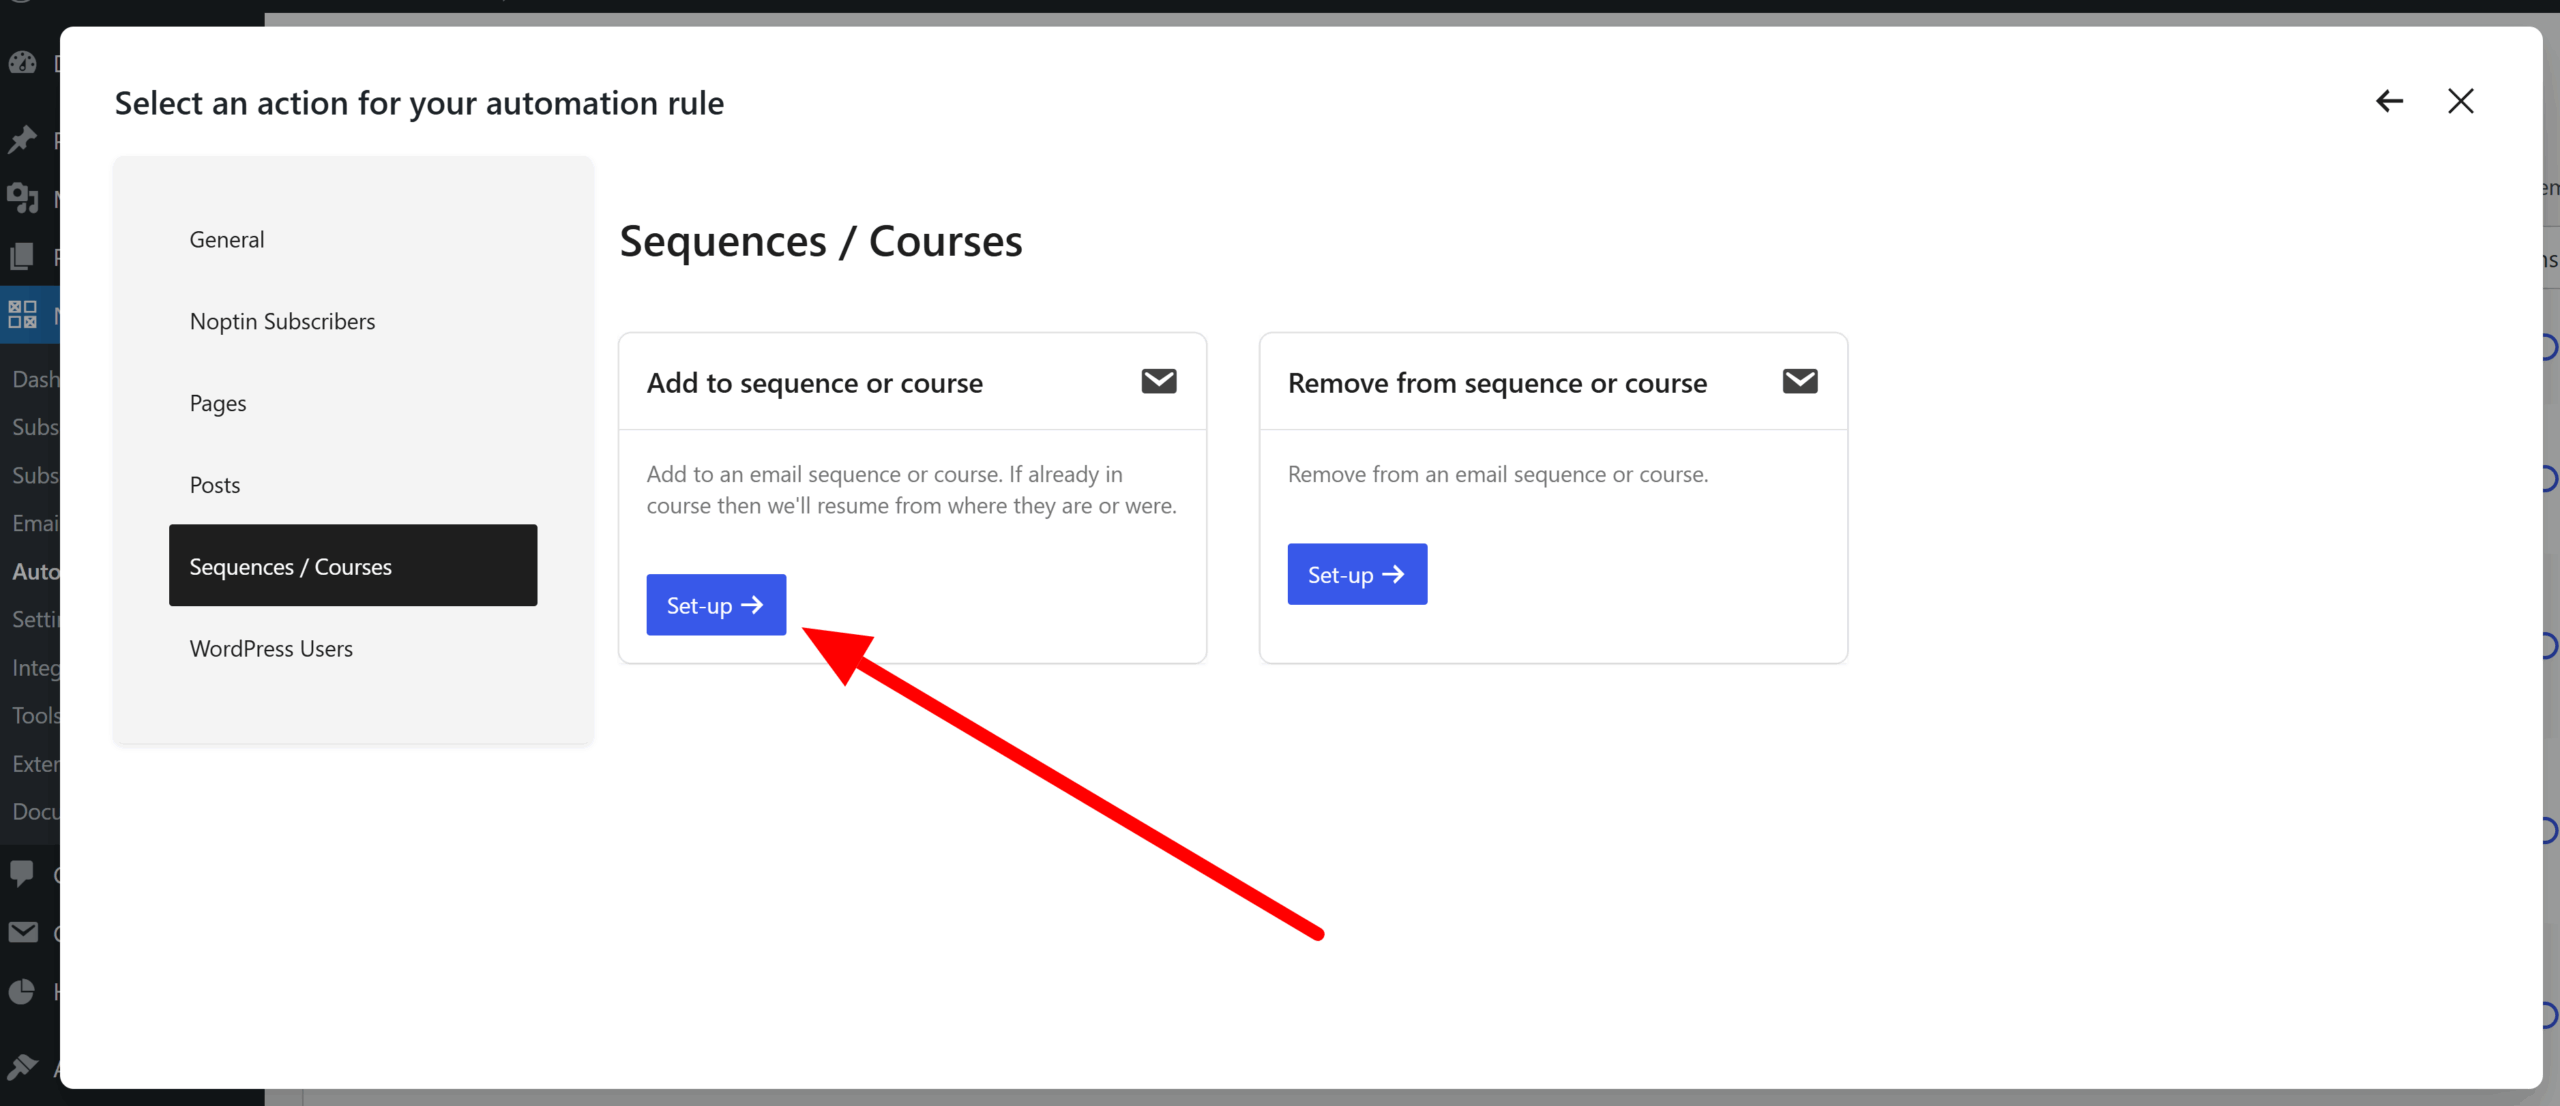
Noptin will then open the rule’s edit page. Select the sequence you created in the first step and then save your changes.
Why this step is important:
Defining the trigger first ensures that you’ll have access to the correct merge tags inside your emails.
For example, if the trigger is “purchased product,” you can use merge tags that reference the product name or price.
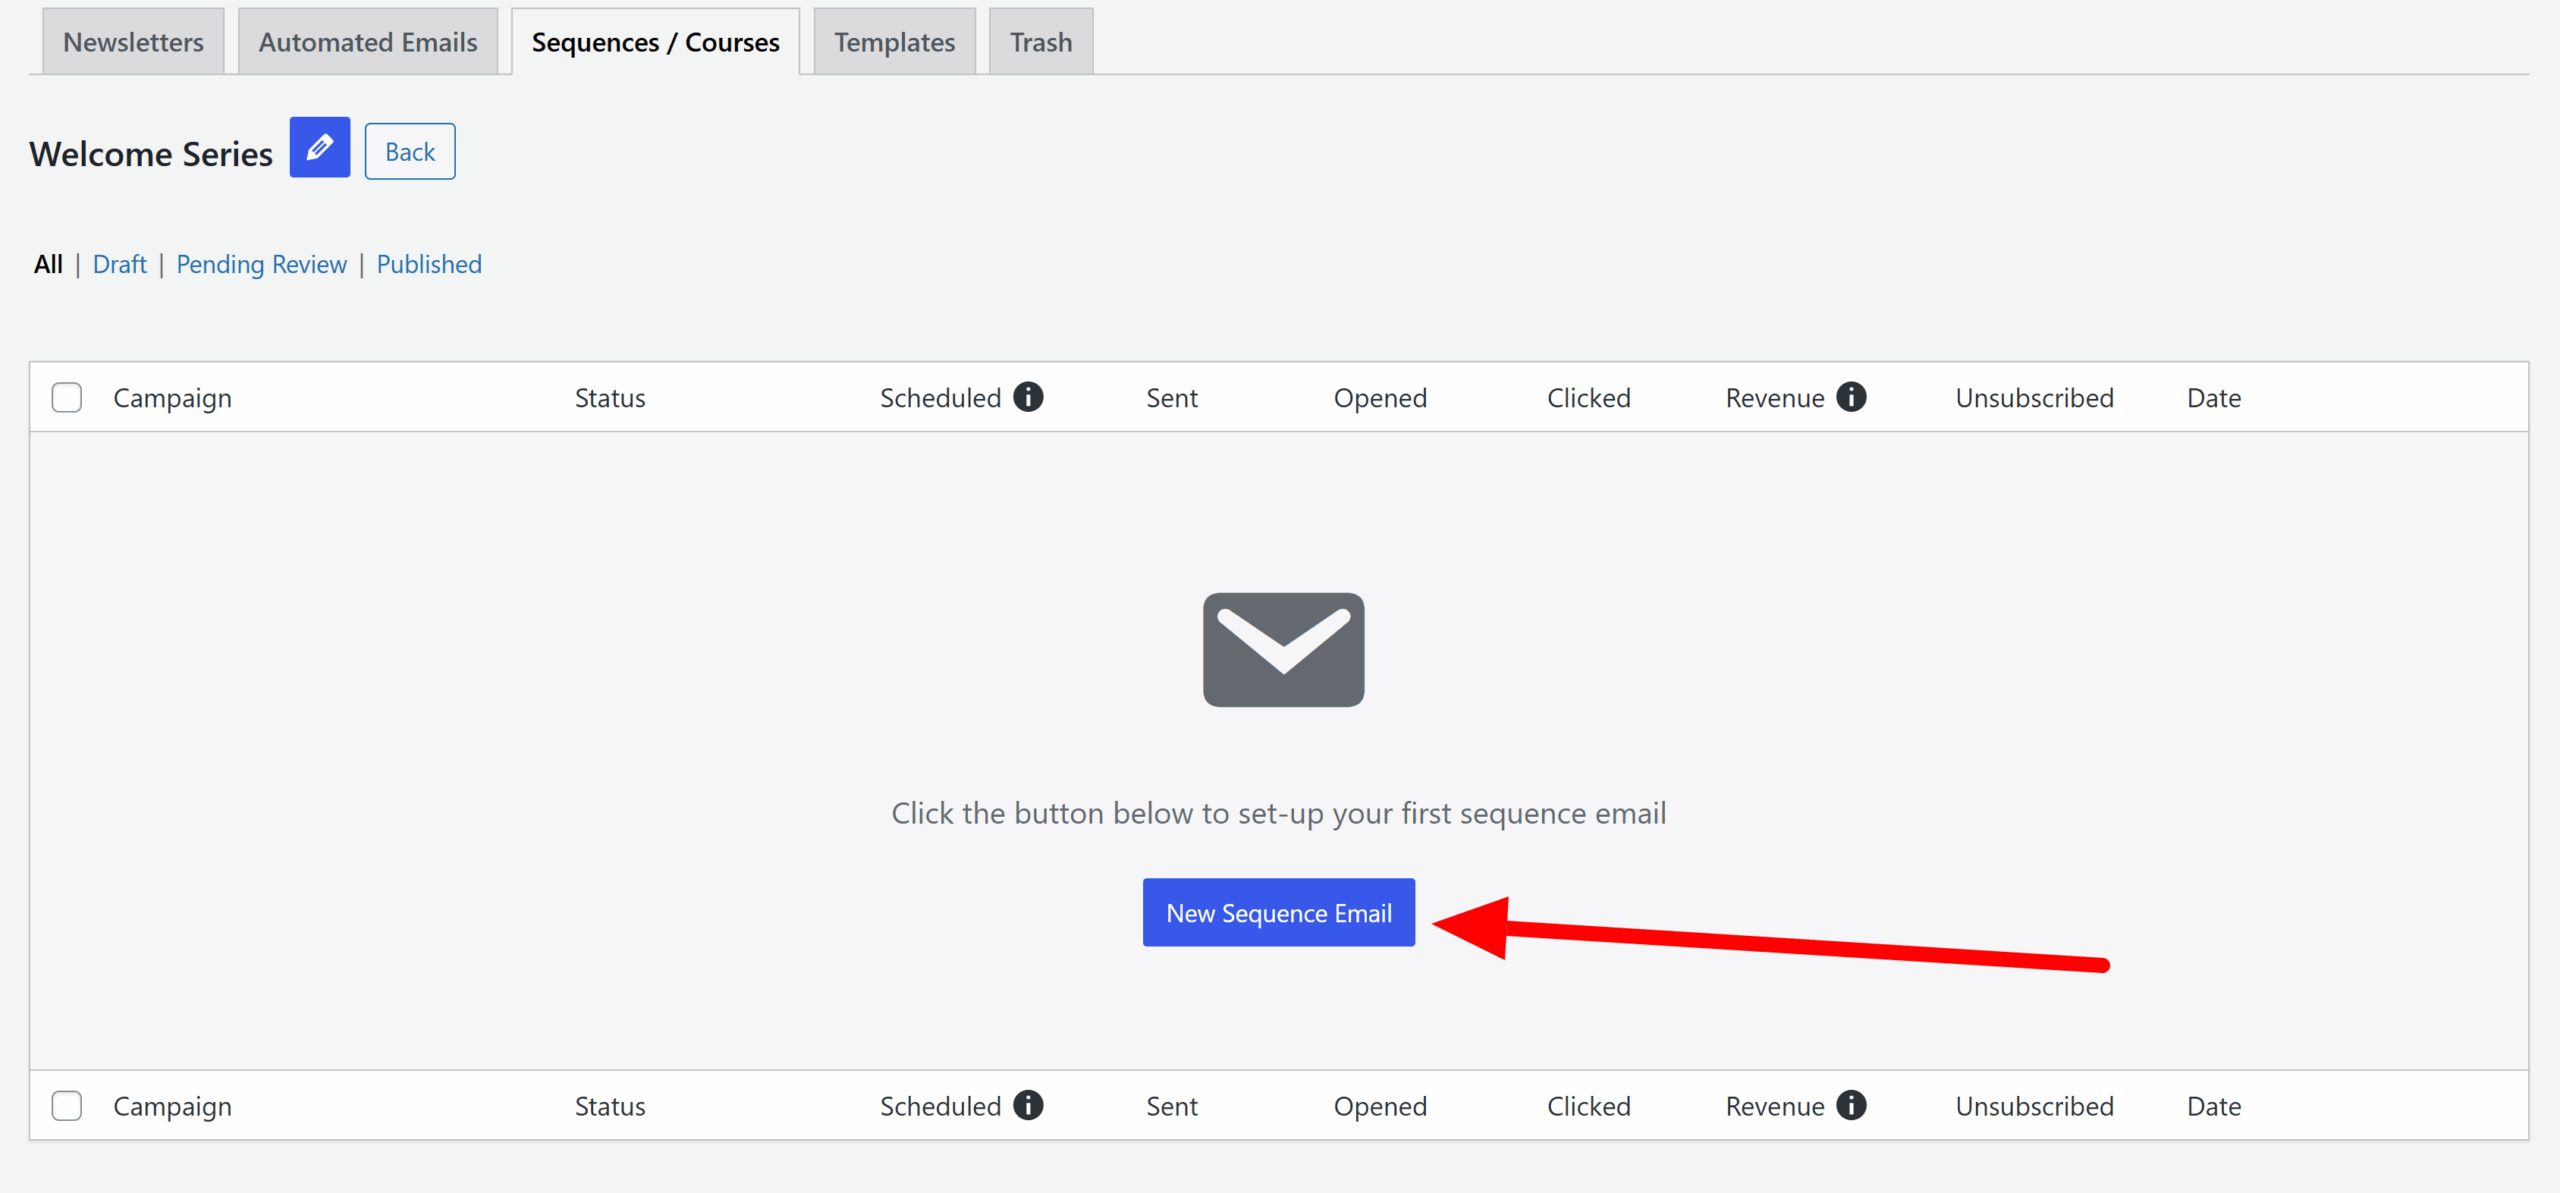
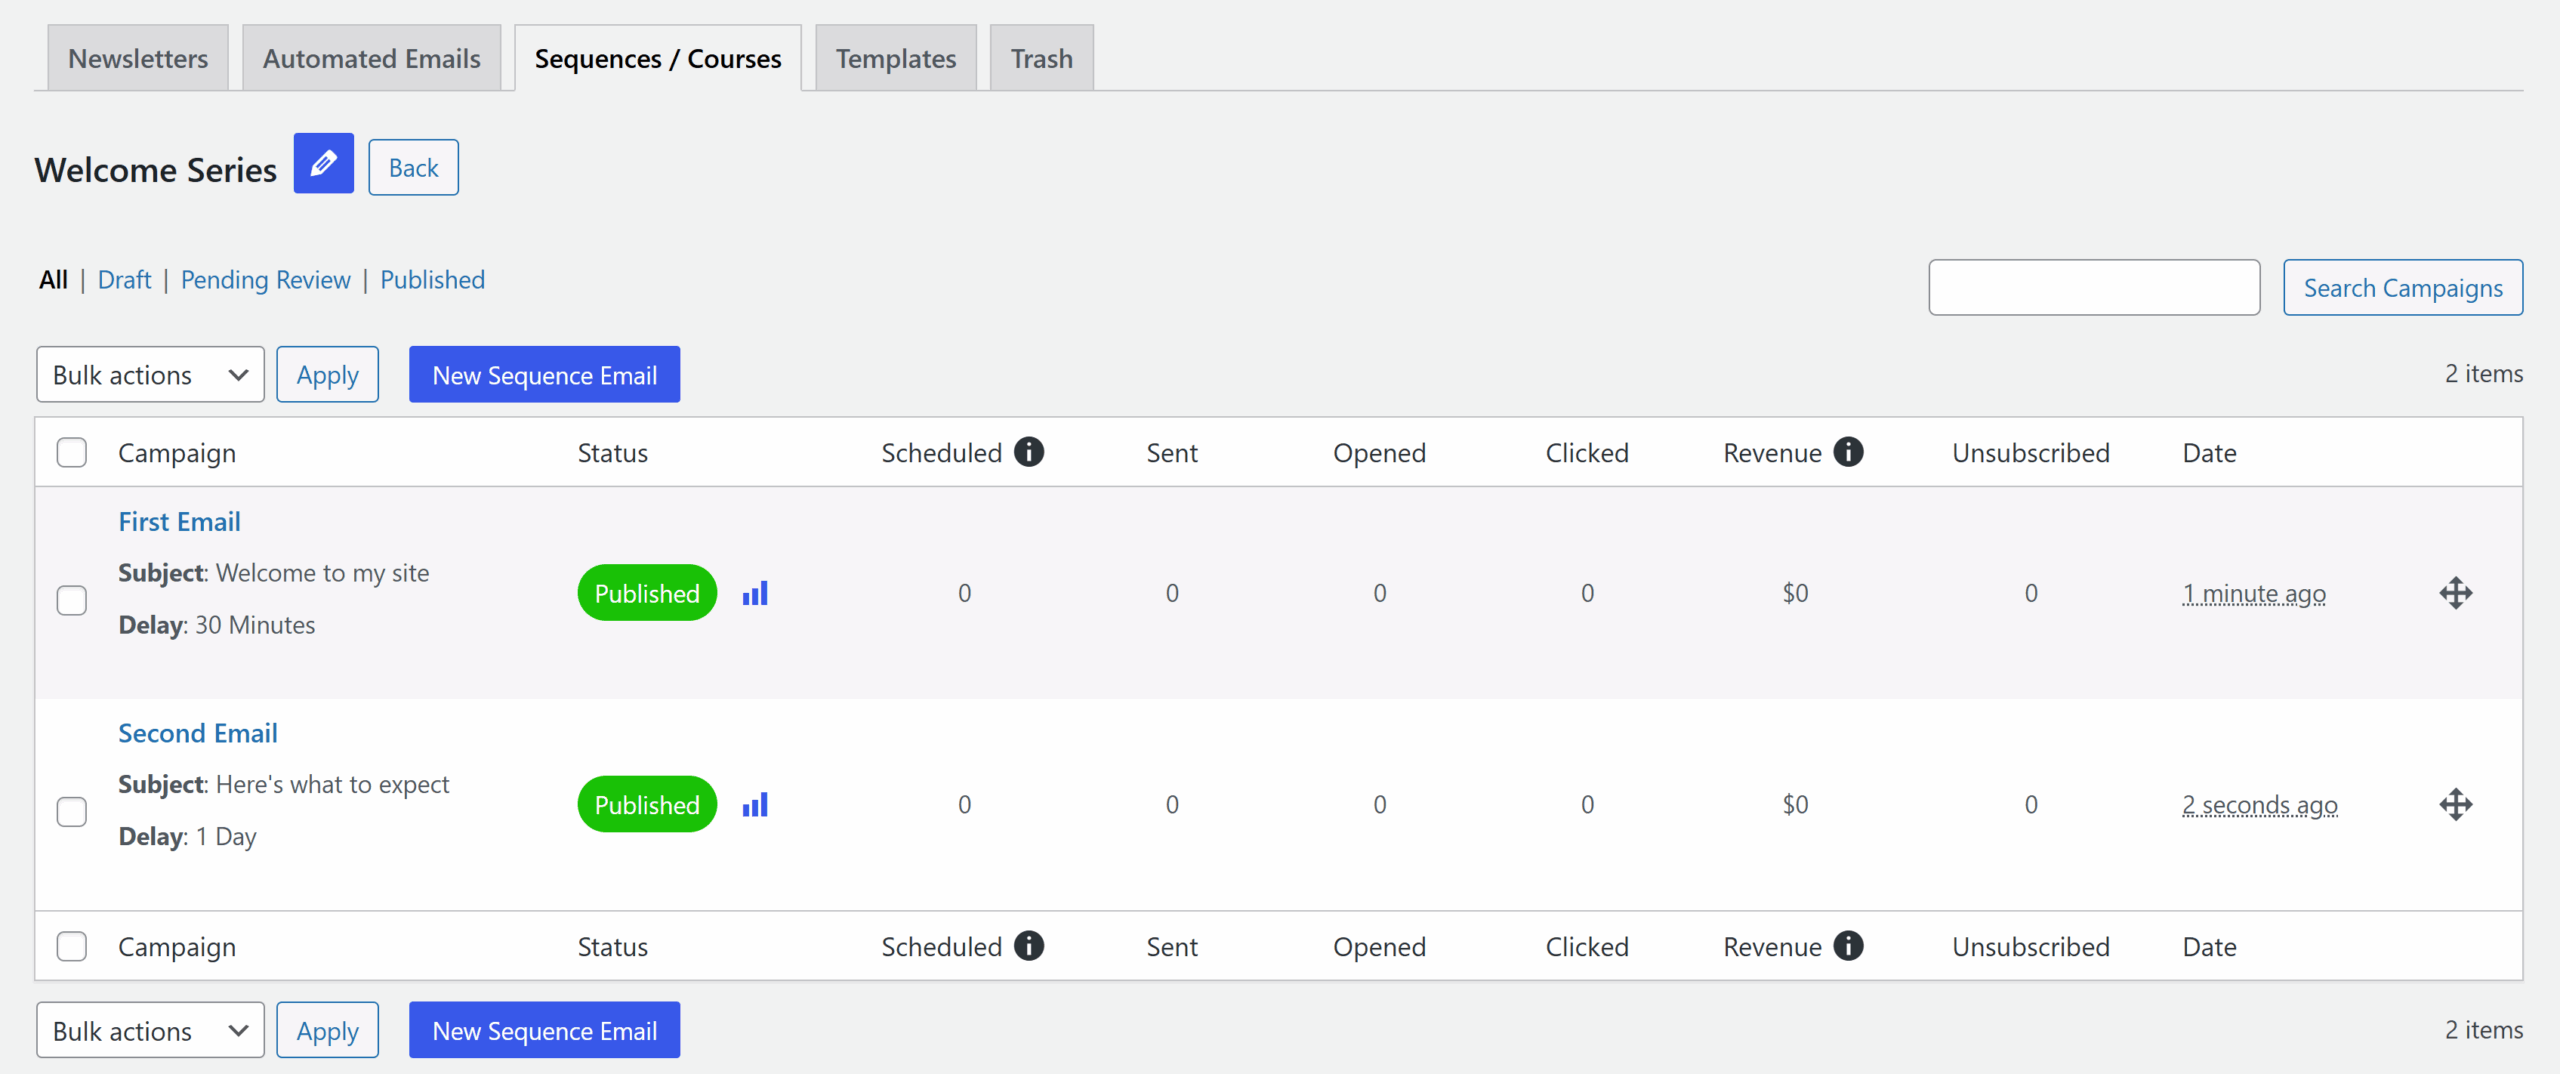
Step 3: Add Sequence Emails
With the trigger in place, return to your sequence and start adding emails.
First, click the New Sequence Email button to add a new email to your sequence.
Next, write your email content. You can personalize it with merge tags based on the trigger you set in Step 2.
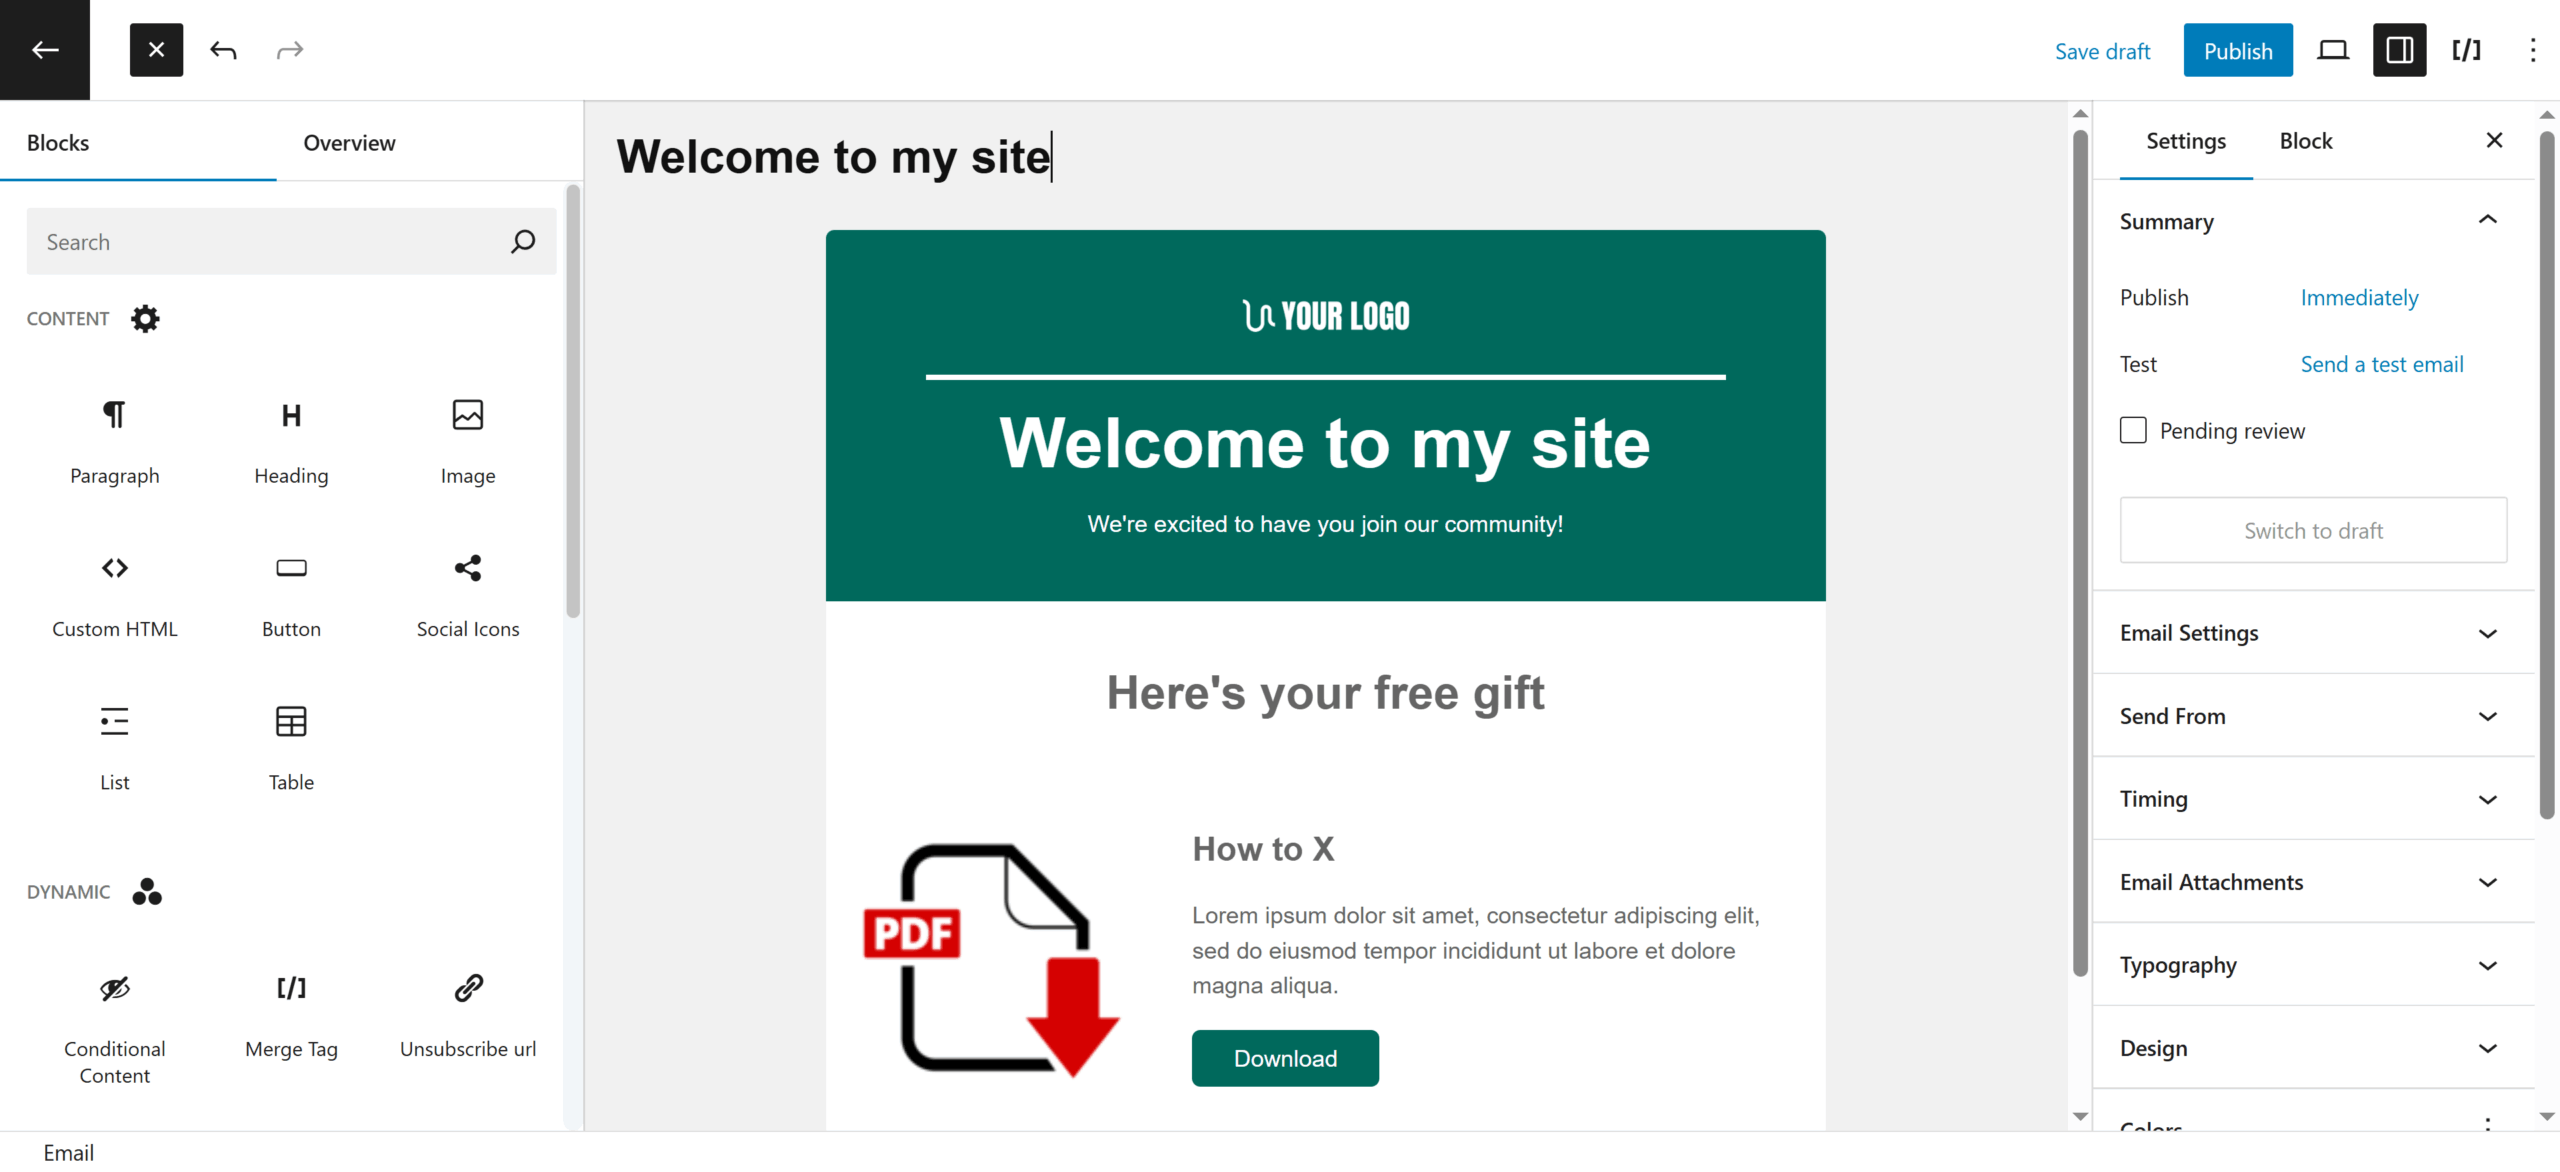
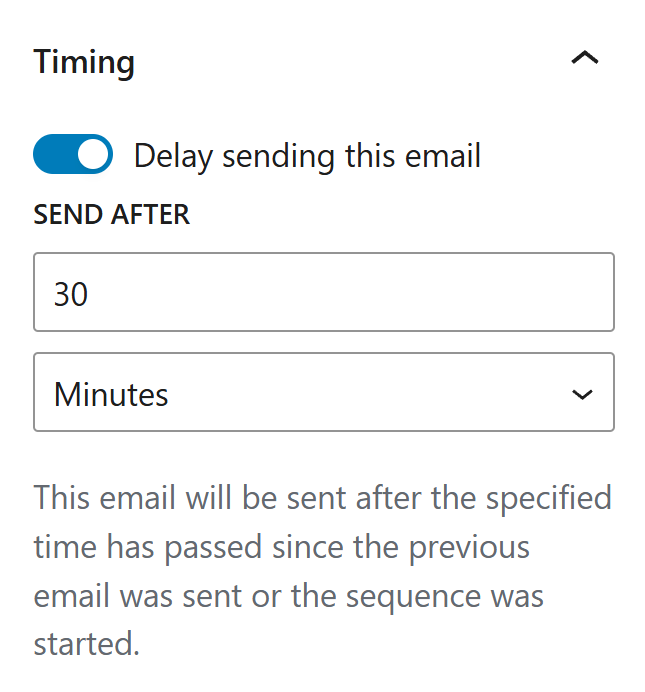
Once done, set a delay to control when this email should go out. For example, you can send the first email immediately, the second email 1 day later, and the third email 3 days later.
Finally, save the email as a draft or publish it right away.
Repeat this process for each email you want in your sequence.
Step 4: Review and Publish
Once done:
- Double-check that your automation rule is correctly adding contacts to the email sequence.
- Review your email delays to ensure they are sent at the right times.
- Make sure your merge tags render correctly by previewing an email.
From this point forward, contacts who meet the trigger condition will automatically receive your emails in the order and timing you defined.
Step 5: Monitor Performance
Noptin gives you detailed reporting on each email and sequence as a whole:
- How many subscribers joined the sequence
- The number of emails that were sent, opened, and clicked
- How many subscribers completed the sequence
- If you’re using a supported plugin, you can also see the revenue generated per email.
Use this data to refine your emails and improve engagement over time.
Leave a Reply